How to Make a 3D Rendering of Your House: A Beginner's Guide
By Conor Sheridan, 3D Visualization Lead · November 2, 2026
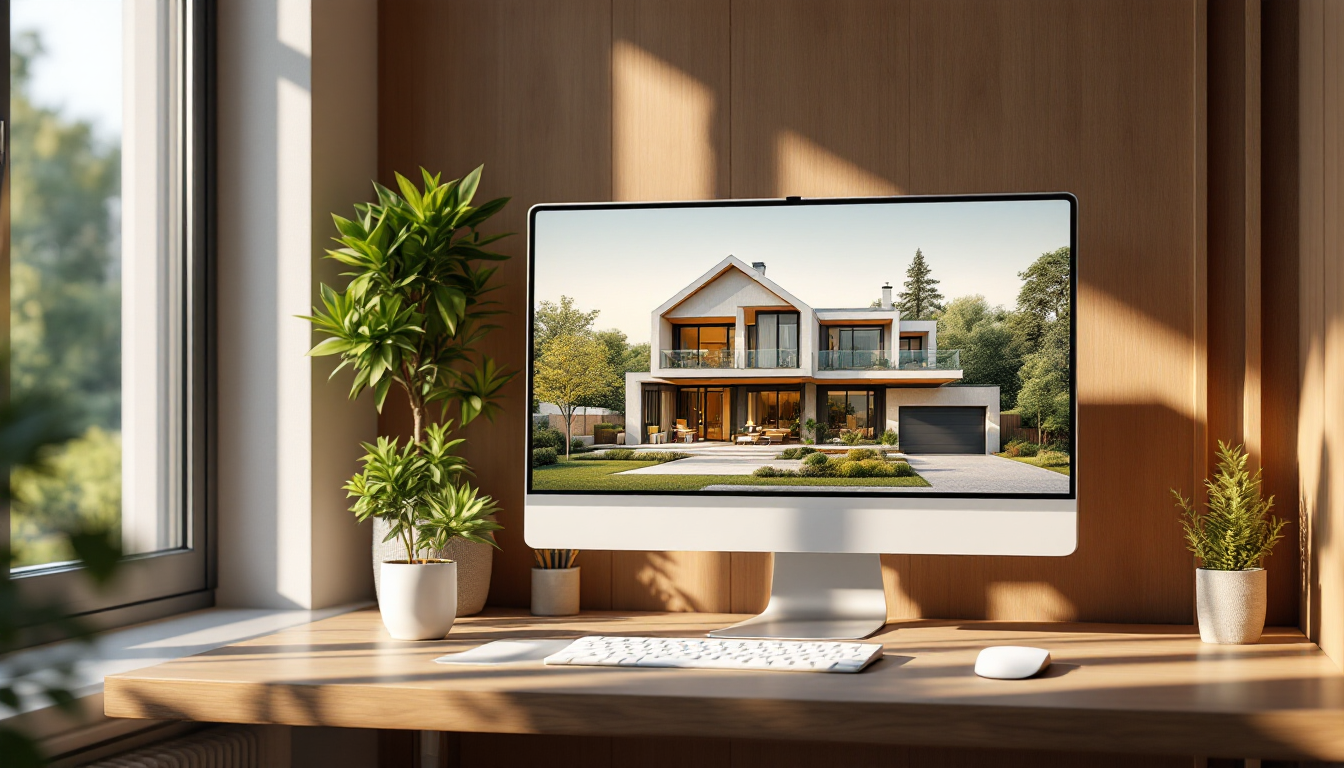
What a 3D rendering actually is
A 3D rendering of your house is a computer-generated image (or walkthrough) that shows what your home looks like — or will look like — in realistic detail. Instead of a flat floor plan or a hand sketch, you get something that resembles a photograph: materials, lighting, shadows, and proportions all represented the way they'd appear in real life.
Homeowners use renderings for a lot of reasons: visualizing a renovation before committing to it, communicating ideas to a contractor, testing paint or siding colors, or simply getting a feel for a room layout before buying furniture. If you've never done this before, the process is more approachable than it looks. This guide walks through it step by step.
Step 1: Gather accurate measurements
Every good rendering starts with accurate dimensions. If your model is based on guesswork, the final image will look "off" even if the materials and lighting are perfect — proportions are something the eye catches instinctively, even for people who aren't trained in design.
At a minimum, you'll want:
- Room lengths, widths, and ceiling heights
- Window and door placements, including sizes
- Wall thicknesses, if you're modeling an addition or structural change
- Existing fixtures you plan to keep (kitchen islands, built-ins, staircases)
If you're starting from scratch, our beginner's guide to measuring a room for a floor plan covers the tools and technique in detail, including how to avoid common measuring mistakes that throw off a model later.
Step 2: Build or import a base floor plan
With measurements in hand, the next step is creating a floor plan — essentially a 2D blueprint that will become the skeleton of your 3D model. You can draw this by hand and digitize it, use CAD software, or work directly inside a 3D design tool that lets you sketch walls and have them extrude into 3D automatically.
This is also the stage where you decide what's staying and what's changing. If your project involves an addition or a permit-related change, it helps to understand how that documentation connects to your model — see our guide on creating a site plan for a building permit for how the two processes overlap.
Step 3: Model the structure
Modeling means turning your flat plan into a 3D object: walls get height, openings become windows and doors, and the roof takes shape. Beginners often start with simple box-based modeling — think of it as building with digital blocks — before adding detail like trim, moldings, or roof overhangs.
Roof geometry trips up a lot of first-timers because pitch and shape affect both the look and the structural accuracy of the model. If your house has anything other than a flat roof, it's worth reading up on how to calculate roof pitch before you model it, and comparing roof styles like in our gable vs. hip roof guide if you're designing something new.
Step 4: Apply materials and textures
This is where the model starts to look like a real house. Materials — siding, brick, stucco, wood flooring, countertop stone — are applied as textures wrapped around your 3D surfaces. Good software uses PBR (physically based rendering) materials, which simulate how real-world surfaces reflect light: a glossy tile behaves differently than a matte painted wall, and PBR materials account for that automatically.
At this stage, color choices matter as much as geometry. If you're undecided on interior palettes, our guide to choosing a color palette for a room is a useful companion step before you commit to textures in your model.
Step 5: Set up lighting
Lighting is often the difference between a rendering that looks convincing and one that looks like a video game cutscene. You'll typically set up:
- Sunlight, positioned to match the time of day and your home's real-world orientation
- Ambient or sky light, to fill in shadows naturally
- Interior lighting, such as lamps, recessed fixtures, or pendant lights, if you're rendering an interior scene
Getting lighting right usually takes a few test renders. Small adjustments in angle or intensity can dramatically change how materials read.
Step 6: Choose your rendering method
Once the scene is built, you need to decide how the final image or walkthrough gets generated. There are two broad approaches: real-time rendering, which draws the scene instantly (useful for interactive walkthroughs), and ray tracing, which simulates light more precisely but takes longer to compute. Beginners don't need to master the technical differences right away, but it helps to know they exist — our beginner's guide to real-time rendering vs. ray tracing breaks down when each one makes sense.
Step 7: Export and share your rendering
Depending on your goal, you might export a still image, an animated walkthrough, or a lightweight 3D file (like GLB) that others can view interactively in a browser or AR app. A clean GLB export is especially useful if you want to share the model with a contractor or view it in augmented reality at full scale in your actual space — similar to how AR furniture placement tools let you preview items before buying, as covered in our guide to seeing furniture in your room with AR.
Getting started without starting from zero
You don't need professional rendering software or years of training to produce a useful, realistic model of your house. Platforms like Home3DPlan are built specifically to help homeowners go from rough measurements to a clean, presentable 3D rendering without a steep learning curve — a practical starting point if the steps above feel like a lot to tackle manually.
Start small: model one room, apply real materials, set up basic lighting, and render a single still image. Once that first render clicks, scaling up to a full house or a walkthrough becomes far less intimidating.