How to Create a Site Plan for a Building Permit: A Beginner's Guide
By Ingrid Halvorsen, Home Planning Specialist · October 25, 2026
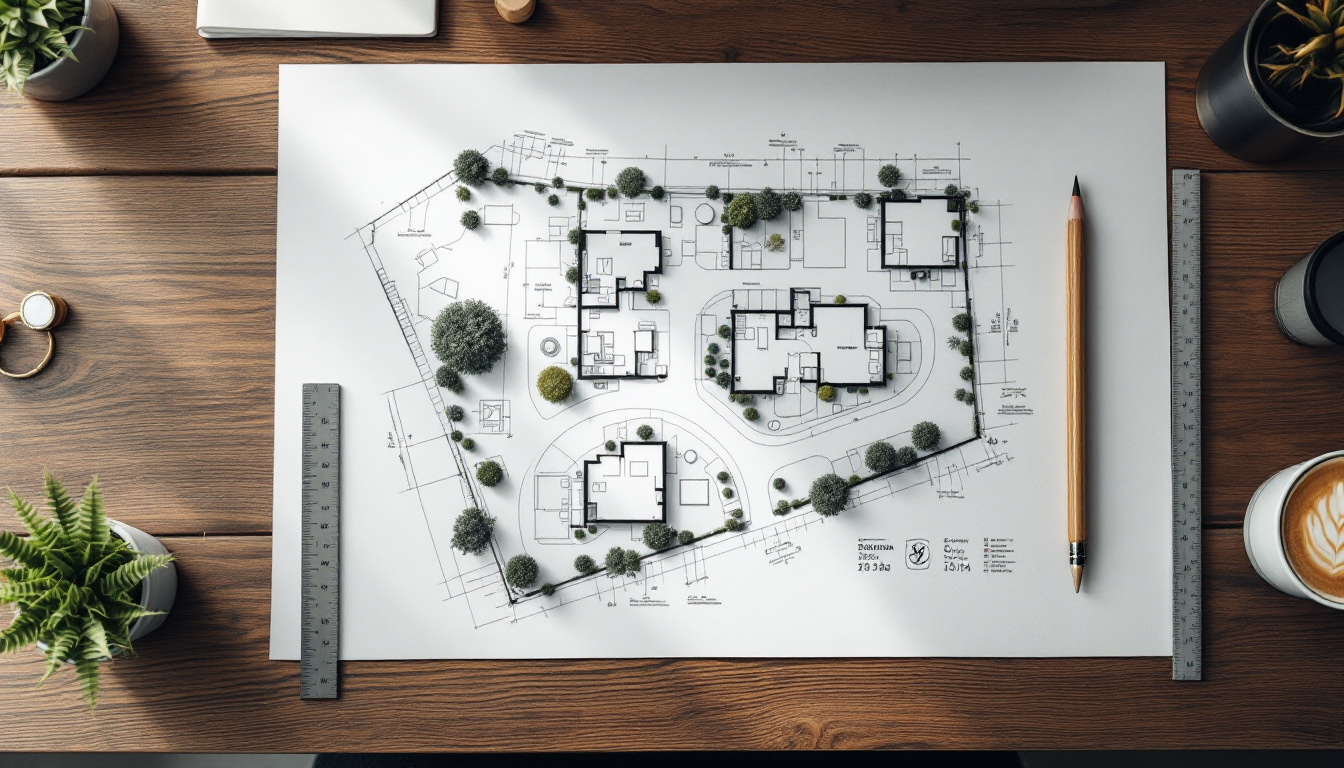
What a Site Plan Actually Is
A site plan is a scaled, bird's-eye drawing of your property that shows how a proposed structure sits in relation to your lot lines, existing buildings, and site features. It's different from a floor plan, which shows the inside layout of a single building. Most building departments require a site plan before they'll issue a permit for anything from a new deck to a full home addition, because it's the document inspectors and reviewers use to confirm your project follows local zoning and setback rules.
If you're planning any kind of expansion, it helps to understand this requirement early. For a broader look at budgeting and planning an expansion, see this beginner's guide to home addition costs before you start drawing.
Why Permit Offices Require One
Zoning departments use site plans to check things like:
- Setback distances from property lines
- Maximum lot coverage and impervious surface limits
- Easements, utility lines, and drainage paths
- Height restrictions and distance from existing structures
- Parking and driveway placement
Without an accurate site plan, reviewers can't verify compliance, and incomplete or inaccurate submissions are one of the most common reasons permit applications get delayed or rejected.
Step 1: Get Your Property Survey or Plat
Start with an existing document that establishes your legal lot boundaries. This could be:
- A recorded plat of survey from when you purchased the home
- A mortgage survey (less precise, but sometimes accepted for minor projects)
- A new boundary survey from a licensed surveyor, which many jurisdictions require for larger projects
Check with your local permit office first — some projects, like small sheds or fences, only need a simplified site sketch, while additions or new construction typically require a surveyor-stamped plan.
Step 2: Establish Your Scale and Orientation
Site plans are drawn to scale, commonly 1 inch = 10 or 20 feet, with a north arrow included. Accuracy matters here just as much as it does indoors. The same careful habits used when you measure a room for a floor plan apply outside: use a reliable tape measure or laser measure, record dimensions in a notebook or app as you go, and double-check long spans by measuring twice.
Step 3: Draw the Lot Boundaries and Existing Structures
Plot your property lines first, using the dimensions from your survey. Then add anything already on the lot:
- The existing house footprint
- Garages, sheds, or other accessory structures
- Driveways, walkways, and patios
- Septic systems or wells, if applicable
- Large trees that may be protected under local ordinances
Step 4: Add the Proposed Work
Draw the new structure or addition in a contrasting line weight or color so reviewers can immediately distinguish "existing" from "proposed." Label each structure's dimensions and note the distance from the new construction to each property line — this is where setback compliance gets checked most closely.
If your project involves a roofline change or new roof form, it's worth sketching that detail too, since some jurisdictions ask for a basic elevation alongside the site plan. Understanding the difference between a gable and hip roof can help you describe the proposed structure accurately on your submission.
Step 5: Show Drainage, Grading, and Utilities
Many permit offices want arrows indicating the direction of stormwater runoff, plus the location of utility connections (water, sewer, gas, electrical service). If your lot has any slope, note the general grade change across the property — this becomes especially important if your project includes retaining walls. If you're dealing with a sloped backyard as part of the project, this beginner's guide to retaining wall ideas covers common approaches reviewers are familiar with.
Step 6: Add Required Labels and a Title Block
A complete site plan typically includes:
- Property address and parcel/lot number
- Scale and north arrow
- Legend explaining line types and symbols
- Date and revision number
- Owner or applicant name
Missing labels are a surprisingly common reason plans get sent back for revision, so treat this step as more than a formality.
Step 7: Choose How You'll Draw It
You have a few options depending on project complexity:
- Hand-drawn on graph paper — fine for simple sheds or fences in jurisdictions with relaxed requirements
- CAD or home design software — gives you precise scaling, easy edits, and cleaner output for submission
- Licensed surveyor or engineer — required for most additions, new builds, or projects near wetlands, floodplains, or easements
For homeowners comfortable working digitally, visualizing a project in 3D before finalizing the site plan can catch layout issues early. Tools like those available through Home3DPlan let you model a proposed addition or structure and check how it relates to your existing home before you commit to final measurements.
Common Mistakes to Avoid
- Using an outdated or unofficial survey as your base document
- Forgetting to show setback distances explicitly, even when they look obvious
- Leaving out existing structures that affect lot coverage calculations
- Submitting a plan that isn't drawn to a stated scale
Getting your site plan right the first time keeps your project on schedule. It's a document worth double-checking against your local code requirements before you submit, since permit offices vary widely in what they expect from a residential applicant.