How to Measure a Room for a Floor Plan: A Beginner's Guide
By Camille Moreau, Lead Interior Designer · October 13, 2026
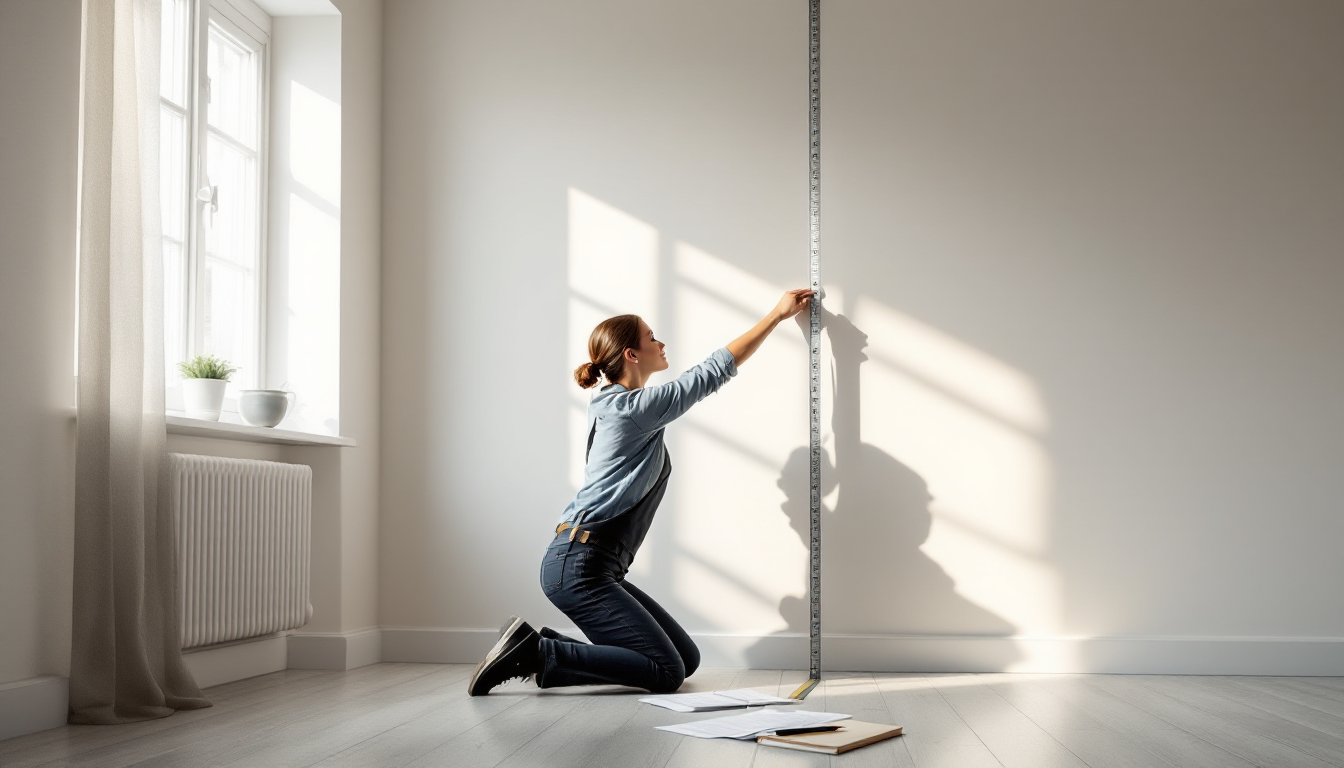
Why Accurate Room Measurements Matter
Every good floor plan starts with a tape measure, not software. Whether you're planning a furniture layout, prepping for a renovation, or building a digital model of your home, the accuracy of your final plan depends entirely on the quality of your raw measurements. A wall that's off by even a few inches can throw off door swings, furniture clearances, and material orders down the line.
This guide walks through the process from scratch, aimed at anyone who has never measured a room for drafting purposes before. If you're just getting comfortable with design fundamentals in general, it pairs well with a broader look at room-by-room interior design basics before you start sketching layouts.
Tools You'll Need
- A tape measure — a 25-foot (7.5m) retractable metal tape is the standard choice for residential rooms.
- A laser distance measurer (optional but recommended) — speeds up long spans and reduces reading errors.
- Graph paper or a notebook — for sketching the room as you go.
- A pencil and a clipboard — surprisingly easy to forget, surprisingly essential.
- A second person — not required, but very helpful for holding the tape end on long walls.
Step 1: Sketch a Rough Outline First
Before you measure anything, draw a loose, not-to-scale sketch of the room's shape on graph paper. Include doors, windows, closets, built-ins, and any odd angles or alcoves. This sketch becomes your working map — you'll fill in actual numbers as you measure, rather than trying to remember them later.
Mark a swing direction for every door and note which way windows open. These details matter later if you plan to turn your sketch into a formal drawing, especially if you'll eventually compare it against an elevation view to check wall heights and window placement.
Step 2: Measure the Perimeter Walls
Starting at one corner, measure each wall segment in a continuous loop around the room. Hold the tape at floor level or at a consistent height (about 12 inches up avoids baseboards and furniture legs getting in the way). Record each measurement directly on your sketch next to the corresponding wall.
A few practical tips:
- Measure to the nearest 1/4 inch (or half-centimeter) — floor plans don't need surveyor-level precision, but rough guessing causes problems later.
- If a wall isn't perfectly straight (common in older homes), measure at a few points and note the variation.
- For rooms with alcoves or bump-outs, break the wall into smaller segments rather than trying to span the whole thing in one measurement.
Step 3: Check Your Numbers with the Diagonal Method
Once you have all four walls measured, verify the room is actually square (most aren't, perfectly). Measure both diagonals, corner to corner. If the two diagonal measurements match, the room is square. If they differ by more than an inch or two, the room is slightly out of square — which is normal in real construction — and you should note the discrepancy so it can be reflected in your final plan.
Step 4: Measure Doors, Windows, and Openings
For each door and window, record:
- The width of the opening (not the frame or trim).
- The distance from the nearest corner to the start of the opening.
- The height from the floor to the top of the opening, and the sill height for windows.
This step is where most beginners under-measure. Openings define how furniture and traffic flow will actually work in the finished plan, so take the extra minute to be thorough.
Step 5: Note Ceiling Height and Any Vertical Changes
Measure ceiling height in at least two spots, especially in older homes or rooms with sloped or vaulted ceilings. If you have exposed beams, soffits, or a change in ceiling height (common where additions meet original construction), measure and sketch those separately. This is also useful context if you're trying to understand how the roof shape above is influencing the ceiling line inside.
Step 6: Measure Fixed Features
Document the position and size of anything permanent: radiators, fireplaces, built-in cabinetry, electrical outlets, light switches, and HVAC vents. These won't move, and your floor plan will be far more useful if it accounts for them from the start rather than treating the room as an empty box.
Step 7: Transfer to Scale
Once you have every measurement, redraw the room to scale on graph paper (a common choice is 1/4 inch = 1 foot) or enter the numbers into floor-planning software. This is also the point where many people move from pencil sketches to a digital tool, which makes it far easier to test furniture arrangements without erasing anything. The home design planning tools at Home3DPlan are built specifically for turning these raw measurements into a clean, shareable layout.
Common Mistakes to Avoid
- Measuring over baseboards or trim and forgetting to account for the extra depth they add.
- Skipping the diagonal check, which catches out-of-square rooms before they cause layout problems.
- Rounding too aggressively — rounding every number to the nearest foot adds up to real error across a whole room.
- Forgetting closets and alcoves, which are easy to overlook but affect usable floor area.
- Not labeling measurements as you go — a pile of numbers with no context is nearly useless an hour later.
When to Call in a Professional
DIY measuring is perfectly adequate for furniture planning, small renovations, or getting a feel for a space. But if you're pulling permits, working with a contractor, or need measurements precise enough for structural changes, a professional surveyor or architect will use laser scanning or total-station equipment that removes human error almost entirely. Knowing the difference helps you decide how much precision your project actually needs before you pick up a tape measure.