Interior Design Tips for Beginners: A Room-by-Room Starting Guide
By Ingrid Halvorsen, Home Planning Specialist · September 27, 2026
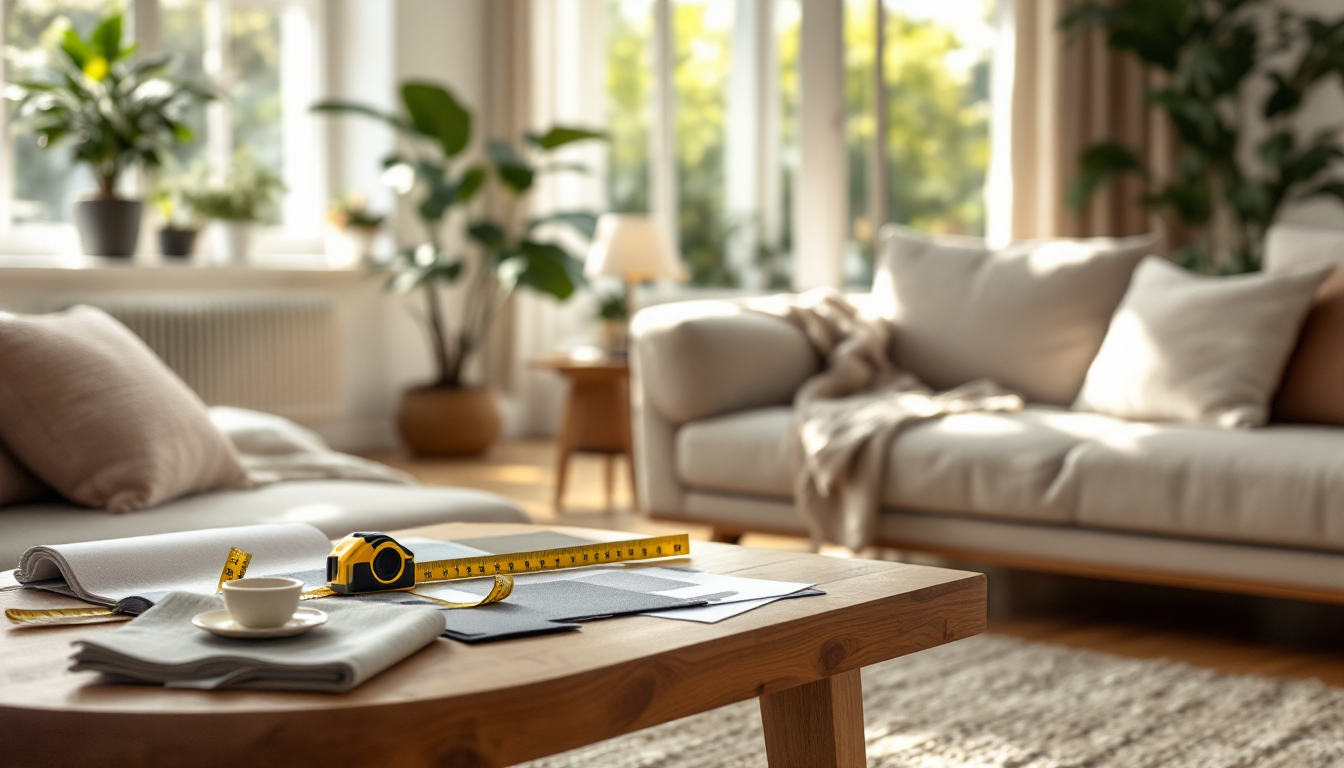
Start With the Room, Not the Shopping List
Most beginners start interior design backward: they fall in love with a sofa or a paint color, buy it, and only then try to make it fit the room. The better sequence is to understand the space first — its shape, its traffic flow, its light — and let those facts guide every decision that follows. Think of it as reading the room before you decorate it.
If you've never looked closely at a floor plan before, it's worth spending twenty minutes learning how floor plans and elevations differ and what each one tells you. A floor plan shows you the footprint and flow; an elevation shows you wall heights, windows, and vertical proportions. Together they explain why a room feels cramped or spacious long before any furniture goes in.
Step 1: Measure Before You Imagine
Grab a tape measure — or better, a room-planning app — and record the exact dimensions of the space, including door swings, window placement, and any radiators, vents, or outlets that limit where furniture can go. Beginners consistently underestimate how much a single misplaced doorway can wreck a layout. This is also the moment to sketch a rough plan, even a simple one drawn on grid paper.
- Note ceiling height — it affects how tall furniture and window treatments should be.
- Mark natural light sources — window direction changes how colors read throughout the day.
- Identify fixed elements — built-ins, fireplaces, and structural columns that furniture must work around.
Once you have real numbers, you can test layouts digitally instead of guessing. Tools that let you build a 3D model of your home from these measurements make it much easier to spot problems, like a dining table that blocks a walkway, before you've spent any money.
Step 2: Choose a Color Framework, Not Just a Color
"What color should I paint my walls?" is the wrong first question. The right one is: what proportions of color will I use throughout the room? A simple, forgiving framework for beginners is the 60-30-10 color rule, which splits a room into a dominant color (60%), a secondary color (30%), and an accent (10%). It keeps rooms from feeling either chaotic or flat, and it gives you a decision-making shortcut every time you're tempted to add "just one more" bold item.
Start with the 60% color — usually walls, large rugs, or major upholstery — and build outward. This prevents the common beginner mistake of choosing throw pillows first and painting walls last.
Step 3: Plan Lighting in Layers
New designers often rely on a single overhead fixture and wonder why a room still feels flat or harsh. Professional spaces almost always use three layers of light: ambient (general illumination), task (reading lamps, under-cabinet lights), and accent (spotlighting art or architectural features). Learning to layer lighting properly in a living room is one of the fastest ways to make a space look professionally designed without touching the furniture at all.
A practical starting rule: every room should have at least one light source below eye level, such as a table lamp or wall sconce, to soften the shadows that overhead lighting alone creates.
Step 4: Respect Scale and Proportion
Furniture that's too large makes a room feel cramped; furniture too small makes it feel unfinished. As a rough guide, a rug should be large enough for at least the front legs of major seating to rest on it, and artwork should generally span two-thirds the width of the furniture below it. If you're working with a small bedroom or living room, techniques for making a compact space feel more open — like sightline planning and strategic mirror placement — are covered in more detail in this guide to making a small room look bigger.
Step 5: Mix Materials With a Light Hand
Wood tones are one of the trickiest elements for beginners to combine confidently. Mixing a warm oak floor with a cool gray dresser can look intentional or accidental depending on how it's balanced. A dependable approach is to pick one dominant wood tone and treat any others as accents, rather than giving every wood surface equal visual weight — a principle explained further in this guide on mixing wood tones with confidence.
Step 6: Test Before You Commit
The biggest advantage beginners have today that previous generations didn't is the ability to test a room virtually before buying anything. Rearranging a 3D model costs nothing; rearranging real furniture after a mistaken purchase costs time, money, and patience. Use a floor plan tool to try at least two or three layout options — furniture against walls versus floating a sofa in the middle of the room, for example — before deciding.
Common Beginner Mistakes to Avoid
- Pushing every piece against the wall, which often makes a room feel less cozy, not more spacious.
- Ignoring traffic paths — leave at least 30 inches for walkways between furniture.
- Buying matching sets instead of coordinating pieces, which can make a room feel like a showroom rather than a home.
- Skipping the plan entirely and shopping room by room without a unifying idea.
Interior design doesn't require a formal background — it requires a willingness to plan before you decorate. Start with measurements, choose a color and lighting framework, respect scale, and test your ideas digitally. The rest becomes far more intuitive once the foundation is solid.