How to Mix Wood Tones: A Beginner's Guide to Confident Combinations
By Marta Nowak, Landscape & Outdoor Designer · September 19, 2026
Why Mixing Wood Tones Feels Intimidating (and Why It Shouldn't)
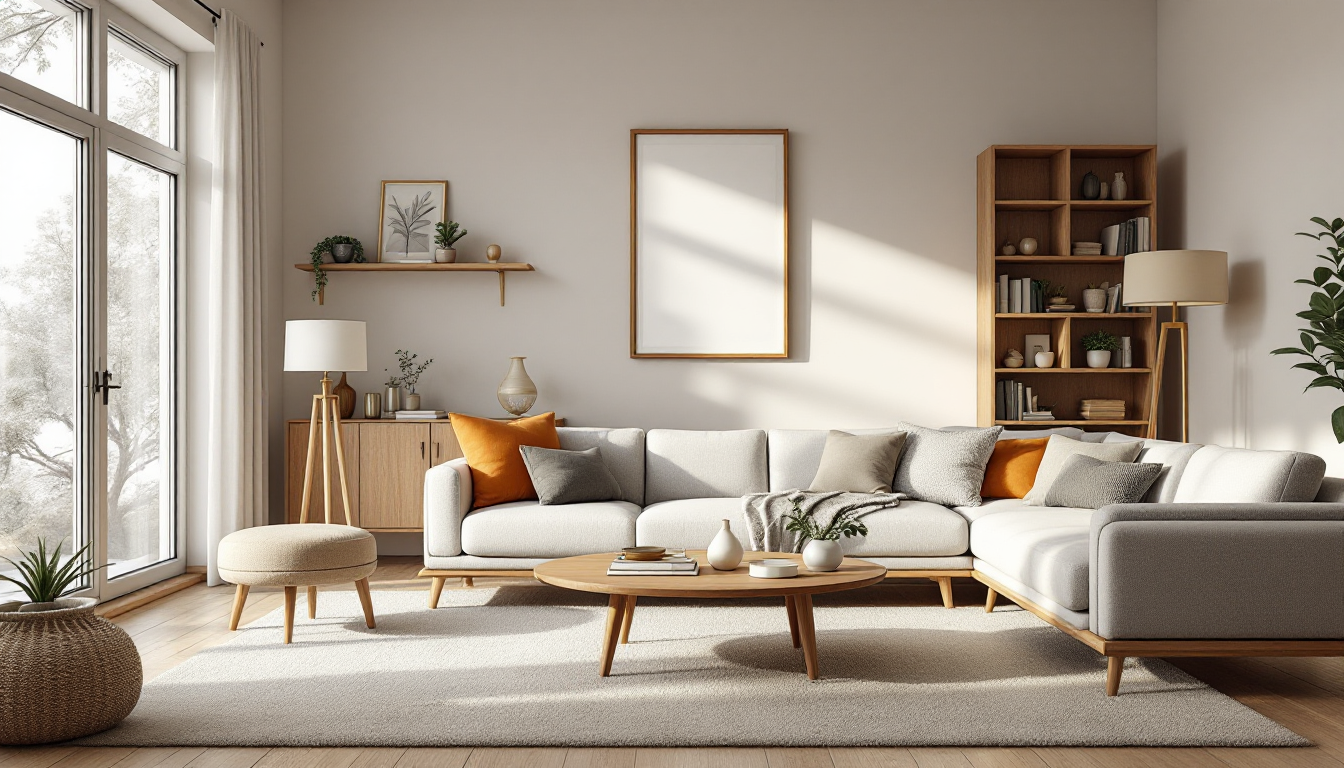
For years, the standard advice in home design was to match every wood surface in a room — same stain, same species, same finish. That rule is outdated. Today's most interesting interiors mix a walnut coffee table with white oak floors and a pine bookshelf, and it works. The key is understanding a few underlying principles rather than memorizing rigid pairings.
If you've ever stood in a furniture showroom worried that your new dining table won't "match" your floors, this guide is for you. We'll walk through the basics step by step, so you can make confident decisions instead of guessing.
Step 1: Learn to Identify Undertones
Every wood tone leans toward one of two temperature families:
- Warm undertones: red, orange, or yellow casts — think honey oak, cherry, mahogany, and traditional pine.
- Cool undertones: gray, ash, or muted brown casts — think whitewashed oak, gray-stained walnut, or bleached ash.
To train your eye, hold a piece of wood (or a paint chip of the stain) next to a plain white sheet of paper in natural daylight. The undertone becomes much more obvious than it looks under indoor lighting. This is the single most useful skill in mixing wood tones — once you can name the undertone, everything else gets easier.
Step 2: Pick One Dominant Tone
Every room should have one wood tone that reads as the "main character" — usually the largest surface, like flooring, kitchen cabinets, or a large dining table. Everything else should be treated as a supporting player.
A simple ratio to start with: roughly 60% dominant tone, 30% a complementary secondary tone, and 10% an accent tone for contrast. This mirrors the logic behind the classic 60-30-10 rule used for color balance, applied here to wood instead of paint or textiles.
Step 3: Stick to Temperature Families, Not Exact Matches
Beginners often assume that mixing wood tones means finding two woods that are nearly identical. In practice, the opposite is true: two very similar mid-tone browns sitting side by side can look like a mismatch, while a light warm oak and a deep warm walnut look intentional because they share the same temperature family.
A reliable beginner rule: stay within one temperature family (all warm or all cool) for your first mixed-wood room, and only branch into mixing warm and cool once you're comfortable. Warm-with-warm or cool-with-cool combinations are far more forgiving than crossing temperatures.
Step 4: Use Contrast Deliberately
Once undertone is under control, contrast in value (light versus dark) is what makes a mixed-wood room feel curated rather than accidental. A light oak floor with a dark walnut dining table creates visual weight and grounds the room. Two woods of nearly identical lightness, on the other hand, tend to blur together and look unplanned.
- Pair light floors with a medium or dark furniture anchor piece.
- Use a dark wood accent (frames, a console, a bench) to punctuate a room that's mostly light wood.
- Avoid three or more woods of very similar mid-tone brown — this is the most common mixing mistake.
Step 5: Let Metal and Fabric Bridge the Gap
Metal finishes, textiles, and paint colors act as visual connectors between different wood tones. Brass hardware, black iron legs, or a neutral wool rug can sit between a warm oak table and a cooler gray-toned cabinet, softening the transition. If two woods in a room feel slightly off together, look at what's between them — often a new lamp base or rug does more to unify the space than swapping furniture.
Step 6: Test Before You Commit
Because lighting dramatically changes how wood tones read, always test combinations in the actual room, at different times of day, before buying. Bring home a wood sample, a drawer front, or even a paint chip that approximates the finish, and set it near the existing piece.
If you're planning a renovation rather than just furniture shopping, it helps to visualize the whole room digitally first. Tools that let you test flooring, cabinetry, and furniture finishes together — similar to the workflow described in our guide to 3D rendering costs for home projects — can save you from an expensive guessing game, and a quick concept render through Home3DPlan can show how tones will actually sit together under real lighting.
Common Beginner Mistakes to Avoid
- Matching everything exactly: creates a flat, showroom-like look rather than a lived-in one.
- Ignoring the flooring: floors are usually the largest wood surface and should set the dominant tone.
- Mixing too many species at once: two to three wood tones per room is plenty for a beginner.
- Forgetting the finish: matte, satin, and glossy finishes affect how warm or cool a tone appears, even within the same species.
If you're also furnishing the room from scratch, it's worth reading up on choosing the right wood species for furniture before you buy, since some species naturally lean warmer or cooler regardless of stain.
Putting It All Together
Mixing wood tones isn't about finding a secret formula — it's about training your eye to spot undertones, choosing one dominant tone per room, and using contrast and connecting materials with intention. Start small: introduce one new wood tone at a time, live with it for a few weeks, and adjust from there. Once the basics click, mixed-wood rooms start to feel less like a risk and more like one of the easiest ways to add depth and warmth to a home.