How to Layer Lighting in a Living Room: A Beginner's Guide
By Camille Moreau, Lead Interior Designer · September 13, 2026
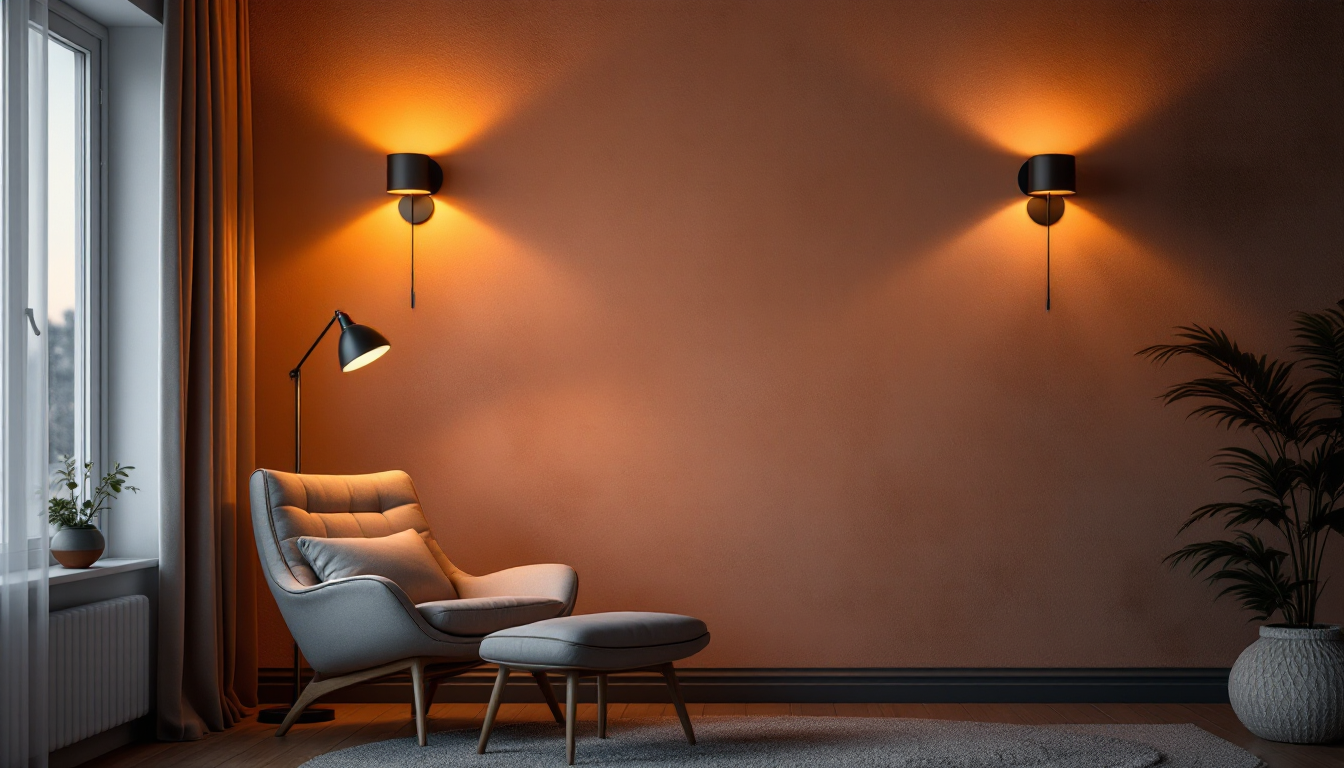
Why one ceiling light is never enough
Most living rooms start with a single overhead fixture and a couple of lamps added later, almost as an afterthought. The result is usually a room that feels flat during the day and either too bright or too dim at night, with no way to adjust for reading, watching TV, or hosting friends. Layered lighting solves this by giving you several independent light sources, each doing a different job, so you can shape the mood of the room instead of just switching it "on" or "off."
This guide walks through the three lighting layers every living room needs, in an order that makes sense if you're starting from scratch: what to plan first, what to add next, and how to bring it all together. If you're also working on the room's color palette, it pairs well with a structured approach like the 60-30-10 rule for balanced color, since light and color interact constantly.
The three layers, explained simply
1. Ambient lighting (the foundation)
Ambient light is the general, even illumination that lets you move safely around the room and see the space as a whole. This is usually your ceiling fixture, recessed downlights, or a large pendant. On its own, ambient light tends to feel harsh or clinical, which is why it should never be the only source in the room.
2. Task lighting (for doing things)
Task lighting is focused light aimed at a specific activity: a floor lamp beside an armchair for reading, a desk lamp in a corner workspace, or under-shelf strips near a console where you sort mail. It should be brighter and more directional than ambient light, but confined to where the task actually happens.
3. Accent lighting (for atmosphere and depth)
Accent lighting highlights architecture, art, plants, or textured walls. Think wall sconces, picture lights, or a small uplight tucked behind a large plant. This is the layer most beginners skip, yet it's what makes a room look designed rather than simply lit.
Step-by-step: building your lighting plan
- Map the room's activities first. Before buying a single fixture, list what happens in each zone: reading corner, TV viewing, conversation area, console table. Each zone needs its own light source rather than relying on the central fixture to reach everywhere.
- Start with ambient light and dim it. Whatever your main ceiling source is, put it on a dimmer. A dimmable ambient layer is the single easiest upgrade for a living room, since it lets the same fixture work for both bright daytime cleaning and a relaxed evening in.
- Add task lighting at seated eye level. A floor lamp's shade should sit roughly at or just above shoulder height when you're seated next to it, so the light falls onto a book or laptop without glaring into your eyes.
- Layer in accent light last. Choose one or two focal points, a gallery wall, a bookcase, a piece of furniture with interesting grain, and wash them in low, warm light. If you're deciding on wood tones for furniture pieces you want to highlight this way, a guide to choosing furniture wood species can help you understand how different woods reflect light and color differently under warm accent bulbs.
- Check your color temperature. Mixing daylight-white bulbs (5000K+) with warm bulbs (2700–3000K) in the same room makes the space feel inconsistent. Stick to warm white throughout the living room for a cohesive, cozy result.
- Put every layer on its own switch or dimmer where possible. This is what actually delivers flexibility. If ambient, task, and accent all turn on together, you haven't layered anything, you've just added more bulbs.
Common mistakes to avoid
- Relying on one central fixture. A single ceiling light creates flat, shadowless illumination and unflattering overhead shadows on faces.
- Placing lamps only for symmetry. A lamp should answer a real need (reading, task work) rather than just balance a shelf visually.
- Ignoring bulb brightness (lumens) and only checking wattage. Aim for roughly 10-20 lumens per square foot of ambient light for a typical living room, then layer task and accent light on top.
- Forgetting scale. A tiny lamp beside an oversized sofa looks under-lit and out of proportion; match fixture size to the furniture nearby.
Bringing it all together
Once you understand the three layers, the actual shopping and placement becomes much easier, since you're choosing fixtures to fill specific gaps rather than guessing. If you want to compare specific fixture types, dimmer systems, and smart-lighting options side by side, our companion piece on planning and visualizing your living room in 3D can help you test different lighting layouts before committing to a single fixture. Seeing how ambient, task, and accent light interact in a virtual model of your actual room is often the fastest way to avoid an expensive lighting mistake.
Layered lighting isn't about buying more lamps, it's about giving yourself control over how the room feels at different times of day. Start with the three layers above, add dimmers wherever you can, and adjust as you live in the space. Small changes, like swapping a bulb's color temperature or moving a floor lamp six inches closer to a chair, often make the biggest difference.