How to See Furniture in Your Room with AR: A Beginner's Guide
By Niklas Ekstrand, Furniture & Maker Editor · October 21, 2026
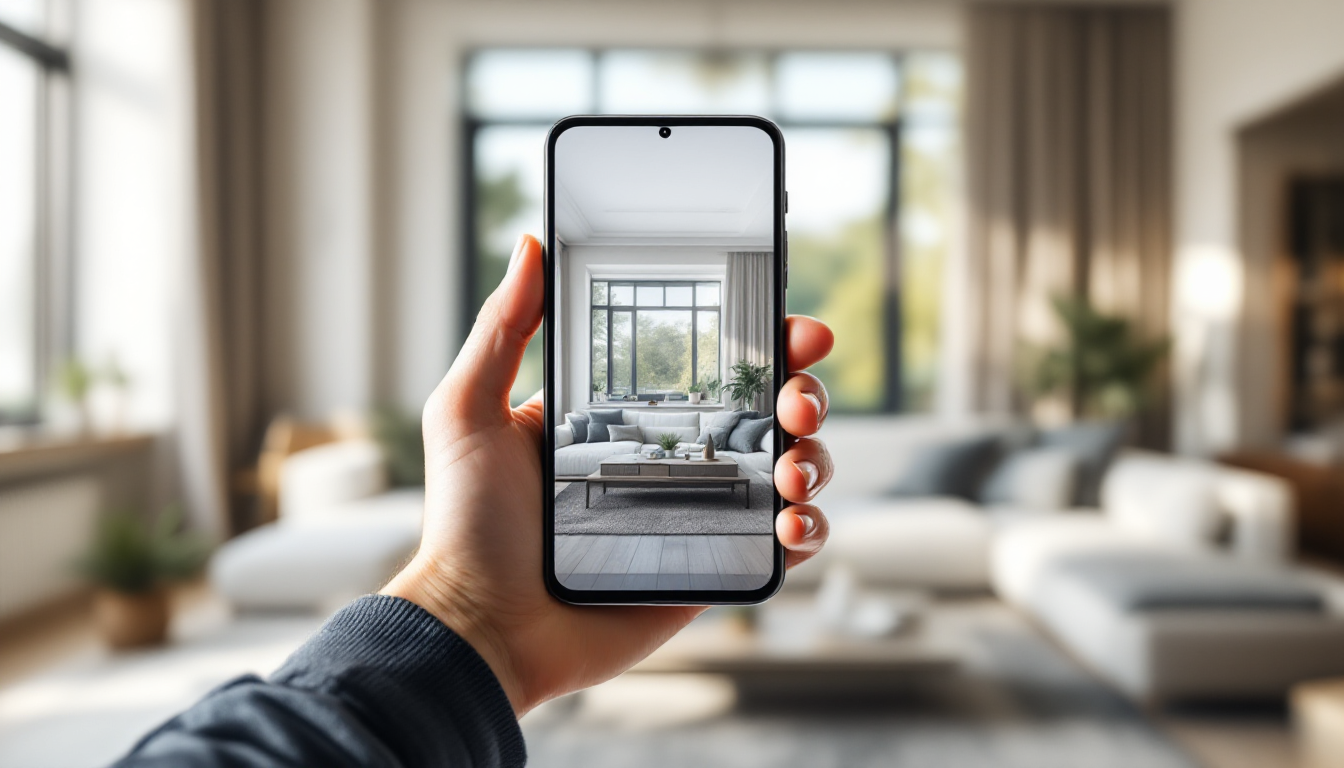
What "seeing furniture in your room with AR" actually means
Augmented reality (AR) furniture tools let you point your phone's camera at your living room, bedroom, or office and drop a life-size, 3D model of a sofa, table, or shelf right into the video feed. Instead of imagining whether a couch will fit, you watch it sit in the actual space, cast a rough shadow, and scale against your real walls and furniture. It's one of the simplest entry points into practical 3D visualization, and you don't need any design background to try it.
This guide walks through the basics for someone opening an AR furniture app for the first time: what you need, how the process works, and how to avoid the most common beginner mistakes.
What you need before you start
- A compatible smartphone or tablet. Most modern iPhones (ARKit) and recent Android devices (ARCore) support AR out of the box. Older or budget devices may lag or skip motion tracking.
- Good, even lighting. AR relies on your camera reading contrast and edges in the room to understand depth. Dim rooms or glare from windows can make the model jump around.
- A clear floor area. Clutter confuses the tracking software, especially shiny or reflective surfaces like glass tables or mirrors.
- An app or retailer with AR-enabled product listings. Not every product has a 3D model — look for a small "View in your room" or AR cube icon on the product page.
Step-by-step: viewing furniture in AR
- Open a retailer app or AR-ready website. Many furniture retailers and home design platforms now build AR directly into their product pages, so you often don't need a separate app.
- Select the "View in your room" option. This usually triggers your device's camera and asks for permission to use it.
- Scan the floor. Slowly move your phone in a slow arc or figure-eight pattern over the floor area. The app is mapping flat surfaces and building a sense of scale — this step is where most tracking problems start if done too quickly.
- Tap to place the model. Once the app detects a surface, a flat indicator (often a grid or circle) appears. Tap it, and the furniture model drops into the scene at roughly true size.
- Walk around and check angles. Move closer, step back, and view the piece from the side. This is the real value of AR over a flat photo or rendering — you can confirm clearance for doors, walkways, and other furniture.
- Adjust position and rotation. Drag the model to slide it, and use a rotate gesture (usually two fingers) to turn it toward or away from a window or wall.
- Take a screenshot or screen recording. This is useful for comparing multiple pieces later, or for sharing with a partner or roommate who isn't in the room with you.
How accurate is AR furniture placement, really?
AR scale is generally reliable for big-picture decisions — "will this sectional block the doorway," "is this dining table too long for the alcove." It's less reliable for fine details like exact fabric color under your specific lighting, or precise millimeter clearances. Treat AR as a strong first-pass filter, not a final measurement tool. If a piece is a close call, it's still worth confirming with a tape measure or a proper room measurement for a floor plan before you buy.
Common beginner mistakes
- Scanning too fast. The app needs a few seconds of steady movement to build a surface map. Rushing this step is the number one cause of furniture models that float, drift, or sink into the floor.
- Testing in bad light. Harsh backlighting from a window behind the camera, or a very dark room, both reduce tracking accuracy.
- Ignoring wall thickness and trim. AR models usually assume flat, empty walls. Baseboards, outlets, and radiators near your placement spot won't always show as conflicts.
- Assuming every product has true-to-scale models. Some retailers use simplified or slightly inaccurate 3D assets. If a brand's furniture model looks suspiciously generic, double-check dimensions on the product page.
Where AR fits into a bigger room-planning workflow
AR is great for a quick gut check, but it works best alongside other planning steps rather than replacing them. A typical beginner workflow looks like this: measure the room, sketch or build a simple floor plan, shortlist furniture online, then use AR to confirm scale and flow before ordering. If you haven't done the measuring step yet, it's worth reading a guide on how to measure a room for a floor plan so your AR checks are grounded in real numbers rather than guesswork.
It's also worth knowing that AR furniture placement is a lightweight cousin of the rendering technology used in professional design visualization. If you're curious about how designers generate the more polished, photorealistic furniture images you see in catalogs and showrooms, this overview of real-time rendering versus ray tracing explains the difference in plain terms. AR apps lean on real-time rendering because it needs to update instantly as you move your phone.
Finally, for anyone just starting to think seriously about furnishing a room — not just one piece, but the whole layout, color story, and flow — it helps to zoom out before committing to anything. A broader primer like interior design tips for beginners covers how to approach a room holistically, so your AR-tested sofa actually fits the plan rather than just the floor space.
Getting comfortable with AR takes one or two tries
The first time you use AR to place furniture, it can feel a little clumsy — the scanning step especially. By the second or third product, most people get a feel for lighting, pacing, and camera angle. Once that happens, AR becomes a fast, genuinely useful habit for any furniture purchase, and a natural bridge into more detailed home-planning tools, including the floor plan and visualization features on home3dplan.com.