Real-Time Rendering vs Ray Tracing: A Beginner's Guide to Understanding 3D Visuals
By Conor Sheridan, 3D Visualization Lead · October 17, 2026
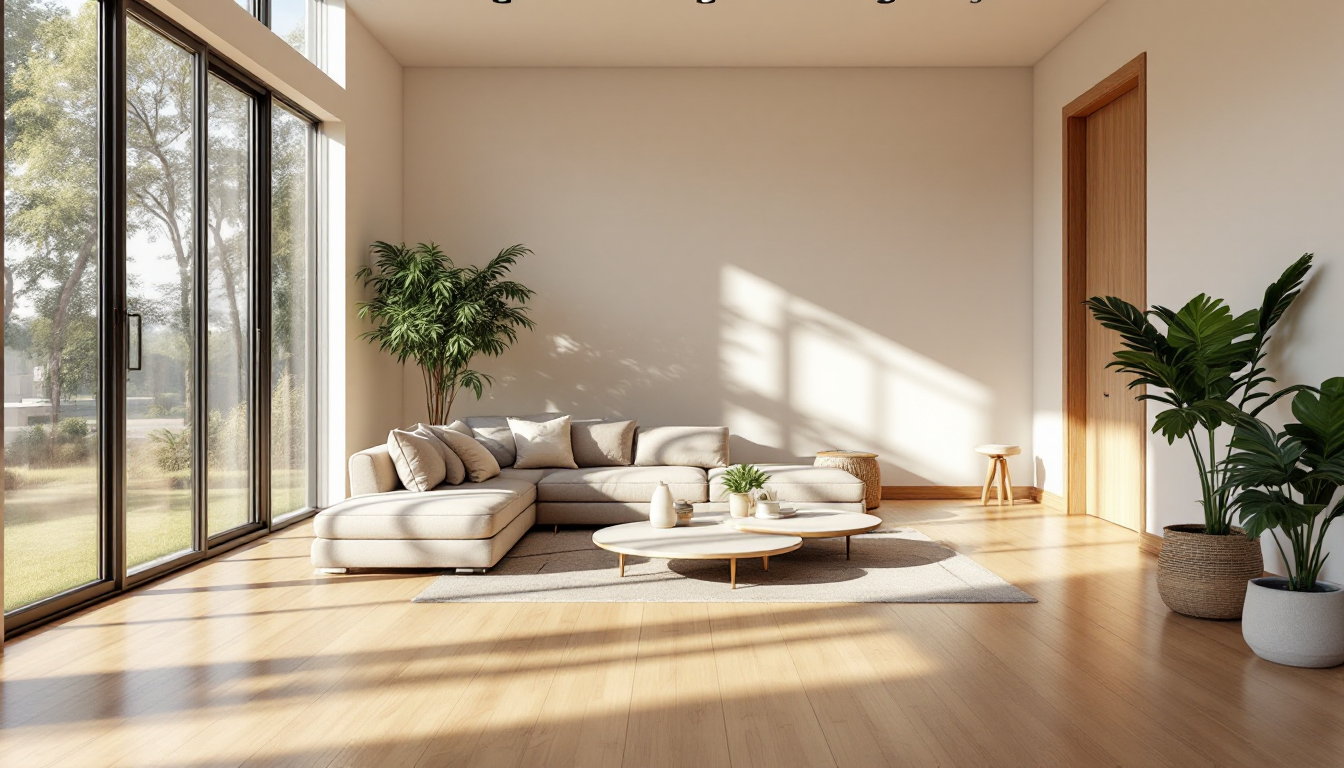
If you've ever watched a house design "come to life" on screen — walking through a kitchen that doesn't exist yet, or spinning a sofa model to check the fabric color — you've seen rendering in action. But not all rendering works the same way. Two terms you'll run into constantly are real-time rendering and ray tracing. This guide breaks down what each one actually means, in plain language, so you can follow along the next time a designer or software mentions them.
What Rendering Actually Means
Rendering is the process of turning a 3D model — walls, furniture, materials, lighting — into a 2D image or video you can look at. A computer has to calculate how light bounces around a scene, how surfaces reflect or absorb that light, and how everything should look from your camera's point of view. The method used to do that calculation is where real-time rendering and ray tracing split apart.
Step 1: Understand Real-Time Rendering
Real-time rendering generates images fast enough to feel interactive — typically 30 to 144 frames per second. It's the technology behind video games, VR walkthroughs, and live design apps where you move a camera and the view updates instantly.
- How it works: It uses shortcuts and approximations (called rasterization) rather than fully simulating physics. Lighting is often "baked" in advance or faked with clever math.
- Where you'll see it: Interactive walkthroughs of a home design built in 3D, game engines like Unreal or Unity, and most mobile AR furniture previews.
- Trade-off: Speed over perfect accuracy. Reflections, shadows, and global illumination can look slightly simplified.
Step 2: Understand Ray Tracing
Ray tracing simulates how individual rays of light actually travel — bouncing off surfaces, refracting through glass, picking up color from nearby objects. It mimics real-world optics much more closely.
- How it works: The software traces the path of light rays (or works backward from the camera) to calculate realistic reflections, soft shadows, and indirect lighting.
- Where you'll see it: Final marketing renders for architecture firms, product visualizations, and still images used in brochures or listing photos.
- Trade-off: Accuracy over speed. A single high-quality frame can take seconds to hours to render, depending on complexity.
Step 3: Compare Them Side by Side
Once you understand how each works, the practical differences become easy to spot:
- Speed: Real-time renders instantly; ray tracing takes time per frame.
- Realism: Ray tracing produces more physically accurate light, reflections, and shadows.
- Interactivity: Real-time lets you move around and change things live; ray tracing is usually a fixed final output.
- Hardware demand: Both benefit from a strong GPU, but ray tracing historically needed much more processing power — modern graphics cards with dedicated ray-tracing cores have narrowed that gap.
Interestingly, the line between them is blurring. Modern game engines now support "real-time ray tracing," using hardware acceleration to simulate some ray-traced effects — like reflections — while still running at interactive speeds. It's a hybrid, not a full physical simulation, but it looks remarkably close.
Step 4: Know Which One Matters for Your Project
If you're planning a home renovation or new build, you'll likely encounter both at different stages:
- Early design review: Real-time rendering is ideal for walking through layout options, checking how a room feels, or testing furniture placement before anything is finalized — similar to how you'd first nail down your room measurements for a floor plan before committing to a design.
- Final presentation: Ray-traced images are typically used for polished marketing material, client approvals, or photorealistic stills that need to look indistinguishable from a photograph.
Knowing which stage you're in helps you set realistic expectations. Don't expect a real-time walkthrough to look as crisp as a ray-traced hero shot, and don't expect ray tracing to let you freely explore a space in real time without specialized real-time ray-tracing hardware.
Step 5: Consider the Materials and Lighting Behind the Scenes
Regardless of which rendering method is used, the quality of your final image also depends heavily on the materials applied to your model. This is where PBR (physically based rendering) materials come in — they define how a surface reacts to light, whether it's brushed metal, matte paint, or glossy tile. Good materials make both real-time scenes and ray-traced renders look convincing; poor materials will look flat no matter which rendering technique you use.
Common Beginner Mistakes to Avoid
- Assuming "real-time" means "lower quality": Modern real-time engines with hybrid ray tracing can look stunning, especially for walkthroughs.
- Expecting instant ray-traced previews: Full ray tracing of a complex interior scene can genuinely take time to render, even on capable hardware.
- Ignoring the model itself: No rendering method fixes a poorly built or unoptimized 3D model. Clean geometry and proper scale matter just as much as lighting technique.
Final Thoughts
Think of real-time rendering as your interactive sketchbook and ray tracing as your polished final photograph. Beginners don't need to pick a side — most home design workflows use both, at different points in the process. Once you're comfortable with the basics, it's worth exploring how these techniques connect to broader 3D workflows, including how models are exported and shared, which ties closely into practical topics like clean GLB delivery for web and AR viewing.