How to Make 3D Renders Look Realistic: A Beginner's Guide
By Conor Sheridan, 3D Visualization Lead · November 10, 2026
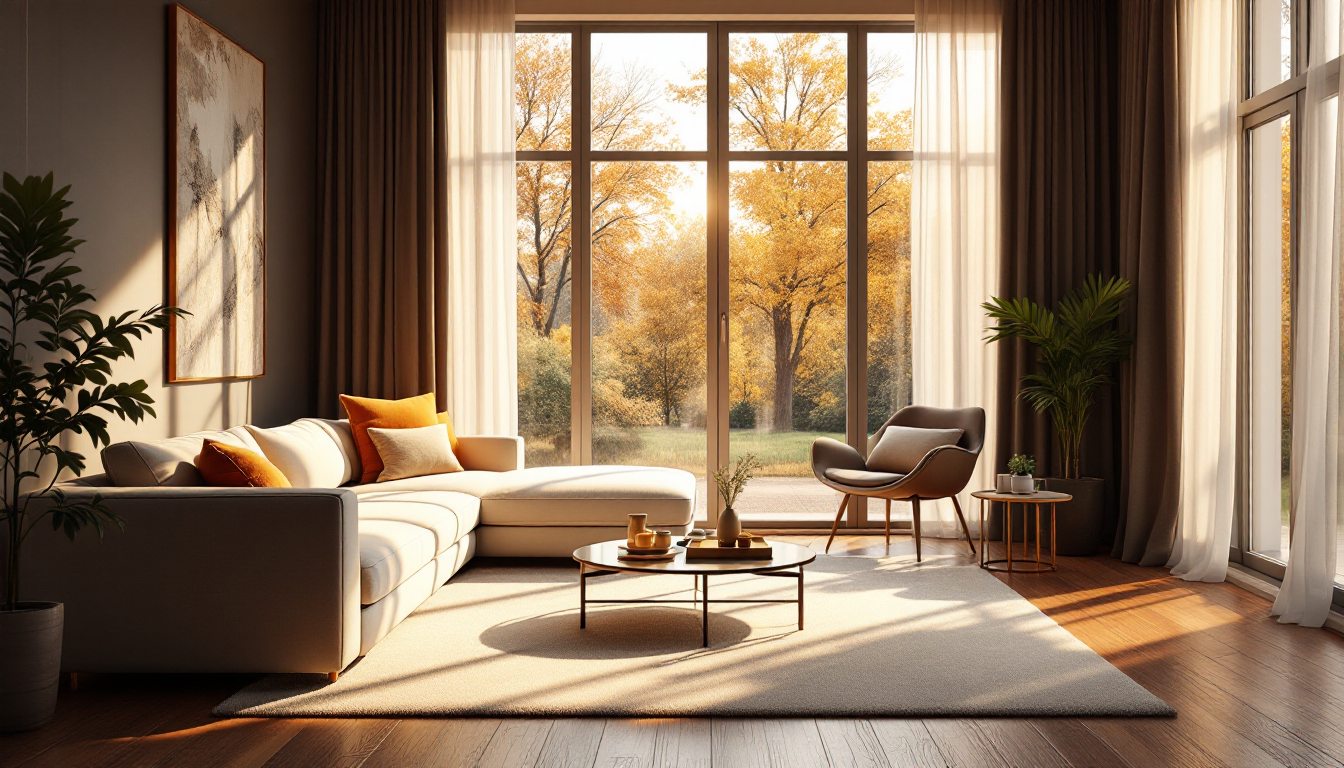
Why Some Renders Look Fake (and Others Look Like Photos)
If you've ever compared two 3D renders of a similar room and wondered why one looks like a video game while the other looks like a photograph, the difference usually comes down to a handful of fundamentals: lighting, materials, scale, and camera settings. None of these require years of training to understand. They just require knowing what to look for and why it matters.
This guide walks through the basics step by step, so if you're new to rendering interiors or exteriors, you'll know exactly where to focus your effort first. If you haven't yet created a base model to render, it helps to start with a beginner's walkthrough on making a 3D rendering of your house before layering in realism techniques.
Start With Accurate Lighting
Lighting is the single biggest factor in whether a render reads as real. Humans are extremely sensitive to how light behaves, even if we don't consciously notice it. A few core principles to apply:
- Use real-world light sources. Instead of generic "ambient" light, simulate an actual sun position, sky, and interior fixtures. Most modern render engines support HDRI (High Dynamic Range Image) environments that give you realistic outdoor light and reflections for free.
- Add bounce light. In real rooms, light bounces off walls, floors, and furniture, softening shadows and filling dark corners. Flat, single-direction lighting is one of the fastest ways to make a render look artificial.
- Match color temperature. Warm interior bulbs (around 2700-3000K) and cooler daylight (5000-6500K) mixed in the same scene create the subtle color variation you see in real photographs.
- Don't skip shadows and contact shadows. Objects sitting on a floor need a soft, slightly darker shadow directly beneath them where they touch the surface. Missing this detail makes furniture look like it's floating.
Get Materials and Textures Right
Modern rendering relies heavily on PBR (Physically Based Rendering) materials, which simulate how real surfaces interact with light. A few things to check:
- Roughness and reflectivity. A polished marble floor and a matte concrete floor should reflect light completely differently. Using the same glossiness setting for every surface is a common beginner mistake.
- Texture resolution and scale. Stretched or blurry textures on close-up surfaces (like a wood countertop) immediately break the illusion. Make sure texture tiling matches real-world dimensions.
- Imperfections matter. Perfectly clean, flawless surfaces look synthetic. Subtle scuffs, dust, fingerprints, or slight color variation add believability.
If you're deciding how to export and share a finished model, it's also worth understanding file formats early. Our comparison of GLB vs GLTF formats explains which one preserves materials and lighting data best for web and AR use.
Pay Attention to Camera Settings
Real cameras have imperfections that our brains associate with photography. Recreating a few of these subtly can make a huge difference:
- Depth of field. A slight blur on background elements mimics how a real lens focuses on a subject.
- Realistic focal length. Extremely wide-angle lenses (common in free render templates) distort rooms and make them look like fisheye photos. A focal length between 24mm and 35mm feels natural for interior shots.
- Exposure and white balance. Renders that are too bright or too saturated feel artificial. Aim for the same exposure range you'd expect from a well-shot real estate photo.
Don't Forget Scale and Composition
Realism isn't only about lighting and materials — it's also about whether the room feels like a place a person could actually live in. Furniture placement, walking clearances, and proportions all affect believability. This is especially important if you're testing layout ideas, such as an open concept floor plan or an L-shaped living room layout, where incorrect scale can make a render look staged rather than lived-in.
A quick way to check scale: place a human-height reference object (a door, a person model) in the scene and make sure everything else is proportioned relative to it.
Understand the Render Engine You're Using
Realism also depends on how your software calculates light. Ray tracing engines simulate individual light rays bouncing through a scene, producing highly accurate reflections and shadows, but they take longer to render. Real-time engines sacrifice some accuracy for speed, which is useful for walkthroughs but may need more manual tweaking to look convincing. If you're not sure which approach fits your project, our beginner's guide to real-time rendering vs ray tracing breaks down the differences in plain terms.
Common Beginner Mistakes to Avoid
- Using only one light source for the entire scene.
- Applying the same material settings to every surface.
- Ignoring camera lens distortion and depth of field.
- Overdoing color saturation or contrast in post-processing.
- Forgetting small human-scale details like clutter, plants, or worn edges.
Practice With a Real Project
The fastest way to internalize these principles is to apply them to an actual room or house plan rather than a generic test scene. If you're planning a renovation and want to visualize changes before committing, pairing your render practice with a renovation planning checklist keeps your visual goals aligned with your real budget and timeline. You can also explore tools directly on Home3DPlan to generate a realistic 3D model of your own space and apply these lighting and material principles hands-on.
Realistic rendering is less about mastering complicated software and more about training your eye to notice how light, material, and scale behave in the real world — then replicating that intentionally, one setting at a time.