Home Renovation Planning Checklist: A Beginner's Guide to Getting Started
By Ingrid Halvorsen, Home Planning Specialist · October 31, 2026
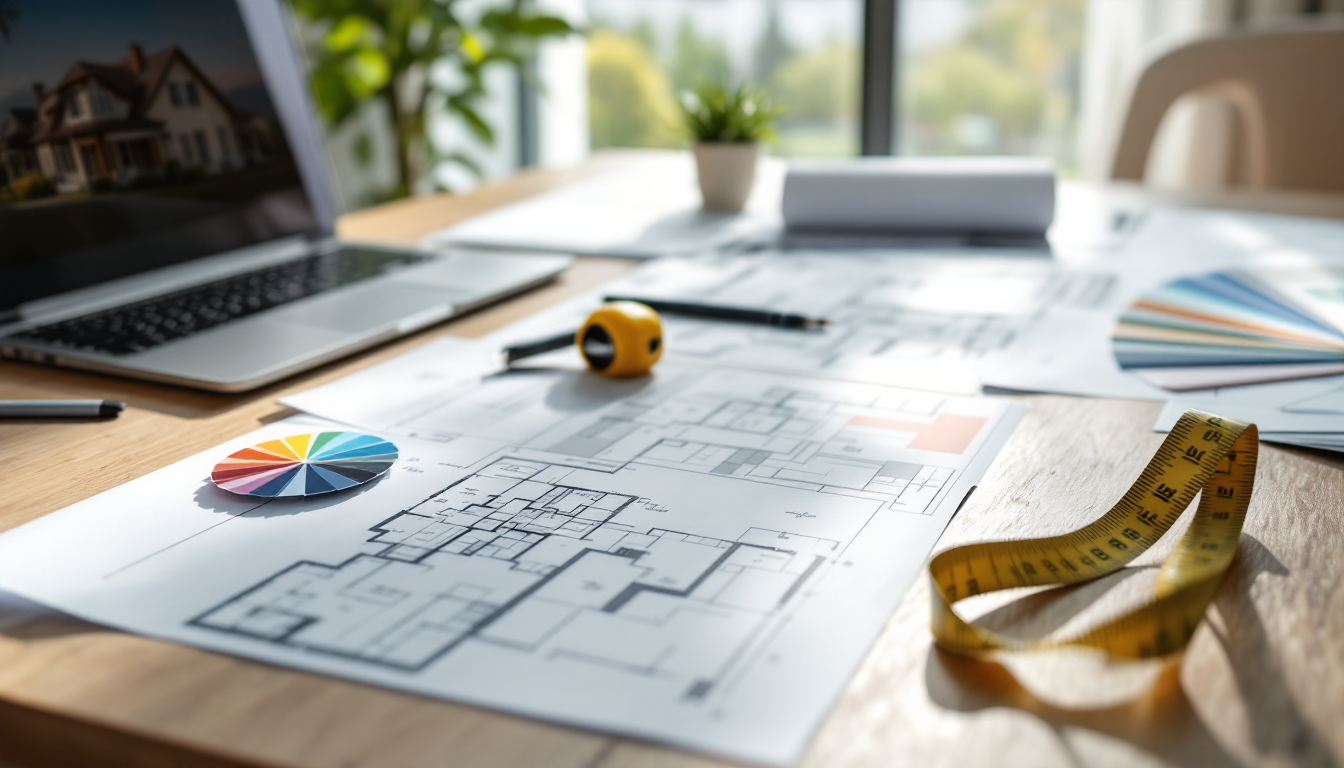
Why a Checklist Matters Before You Pick Up a Hammer
Most renovation regret doesn't come from bad paint colors or the wrong tile. It comes from skipped steps: a wall removed before anyone checked if it was load-bearing, a budget that forgot permit fees, or a kitchen layout decided before anyone measured the room. A home renovation planning checklist exists to slow you down just enough to avoid those costly surprises.
If you're new to renovating, think of this guide as the order of operations. Each step builds on the one before it, and skipping ahead is usually where projects go over budget or over schedule.
Step 1: Define the Problem, Not Just the Wish List
Before browsing inspiration photos, write down what isn't working in your current home. Is it a cramped kitchen, a living room that feels awkward to furnish, or a lack of storage? Separating "problems to solve" from "features I'd like" keeps your renovation grounded in function rather than trends.
- List the top three frustrations with your current layout
- Note which rooms get used daily versus rarely
- Identify any safety or structural concerns, like poor lighting on stairs or a leaking roofline
Step 2: Measure and Document Your Existing Space
You can't plan a new layout without accurate numbers for the old one. This is the step most beginners rush, and it's the one that causes the most rework later. Take the time to measure every wall, window, door, and ceiling height in the rooms you plan to touch. If you're unsure where to start, a step-by-step guide to measuring a room for a floor plan walks through the basics with tools you likely already own.
Once you have real measurements, sketch a simple floor plan, even a rough one, so you have a visual reference for every decision that follows.
Step 3: Set a Realistic Budget (With a Buffer)
A checklist without numbers is just a wish list. Break your budget into categories: materials, labor, permits, design fees, and a contingency fund of at least 10-20% for the unexpected. Older homes especially tend to hide surprises behind drywall.
If your renovation includes expanding square footage rather than just reworking existing rooms, it helps to understand typical cost ranges before you commit. This guide to budgeting a home addition breaks down what drives costs up or down, which is useful even if you're only adding a bump-out or converting a garage.
Step 4: Decide What's Structural and What's Cosmetic
Painting a room or swapping fixtures is cosmetic work you can plan quickly. Moving walls, changing rooflines, or altering plumbing and electrical routes is structural, and it usually requires professional input and permits. Knowing which category your project falls into early on determines your timeline and who needs to be involved.
If your plans touch the exterior or footprint of the house, such as a roof change or an addition, you'll likely need approval from your local building department. Understanding how to create a site plan for a building permit early saves weeks of back-and-forth later, since missing documentation is one of the most common reasons permits get delayed.
Step 5: Plan the Layout Before the Finishes
It's tempting to jump straight to paint colors and cabinet styles, but layout decisions come first because they're the most expensive to change later. Walk through how people actually move through the space: where furniture will sit, how doors swing, and whether traffic paths make sense.
For living spaces with awkward shapes or multiple functions, it's worth studying layout options before committing. This beginner's guide to L-shaped living room layouts is a good example of how layout logic applies even to oddly shaped rooms, and the same thinking extends to kitchens, bedrooms, and home offices.
Step 6: Choose Materials and a Color Direction
Once the layout is settled, move on to finishes: flooring, cabinetry, paint, and fixtures. Pick a color palette before shopping for individual items, so everything you choose works together instead of being selected piece by piece. A simple framework helps here, and this guide to choosing a color palette for a room covers how to build one around light, existing materials, and mood.
Step 7: Visualize Before You Buy
Beginners often buy furniture or fixtures based on photos alone, only to find they don't fit the actual room. Before finalizing purchases, use tools that let you see items in your real space. Augmented reality apps have made this much easier than guessing from a showroom floor, and a 3D floor plan tool such as the one available at Home3DPlan can help you walk through your renovated layout digitally before any demolition begins.
Step 8: Build a Realistic Timeline
Sequence your checklist into phases: planning and permits, demolition, structural work, rough-in (electrical and plumbing), finishes, and final walkthrough. Add buffer time between phases, especially if you're waiting on permit approval or custom materials with long lead times.
A Simple Checklist Recap
- Identify the problems you're solving
- Measure and sketch your existing space
- Set a budget with a contingency buffer
- Separate structural work from cosmetic work
- Finalize the layout before choosing finishes
- Select materials and a cohesive color palette
- Visualize the plan before purchasing
- Map a realistic timeline with buffer time
Renovation planning rewards patience. The homeowners who spend an extra week measuring, budgeting, and visualizing almost always spend less time and money fixing mistakes once the work actually begins.