How to Draw a Floor Plan to Scale: A Beginner's Guide
By Camille Moreau, Lead Interior Designer · November 18, 2026
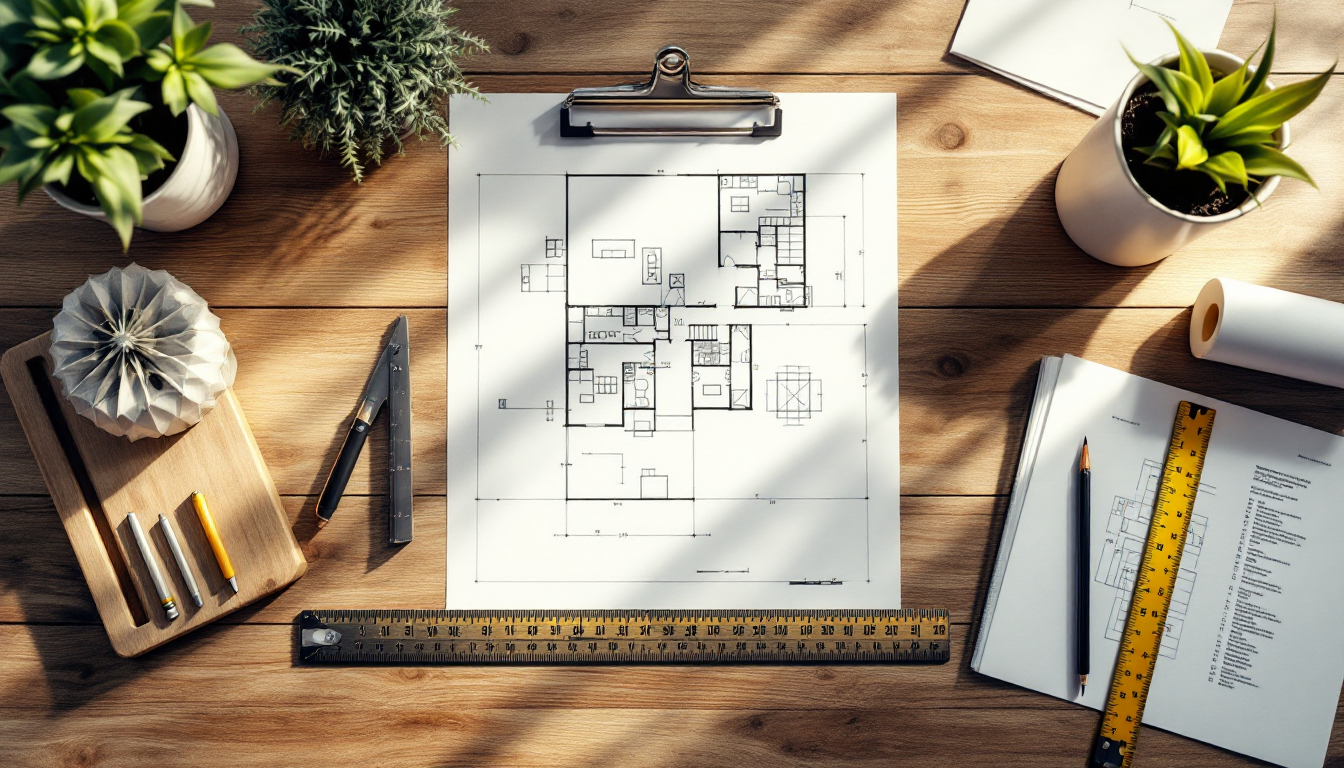
A floor plan is only as useful as its accuracy. Whether you're sketching out a furniture layout, prepping drawings for a contractor, or just daydreaming about a renovation, a plan drawn to scale tells you the truth about your space, where things will actually fit, and what won't. This guide walks you through the process from the very first measurement to the finished drawing, so you can create a plan that holds up in real life, not just on paper.
What "to scale" actually means
Drawing to scale means every line on your paper represents a fixed, consistent ratio of real-world distance. If you choose a scale of 1/4 inch = 1 foot, then a wall that is 12 feet long in your home becomes a 3-inch line on your drawing. Every wall, door, and window follows that same ratio. This is what separates a true floor plan from a rough sketch: with a scaled drawing, you can measure the paper and trust the result.
Common scales for residential plans include 1/4" = 1' (the most popular for full-room layouts) and 1/8" = 1' for larger homes or multi-room plans that need to fit on one page. Architects sometimes use metric scales like 1:50 or 1:100, which work the same way: 1 unit on paper equals 50 or 100 units in reality.
Step 1: Gather the right tools
- Measuring tape (a 25-foot tape or laser distance measurer works well for most rooms)
- Graph paper with a grid that matches your chosen scale, or plain paper plus a ruler and architect's scale
- Pencil and eraser for sketching before you commit to final lines
- A clipboard or notebook for recording measurements as you go
If you'd rather skip hand-drafting altogether, digital tools can do the scaling math for you automatically. Many people who start with graph paper eventually move to software once they want to visualize furniture placement or test layout options quickly, something home design planning tools are built specifically to handle.
Step 2: Measure the room (or home)
Start with the overall perimeter. Measure wall to wall, corner to corner, and note every measurement immediately, it's easy to forget numbers once you've moved on. Work room by room if you're mapping an entire home:
- Measure each wall length, including any jogs or alcoves
- Record the position and width of doors and windows, measuring from the nearest corner
- Note ceiling height if you plan to use the drawing for renovation or elevation work
- Mark the location of fixed elements: outlets, radiators, built-in cabinetry, plumbing stacks
Double-check your numbers by measuring twice. A small error at this stage gets magnified once you start scaling everything down.
Step 3: Choose your scale
Pick a scale that lets your drawing fit comfortably on the paper while staying readable. For a single room, 1/4" = 1' usually works well, it gives enough detail to place furniture accurately without making the paper unwieldy. For an entire house on one sheet, 1/8" = 1' or a metric equivalent like 1:100 is more practical.
Once you've chosen a scale, convert every measurement using that ratio before you draw. For 1/4" = 1', a 10-foot wall becomes 2.5 inches. Keeping a small conversion table on scratch paper as you go will save you from repeated math errors.
Step 4: Draw the outline first
Begin with the exterior walls or the overall room perimeter, drawn as parallel lines representing wall thickness (typically 4-6 inches for interior walls, 6-8 inches for exterior walls at full scale). Keep corners square using a T-square, triangle, or the grid lines on your graph paper. Add interior walls next, then step back and check that the shape matches the real room's proportions before adding detail.
Step 5: Add doors, windows, and fixed features
Doors are typically drawn as a line segment with a quarter-circle arc showing the swing direction, this matters for real-world planning since it tells you how much floor clearance a door actually needs. Windows are shown as a break in the wall line with a thinner double line inside it. Add any built-ins, stairs, or plumbing fixtures using standard symbols so the plan reads clearly to anyone else who looks at it.
Step 6: Verify and refine
Before calling the drawing final, check it against your original measurements one more time. Confirm that door swings don't collide with furniture paths, that window placements match natural light sources, and that any built-in elements are positioned correctly relative to walls. If you're using this plan to test furniture arrangements, this is also a good moment to think through traffic flow, a concept covered in more depth in guides on planning an L-shaped living room layout or deciding between open concept and defined room layouts.
When you need more precision
Hand-drawn plans are great for quick layout decisions, but some projects call for more rigor, particularly anything involving permits or contractor bids. If your project is headed toward official approval, it helps to understand how a site plan for a building permit differs from an interior floor plan, since permit offices often require specific scales, symbols, and supporting documentation beyond what a basic room sketch provides.
Common beginner mistakes to avoid
- Mixing scales mid-drawing, always double-check you're using the same ratio throughout
- Skipping wall thickness, this throws off room proportions, especially in smaller spaces
- Forgetting door swing clearance, a door that opens into another door or a piece of furniture is a planning failure that's easy to miss on paper
- Not measuring twice, a single transposed number can shift every measurement that follows
Once you're comfortable with the fundamentals, the same scaled plan becomes the foundation for everything from furniture shopping to full renovation planning, and if you're mapping out a larger project, pairing it with a renovation planning checklist helps keep the scope and the drawing in sync as the project evolves.