7 Small Bedroom Furniture Layouts Compared: Which One Actually Fits Your Room?
By Niklas Ekstrand, Furniture & Maker Editor · August 17, 2026
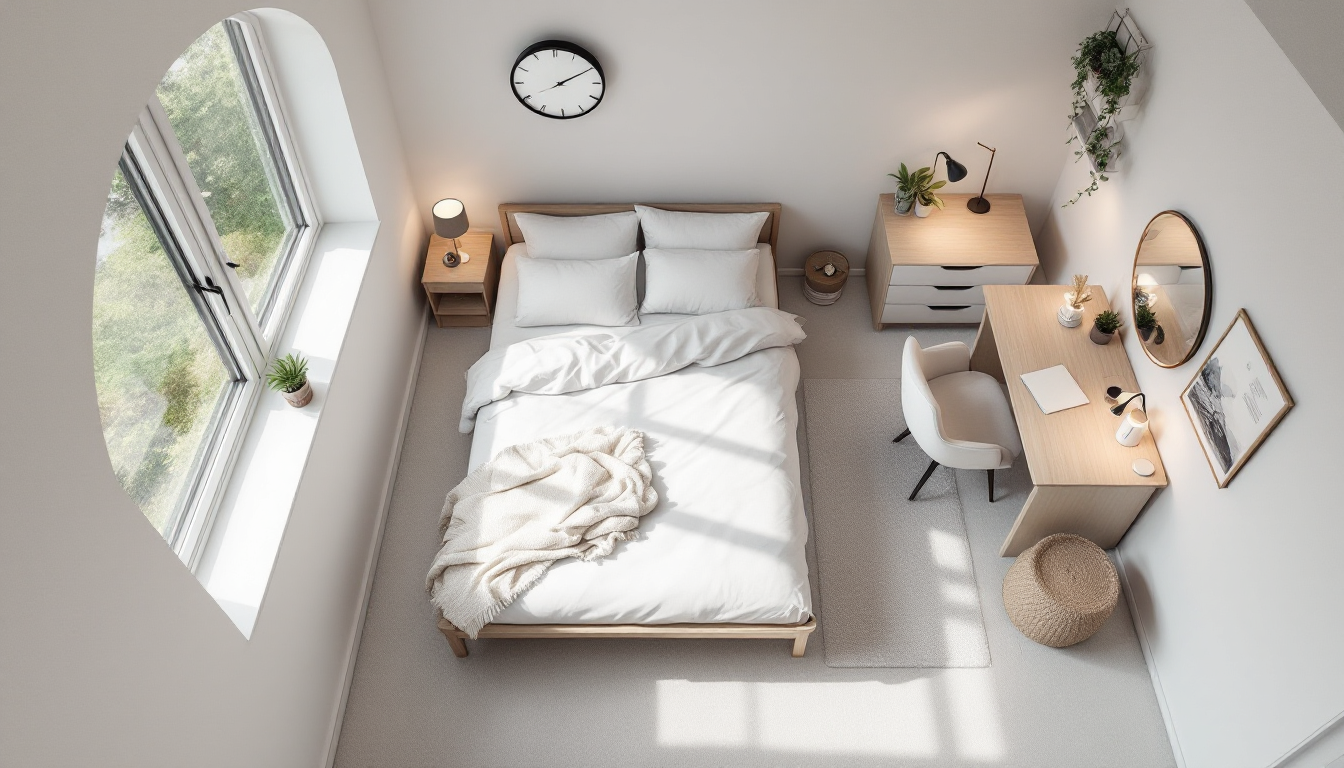
There isn't one "correct" way to arrange a small bedroom—there's a correct way for your room's proportions, door and window placement, and how much stuff you actually need to store. Rather than starting from a blank floor plan, it's often faster to compare the handful of layouts that consistently work in tight bedrooms and pick the one closest to your situation. That's what this guide does: seven layout strategies, weighed against each other on space efficiency, cost, and how much disruption they cause to your existing furniture.
If you want the fundamentals first—measuring your room, working out clearances, and understanding traffic flow—the companion piece on arranging furniture in a small bedroom for beginners covers that groundwork in more depth. This article assumes you know the basics and want to compare concrete layout options.
1. Bed-in-the-Corner Layout
Pushing the bed into a corner, headboard against one wall and one long side against the other, is the single most space-efficient move in a small bedroom. It frees an entire adjacent wall for a dresser or desk and opens up the center of the room for circulation.
- Best for: square-ish rooms under 120 sq ft, single sleepers or couples who don't mind one person climbing over the other
- Trade-off: only one nightstand fits comfortably unless you use a wall-mounted shelf on the wall side
- Cost: free—just rearrange what you own
2. Centered-on-One-Wall Layout
The classic arrangement: bed centered against the longest wall, a nightstand on each side, dresser opposite or on a perpendicular wall. It's symmetrical, easy to plan, and works well when both partners need equal access to the bed.
- Best for: rectangular rooms at least 10 feet wide
- Trade-off: needs more floor width than the corner method; can feel cramped in rooms under 9 feet wide
- Cost: free, though you may need two matching nightstands
3. Loft or Raised-Bed Layout
Elevating the bed on a loft frame and using the space underneath for a desk, wardrobe, or seating area effectively doubles your usable floor area. This is a bigger commitment than rearranging furniture, but it solves storage and workspace problems that no amount of shuffling can fix.
- Best for: rooms with ceilings 8.5 feet or higher, single occupants, kids' or student rooms
- Trade-off: higher upfront cost, and climbing a ladder nightly isn't for everyone
- Cost: moderate to high—retail loft beds run $300–$1,500, or build one to exact dimensions with a properly planned cut list to avoid wasted lumber
4. Murphy Bed / Wall-Bed Layout
A wall bed folds up into a cabinet during the day, turning the bedroom into a home office, studio, or guest space when the bed isn't in use. It's the most dramatic space-multiplier on this list, but it's also the most expensive and permanent.
- Best for: studio apartments or multi-purpose rooms where floor space matters more than convenience
- Trade-off: installation is semi-permanent and mattress choice is limited by the mechanism
- Cost: high—$800 to $3,000+ depending on whether you buy a kit or have one built in
5. Diagonal (Angled) Bed Layout
Angling the bed across a corner at 45 degrees looks unconventional on paper but can solve awkward rooms with an off-center door, a radiator, or a sloped ceiling. It also creates a strong focal point.
- Best for: irregularly shaped rooms, attic bedrooms, rooms with an awkward architectural feature
- Trade-off: wastes some floor area behind the headboard, which is only useful for low storage bins
- Cost: free to test with existing furniture
6. Built-In / Custom Platform Layout
A built-in platform bed with integrated drawers, shelving, or a headboard nook is designed specifically around your room's exact dimensions rather than standard furniture sizes. This is the layout to choose if you've already tried rearranging and still feel like you're fighting the room.
- Best for: awkward alcoves, sloped ceilings, or rooms where off-the-shelf furniture leaves dead gaps
- Trade-off: requires design and build time; not something you can undo in an afternoon
- Cost: variable—CNC-cut plywood builds are often cheaper than custom carpentry once you're working from sourced or custom-nested CNC furniture plans
7. Multi-Zone Layout with Room Dividers
In larger small bedrooms (say, 130+ sq ft), splitting the room into a sleep zone and a separate seating or work zone using a low shelf, curtain, or open bookshelf can make the space feel like two rooms instead of one crowded one.
- Best for: shared bedrooms, guest rooms doubling as offices, rooms with unusually generous square footage for their category
- Trade-off: the divider itself takes up floor space, so it only pays off in rooms with some square footage to spare
- Cost: low to moderate—an open shelving unit doubles as storage; see our bookshelf styling comparison if you go this route and want the divider to look intentional rather than accidental
How to Choose
Start by measuring your room and marking the fixed points—doors, windows, outlets, radiators—since these eliminate options before you even consider style. If your room is small but regularly shaped, the corner or centered layouts cost nothing and take an afternoon to test. If you're short on storage or workspace, the loft, Murphy bed, or built-in options solve that problem structurally rather than cosmetically, though they ask for more budget and planning.
Whichever layout you land on, sketching it out first—even roughly—saves you from discovering a doorway won't open once the dresser is in place. Tools for planning your room in 3D before you move a single box make it easy to test two or three of these layouts virtually and compare them side by side before committing to any one arrangement.