How to Arrange Furniture in a Small Bedroom: A Beginner's Guide
By Niklas Ekstrand, Furniture & Maker Editor · August 16, 2026
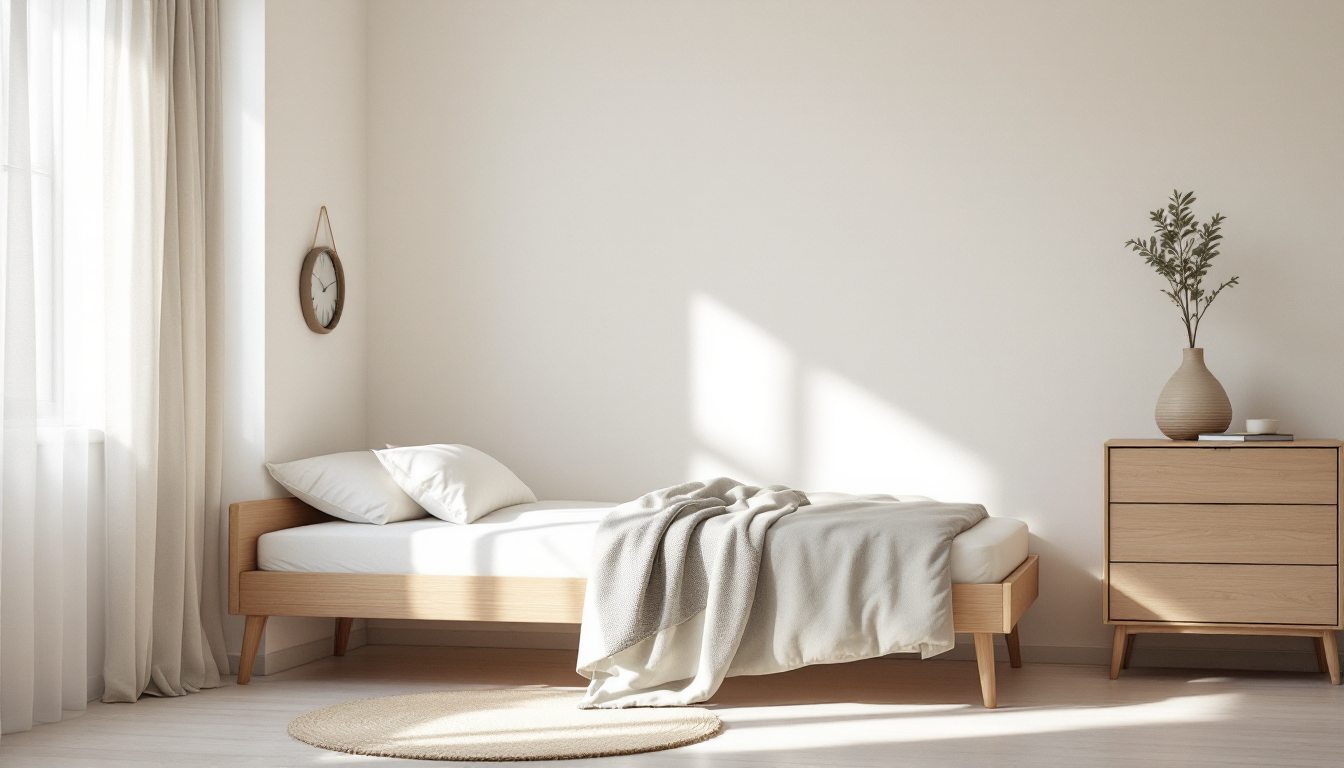
Start With What the Room Actually Needs
A small bedroom feels cramped not because it lacks square footage, but because furniture is often placed reactively — pushed against whichever wall it fit against on move-in day. The good news is that arranging furniture in a tight bedroom is a solvable problem with a repeatable process, not a matter of taste or luck. This guide walks through that process step by step, starting from measuring the room to placing the last lamp.
Before moving anything, decide what the bedroom's non-negotiable functions are: sleeping, dressing, and maybe a small work or reading nook. Every arrangement decision should serve one of those functions. If a piece of furniture doesn't support sleep, storage, or a specific daily habit, it's a candidate for removal or replacement.
Step 1: Measure the Room Before You Touch a Single Piece
Grab a tape measure and record the room's length, width, ceiling height, and the location of every door swing, window, closet opening, and outlet. Small bedrooms punish guesswork — a bed that's two inches too wide can block a closet door for years. If you want a more precise, to-scale version of this step, a simple site plan drawing walkthrough explains how to translate room dimensions into a scaled sketch you can actually plan around, even though that guide is written for outdoor spaces — the same measuring logic applies indoors.
Once you have measurements, sketch the room from a bird's-eye view on graph paper or in a free layout tool. Mark where the door swings open, since that arc is unusable floor space no matter how you arrange the room.
Step 2: Place the Bed First — It Sets Everything Else
The bed is almost always the largest object in the room, so it dictates the rest of the layout. A few beginner-friendly rules:
- Avoid blocking the window if you can help it, but if the room is narrow, centering the bed under a window is often the only way to leave walking space on both sides.
- Push one side against a wall in very tight rooms. You lose access to one nightstand, but you gain 18-24 inches of usable floor space, which is often the difference between a room that feels workable and one that doesn't.
- Leave at least 24 inches of clearance on the sides you do walk through, and closer to 30 inches near the foot of the bed if it's on a main walking path.
Corner placement is another underused option: angling a bed diagonally rarely saves space in a truly small room, but placing it flush in a corner (headboard against one wall, one long side against another) frees up an entire wall for a dresser or desk.
Step 3: Assign Every Remaining Piece a Job
Once the bed is set, everything else — dresser, nightstands, chair, desk — needs to justify its footprint. In a small bedroom, dual-purpose furniture earns its keep: a nightstand with drawers replaces both a table and a small dresser; a bench at the foot of the bed can double as extra seating and closed storage.
If you're building or customizing pieces to fit an oddly-shaped room, it's worth planning dimensions on paper first. The same discipline used in shop projects — where a cut list keeps a build from going off the rails — applies here: write down the exact width, depth, and height each piece needs to be before you buy or build it, rather than eyeballing it in the store.
Step 4: Use Vertical Space Instead of Floor Space
Small bedrooms have a fixed floor area but usually underused wall height. Floating shelves above a desk, a wall-mounted reading light instead of a lamp, and tall narrow dressers instead of wide low ones all shift storage upward. Closet organizers with double-hung rods effectively double hanging space without adding a single square foot to the room's footprint.
If you like the idea of open shelving for books or display items, it's worth learning basic styling principles first — the same balance of height, grouping, and negative space used to arrange furniture also applies at shelf scale, as covered in this bookshelf styling guide for beginners.
Step 5: Keep Walking Paths Clear and Obvious
A layout can look good on paper and still feel wrong in person if the walking path zigzags. Aim for one clear route from the door to the bed and from the bed to the closet, ideally in a straight or gently curved line rather than forcing people to step around corners of furniture.
A helpful test: stand in the doorway and see if you can walk to the bed without turning your shoulders sideways. If you can't, something needs to move or shrink.
Step 6: Fit the Style to the Space, Not the Other Way Around
Furniture arrangement and design style aren't separate decisions — a heavy, ornate dresser will fight a small room no matter how well it's positioned, while lighter, leggier furniture visually opens up the same footprint. If you're deciding between design directions, comparing Japandi and Scandinavian approaches is a useful starting point, since both styles are built around minimal visual clutter and furniture that doesn't overwhelm a small footprint.
A Simple Checklist Before You Call It Done
- Door and closet doors open fully without hitting furniture
- At least one clear walking path, roughly 24 inches wide
- Bed placement leaves the window or main light source usable
- Every piece of furniture serves sleeping, storage, or a specific daily task
- Vertical storage is used before adding more floor-standing pieces
Once the basics are in place, refining the room becomes a matter of taste rather than function. For more layout comparisons and space-saving furniture options once you've mastered the fundamentals, browse the design resources at Home3DPlan, where you can sketch and test arrangements before moving a single physical piece.