How to Draw a Site Plan: A Beginner's Guide
By Camille Moreau, Lead Interior Designer · August 2, 2026
What a Site Plan Actually Shows
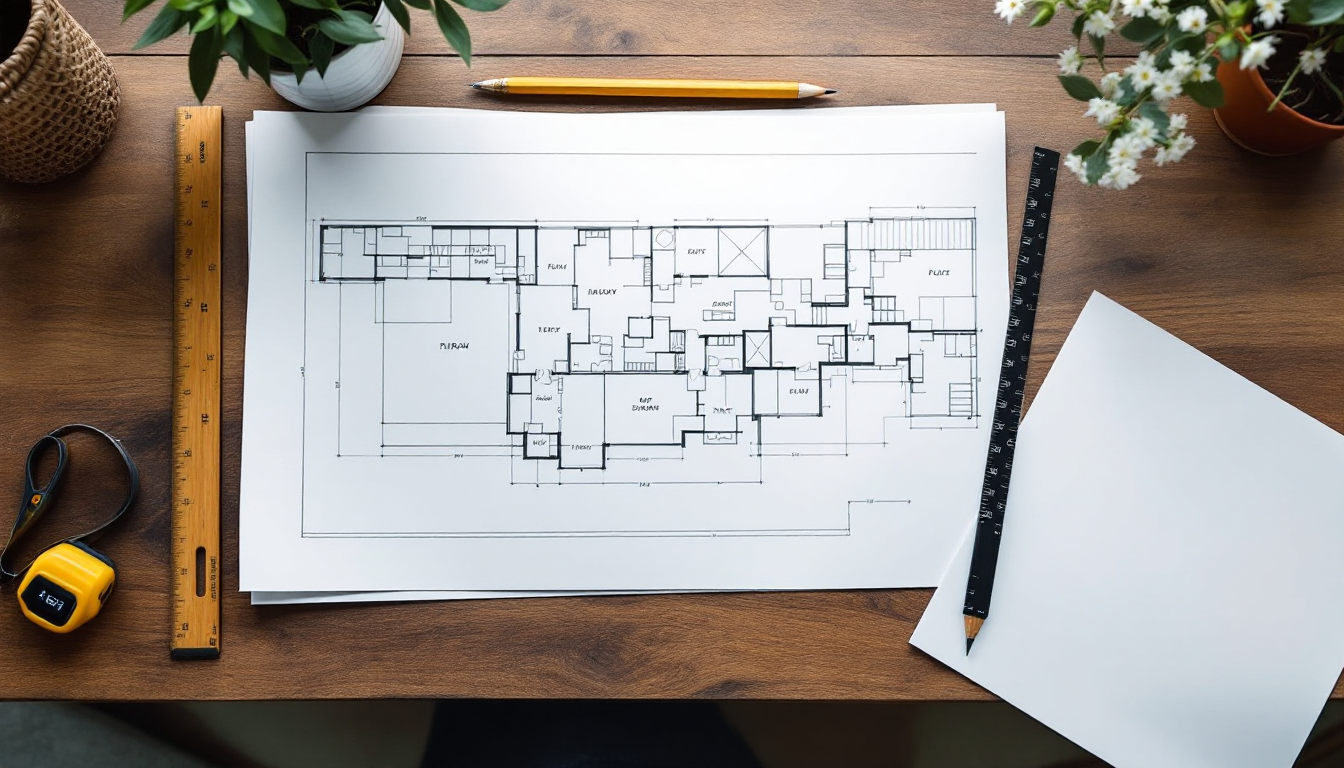
A site plan is a scaled, bird's-eye drawing of a property that shows the house, the boundaries of the lot, and everything in between: driveways, walkways, fences, trees, utility lines, and the distances between structures and property lines. It is different from a floor plan, which shows the inside layout of a single building. Think of the site plan as the "big picture" drawing, and the floor plan as the zoomed-in view of one structure on that site.
Most homeowners need a site plan when applying for a building permit, adding a deck or garage, installing a fence, or working with a landscaper. Local planning departments almost always require one before approving construction, because it's the easiest way to check that a project respects setback rules, easements, and drainage requirements. Even if you're not filing for a permit, sketching a site plan is one of the best ways to think through a front yard landscaping project or a backyard renovation before you spend money on materials.
What You'll Need Before You Start
- A property survey or plat map, if you have one. This is the most accurate source for lot dimensions and boundary lines.
- A tape measure or laser measure to confirm distances between the house and property lines, fences, and other fixed points.
- Graph paper or drafting paper, a ruler, and a pencil with an eraser. Grid paper makes it much easier to keep everything to scale.
- A scale reference, such as 1 inch = 10 feet, so every measurement on paper corresponds to a real-world distance.
- A north arrow reference, using a compass app or your street orientation, since site plans are typically drawn with north at the top.
If you don't have a survey on file, many county assessor or GIS websites let you look up lot dimensions for free. This is a good starting point even if you plan to verify measurements yourself later.
Step 1: Establish Your Scale and Orientation
Choose a scale that lets your entire property fit comfortably on the paper while still leaving room for labels. A common residential scale is 1 inch = 10 feet, but larger lots may need 1 inch = 20 feet. Write the scale clearly in a corner of the page, along with a north arrow. This single step prevents the most common beginner mistake: drawings that look right but don't actually represent real distances.
Step 2: Draw the Property Boundaries
Using your survey or plat map, draw the outline of the lot first. Mark each boundary line with its length, and note the shape of any irregular edges. If you're working without a survey, measure from a fixed reference point, like a curb, sidewalk, or existing survey stake, and record distances at several points along each boundary to keep the lines accurate.
Step 3: Place the House and Existing Structures
Next, add the outline of your home and any existing structures, such as a garage, shed, or deck. Measure the distance from at least two exterior corners of the house to the nearest property lines. This gives you two reference points, which keeps the building's position accurate even if the lot itself isn't a perfect rectangle. If you're unsure which walls are structural before planning an addition that ties into the existing house, it's worth reviewing how to identify a load-bearing wall before finalizing where new construction will connect.
Step 4: Add Site Features
Now fill in the remaining details that make the plan useful:
- Driveways, walkways, and patios
- Fences, retaining walls, and slopes
- Trees, hedges, and major landscaping features
- Utility lines, meters, septic tanks, or wells
- Drainage paths and downspouts
If your property has a noticeable grade change, it's worth marking contour lines or at least noting the high and low points, since slope affects both drainage and where structures can be safely placed. This is especially relevant if you're planning to landscape a sloped backyard, where terraces or retaining walls often need to be reflected on the site plan for permitting.
Step 5: Mark Setbacks and Easements
Setbacks are the minimum distances a structure must be from the property line, and they're set by local zoning codes. Easements are areas where utility companies or neighbors have legal access rights, even on your own land. Draw these as dashed lines and label the required distances. Skipping this step is one of the most common reasons permit applications get sent back for revisions.
Step 6: Label Everything Clearly
A finished site plan should include a title block with the property address, date, scale, and north arrow. Label every structure, dimension, and distance so that someone unfamiliar with the property, like a permit reviewer or contractor, can understand it without guessing. Consistent, legible labeling is what separates a rough sketch from a usable document.
Common Beginner Mistakes to Avoid
- Guessing measurements instead of confirming them with a tape measure or survey.
- Forgetting the north arrow, which makes it hard for others to orient the drawing.
- Leaving out setbacks, which are almost always required by local building departments.
- Drawing freehand without a scale, which makes the plan visually appealing but practically useless for permitting.
Where to Go From Here
Once you're comfortable with the basics, it's worth exploring digital tools that can speed up drafting and keep measurements precise, something covered in more detail in home design planning resources aimed at homeowners tackling their first project. A hand-drawn site plan is a great way to learn the fundamentals, and that understanding will make any software you use later far easier to work with.