How to Landscape a Sloped Backyard: A Beginner's Guide
By Marta Nowak, Landscape & Outdoor Designer · July 29, 2026
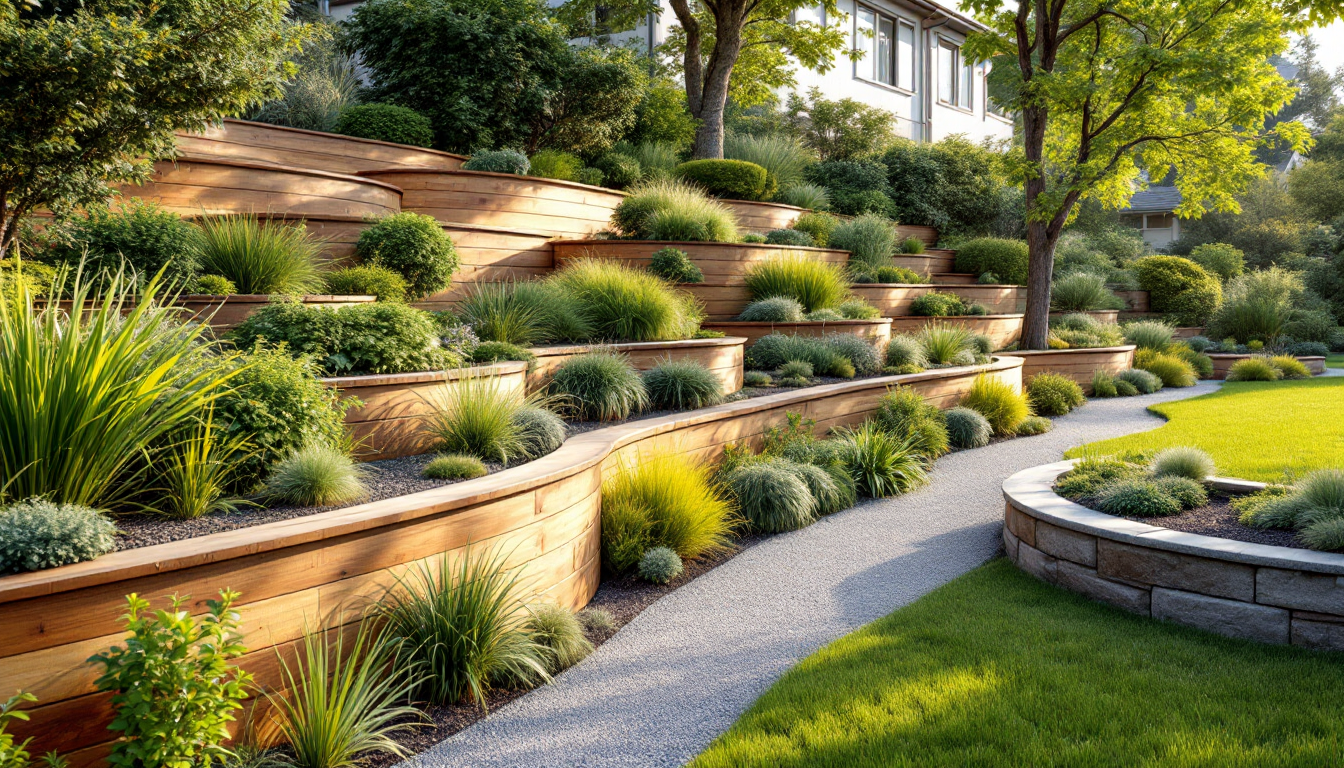
Why a Sloped Backyard Feels Like a Puzzle
A backyard with a noticeable grade change can feel unusable at first glance — water runs off in the wrong direction, mowing is awkward, and it's hard to picture where furniture or planting beds would even go. But a slope isn't a flaw to hide; it's a design opportunity. Terraces, retaining walls, and layered planting can turn elevation change into one of the most interesting features of a property. This guide walks through the basic concepts so you can start planning with confidence, even if you've never tackled a grading project before.
Step 1: Understand Your Slope Before You Touch a Shovel
Before choosing materials or drawing a single line, you need to know how steep your yard actually is and where water naturally travels.
- Measure the grade. A simple method is the "string level" test: drive a stake at the top and bottom of the slope, tie a string between them, level it with a line level, and measure the string's height off the ground at both ends. Divide the height difference by the horizontal distance to get a percentage grade.
- Watch water flow during rain. Spend a few minutes outside during a storm, or run a hose for 15 minutes, and note where water pools or channels. This tells you where drainage problems already exist.
- Note soil type. Sandy soil drains fast but erodes easily; clay holds water and can become slick or unstable on slopes. Both affect what solutions will work.
Grades under 5% are generally easy to work with using simple grading. Between 5% and 10%, terracing or retaining structures usually become necessary. Anything steeper than 15% often calls for a professional engineer, especially near a foundation.
Step 2: Decide Between Grading, Terracing, or Both
There are two basic approaches to managing a slope, and most successful yards use a combination.
Grading
Grading reshapes the existing slope into gentler, continuous grades rather than flat steps. It works well for mild slopes where you want a more naturalistic look — think rolling lawn or a gently sloped planting bed rather than sharp level changes. Building a subtle berm (a raised mound of soil) can also redirect water away from a patio or foundation while adding visual interest to an otherwise flat-looking yard.
Terracing
Terracing creates a series of flat, level areas held in place by retaining walls, similar to steps on a giant staircase. This is the go-to solution for steeper yards because it creates genuinely usable flat space — for a patio, a vegetable garden, or a fire pit area — where none existed before. Terracing requires more materials and often a permit, since retaining walls over a certain height typically need structural review.
Step 3: Plan for Drainage First, Design Second
Water management is the single most important — and most often skipped — part of sloped-yard design. Get it wrong and you risk erosion, a flooded basement, or a collapsed retaining wall.
- Install a swale. A shallow, shaped channel (often planted with grass or ground cover) redirects surface water along a controlled path instead of letting it run wherever gravity takes it.
- Add drain tile behind retaining walls. Any wall taller than a foot or two should have perforated drainpipe and gravel backfill behind it, or hydrostatic pressure will eventually push the wall outward.
- Route downspouts intentionally. Roof runoff should be piped well away from the top of any slope, not simply released at the base of a downspout to erode the hillside below.
Step 4: Choose Materials That Match the Slope's Job
For retaining walls on a beginner project, segmental concrete blocks are the most forgiving material — they interlock without mortar and are rated for specific wall heights. Natural stone gives a more organic look but takes more skill to install well. Timber walls are budget-friendly but have a shorter lifespan, especially in wet climates.
For the flat areas terracing creates, think about function the same way you would when planning a room layout indoors — a concept explored in detail in this guide to making a room feel cozy, where zoning and scale principles apply just as well outdoors as they do inside.
Step 5: Plant for Erosion Control and Visual Layering
Plant choice on a slope isn't just decorative — root systems are doing structural work.
- Groundcovers and deep-rooted perennials on exposed slopes help bind soil and slow erosion between hardscaped terraces.
- Shrubs on the mid-slope break up wide expanses and create a sense of layered depth when viewed from below.
- Trees near the top of a slope should be chosen carefully — heavy, shallow-rooted species can become unstable in saturated soil.
Grouping plants by water need (a practice called hydrozoning) also reduces maintenance, since upper, drier sections and lower, wetter sections naturally call for different species.
Step 6: Sketch Before You Build
Once you understand grade, drainage, and material options, sketch the yard to scale, marking where terraces, paths, and planting zones will go. The same disciplined, zone-by-zone thinking used in front yard landscaping planning applies here — work from the structure (walls, paths, drainage) outward to plants and furnishings, not the other way around. If you want to visualize different layouts before committing to construction, tools like the ones on Home3DPlan let you test terrace placement and planting zones digitally first.
Common Beginner Mistakes to Avoid
- Building a retaining wall without drainage behind it.
- Ignoring how water will move once the yard is reshaped.
- Choosing a wall height that requires a permit without checking local codes first.
- Planting large trees too close to the top edge of a slope.
Next Steps
Landscaping a sloped backyard is a project best tackled in stages: understand the grade, solve drainage, decide on grading versus terracing, then layer in materials and planting. Starting with a clear plan — rather than reacting to erosion or drainage problems after the fact — is what separates a slope that becomes a headache from one that becomes the most memorable part of the yard.