7 Ways to Make a Cut List: Software, Spreadsheets, and Paper Compared
By Conor Sheridan, 3D Visualization Lead · August 13, 2026
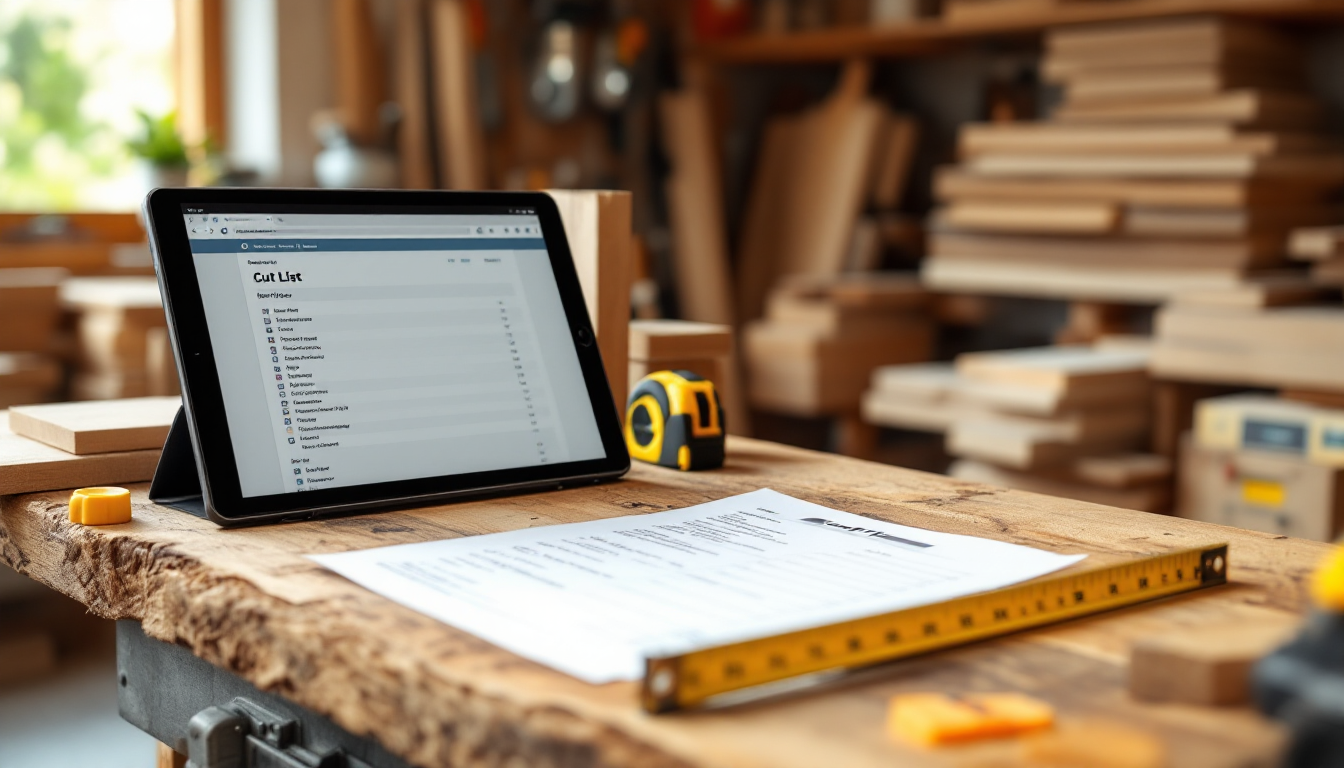
Choosing a cut list method is a build decision, not just a paperwork step
Every cut list eventually says the same thing: cut this piece, this size, this many times. What changes is how you get there. If you've already read our beginner's guide to planning your build before you cut, you know the basic logic of breaking a design into parts. This guide is for the next decision: which tool or workflow should actually generate and manage that list?
The right answer depends on how complex your project is, whether you're optimizing for material cost, and how much time you want to spend on planning versus building. Below are seven realistic options, compared on their own merits, so you can match the method to the project instead of forcing every build through the same process.
1. Pencil and graph paper
This is the oldest method and it still works for simple builds — a bookshelf, a small bench, a single cabinet. You sketch the piece, break it into parts, and write dimensions in a column.
- Best for: One-off projects with fewer than 15-20 parts.
- Strengths: Zero cost, zero learning curve, works anywhere.
- Weaknesses: No automatic math, no optimization, easy to lose track of grain direction or duplicate parts.
2. A basic spreadsheet
Spreadsheets are the most common upgrade from paper. Columns for part name, length, width, thickness, quantity, and material let you sum board footage and catch errors with simple formulas.
- Best for: Anyone comfortable with Excel or Google Sheets who wants more control than paper but doesn't need dedicated software.
- Strengths: Free, flexible, easy to duplicate for similar projects, easy to share with a supplier or a shop partner.
- Weaknesses: You still have to think through sheet layout and offcuts yourself — a spreadsheet won't tell you how many sheets of plywood you actually need.
3. Dedicated cut-list software (non-CNC)
Programs like Cutlist Optimizer, CutList Plus, or SketchList 3D exist specifically to turn a parts list into an optimized cutting diagram. You enter stock sizes and part dimensions, and the software arranges parts on sheets or boards to minimize waste.
- Best for: Builds with a lot of repeated parts, or projects where sheet-good waste really affects your budget.
- Strengths: Automatic nesting, visual cut diagrams, kerf and grain settings, exportable/printable layouts.
- Weaknesses: Learning curve, and some tools are subscription-based. Overkill for a single small project.
4. CAD software with a cut list extension
If you're already designing in Fusion 360, SketchUp, or a similar tool, plugins and extensions can generate a cut list directly from your 3D model. Change a dimension in the model and the list updates automatically.
- Best for: Builders who design digitally before cutting anything, especially for furniture with joinery that needs to be visualized first.
- Strengths: The list stays in sync with the design — no manual re-entry, fewer transcription errors.
- Weaknesses: Requires comfort with 3D modeling, and setup time is longer than a spreadsheet for a simple project.
5. CNC nesting software
If your project is going to a CNC router, nesting software (like VCarve, Fusion 360's CAM workspace, or dedicated nesting tools) essentially replaces the traditional cut list with a digital layout file. Parts are arranged on sheet stock automatically, accounting for tool paths and material width.
- Best for: Anyone cutting on a CNC machine, whether at home or through a service. This pairs naturally with sourcing pre-made files — see our comparison of where to get CNC furniture plans for options ranging from free downloads to custom nesting services, and our beginner's guide to CNC furniture plans for how a file becomes a finished piece.
- Strengths: Extremely accurate, accounts for bit diameter and toolpaths, minimizes sheet waste automatically.
- Weaknesses: Only relevant if you have CNC access; not useful for hand-tool builds.
6. Cut list apps on a phone or tablet
Mobile apps built for woodworkers let you build a list on the go, often with running material totals and simple diagrams. Some sync with desktop software.
- Best for: Builders who plan at the lumber yard or big box store and want to double-check quantities before buying.
- Strengths: Portable, quick to update mid-shopping-trip, some include board-footage calculators.
- Weaknesses: Smaller screens make complex nesting hard to visualize; best used for lists, not layout diagrams.
7. A 3D visualization tool with built-in dimensions
Increasingly, home design and 3D planning platforms let you build a piece visually and pull dimensions straight from the model — useful if you're designing custom furniture as part of a larger room plan rather than as an isolated project. This approach overlaps with how designers approach DIY furniture for small spaces, where exact dimensions matter because there's no room for error on fit.
- Best for: Built-ins, multi-piece furniture systems, or anyone who wants to see the piece in context before committing to cuts.
- Strengths: Visual confirmation of fit and proportion alongside the numbers; reduces the risk of a technically correct cut list for a piece that looks wrong in the room.
- Weaknesses: More setup than a plain list; not necessary for simple, single-purpose builds.
How to actually decide
Match the tool to the project size, not your ambitions. A single shelf doesn't need nesting software. A kitchen's worth of built-ins probably shouldn't be planned on graph paper. A useful rule: if your project has more than a dozen parts, or uses sheet goods where waste costs real money, move up to a spreadsheet or dedicated software. If it's going to a CNC, plan in nesting software from the start rather than converting a hand-written list later.
Whatever method you choose, the fundamentals from planning your build still apply — measure twice, account for kerf, and confirm final dimensions before the first cut. For projects where design and layout matter as much as the cutting itself, tools on home3dplan.com can help you visualize the finished piece before you commit material to it.