7 DIY Furniture Approaches for Small Spaces, Compared: Flat-Pack Kits, CNC Files, and Scratch Builds
By Niklas Ekstrand, Furniture & Maker Editor · August 9, 2026
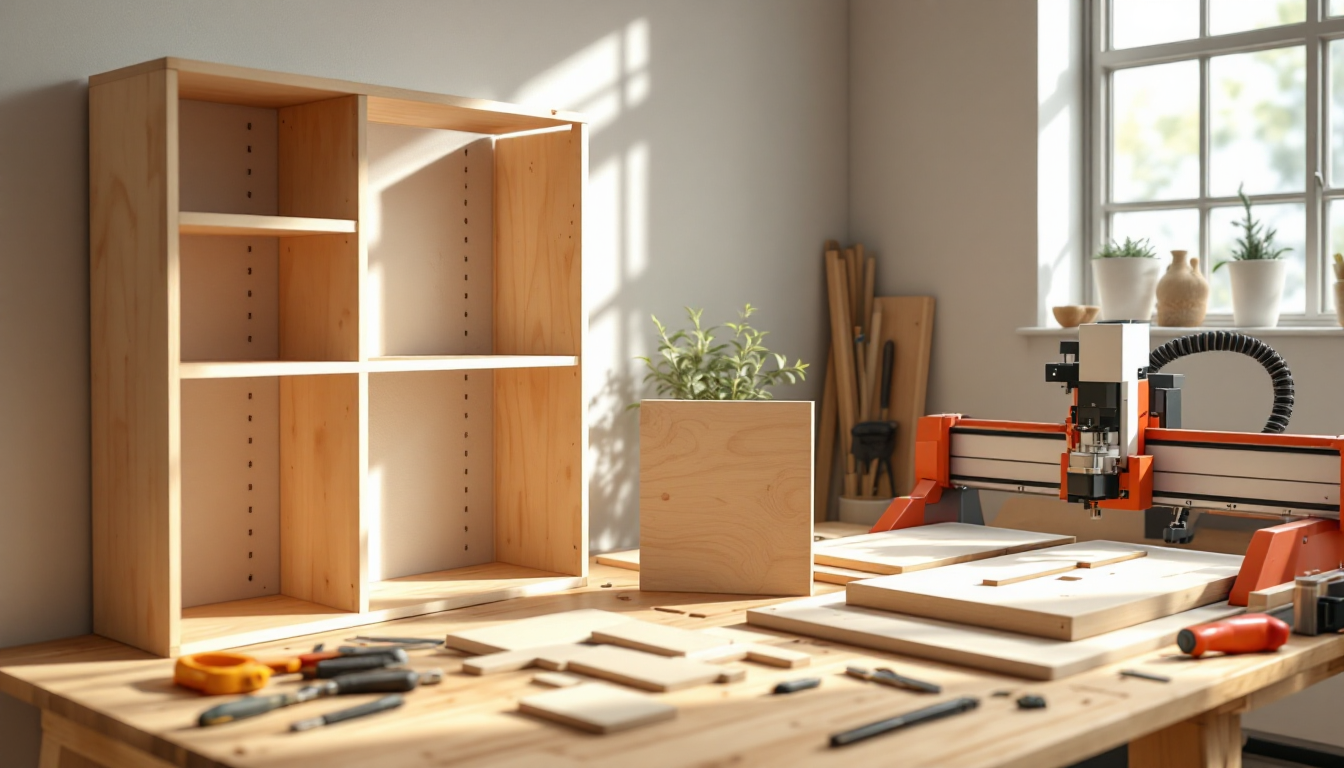
Choosing How You Build Matters as Much as What You Build
If you've already decided to make your own furniture for a cramped apartment or a tight nursery corner, the next decision is more important than most people realize: how you're going to build it. The method you choose determines your tool list, your budget, your timeline, and how forgiving the process is when you inevitably measure wrong once. This guide compares seven realistic build approaches for small-space furniture so you can match a method to your actual skill level and shop setup, rather than picking a project first and discovering the method doesn't suit you.
If you haven't yet nailed down your space-planning basics — clearances, multi-function pieces, what actually needs to be built versus bought — start with our companion piece, the beginner's guide to building smarter, not bigger, then come back here to pick your production method.
1. Pre-Cut Flat-Pack Kits
These are furniture kits sold with all pieces already cut to size, often pre-drilled, requiring only assembly with basic hand tools. They're the fastest on-ramp into DIY furniture.
- Best for: Renters, absolute beginners, anyone without a garage or workshop
- Tools needed: Screwdriver, hex key, occasionally a rubber mallet
- Cost: Moderate — you pay for convenience
- Downside: Limited to standard sizes, so it won't solve an oddly-shaped alcove
2. Modular Cube and Crate Systems
Stackable cubes or crates you build once and reconfigure endlessly — as a bookshelf today, a room divider tomorrow. These reward simple joinery like pocket screws or dowels.
- Best for: People who move often or want furniture that adapts as needs change
- Tools needed: Circular saw or track saw, drill, square
- Cost: Low to moderate depending on material
- Downside: Reconfigurable systems can look busy if not styled with restraint — see our comparison of bookshelf styling methods for ways to keep an open shelving system looking curated rather than cluttered.
3. CNC-Cut Files (Cut It Yourself or Send to a Shop)
This is where DIY furniture starts to resemble product design. You draw the piece in CAD, generate a cut-sheet, and either run it on a benchtop CNC router or send the file to a local maker space or cut-service. The payoff is joinery precision that's nearly impossible to match by hand — tight dovetails, finger joints, and press-fit tabs that assemble without screws.
- Best for: Anyone comfortable with basic CAD software, or willing to learn it for a payoff in precision
- Tools needed: Access to a CNC router (owned or rented), a laptop, calipers
- Cost: Higher upfront if you don't own a machine, but material waste drops significantly since parts nest efficiently on a single sheet
- Downside: There's a real learning curve in file setup — tolerances, bit diameter compensation, tab placement — before your first cut looks clean
For small spaces specifically, CNC files let you nest a fold-flat desk or a wall-mounted shelf unit on a single sheet of plywood with almost no offcuts, which matters when every inch of storage and every dollar of material counts. Planning the piece digitally first — the same way you'd sketch a floor plan before renovating — pairs well with the workflow described in our comparison of site-plan drawing tools, since both processes benefit from getting dimensions locked before anything gets cut.
4. Hand-Cut Joinery from Scratch
The traditional route: solid lumber, a saw, a chisel, and dovetails or mortise-and-tenon joints cut entirely by hand. Slower, but it produces furniture with real longevity and no reliance on hardware or electricity.
- Best for: Builders who enjoy the craft itself, not just the outcome
- Tools needed: Hand saw, chisels, marking gauge, workbench with a vise
- Cost: Low in materials, high in time
- Downside: A steep learning curve — if you're starting here, work through the comparison of dovetail-cutting methods before committing a good board to your first attempt
5. Router Jigs and Templates
A middle ground between hand tools and CNC: a router guided by a jig cuts repeatable joints and curves without needing a full CAD-to-machine workflow. Ideal for anyone who wants CNC-level repeatability without the machine investment.
- Best for: Intermediate builders making multiples of the same piece — think matching floating shelves or a set of nesting side tables
- Tools needed: Router, template material (MDF or acrylic), clamps
- Cost: Moderate one-time jig cost, low per-piece cost after
6. Upcycled and Repurposed Furniture
Instead of building new, this approach modifies existing furniture — cutting a dresser down in depth, adding folding legs to an old door for a desk, or reclaiming pallet wood for a low bench. It's the most budget-friendly and the most forgiving of mistakes, since the "raw material" already has structure.
- Best for: Budget-conscious builders and anyone furnishing a rental
- Tools needed: Varies by project, often just a saw, sander, and finish
- Cost: Lowest of all seven methods
- Downside: Structural quality depends entirely on the donor piece; refinishing well also matters, and our comparison of wood stain types is worth a look before you commit to a finish on a piece you can't easily redo
7. Hybrid Builds: Plywood Carcass + Solid Wood Details
Many professional small-space designs mix cheap, stable plywood for the main structure with solid wood only where it's seen or touched — edges, legs, pulls. This keeps cost and weight down while still looking intentional.
- Best for: Builders who want a furniture-store look without furniture-store pricing
- Tools needed: Table saw or track saw, edge banding tools, basic joinery hardware
- Cost: Moderate, scales with how much solid wood you use
Which Method Should You Actually Choose?
If you rent and move often, start with flat-pack kits or upcycling. If you're committed to a permanent home and want furniture that fits your exact dimensions, CNC files or hybrid plywood builds give you the most control per hour invested. And if the process itself is the reward, hand-cut joinery will teach you more about wood than any other method on this list. Whichever route you pick, model the piece — even roughly — against your room's real dimensions before cutting; tools built for home and interior planning make it easy to check clearances before a single board gets touched.