7 Ways to Draw a Site Plan Compared: Paper, CAD, and 3D Tools
By Conor Sheridan, 3D Visualization Lead · August 3, 2026
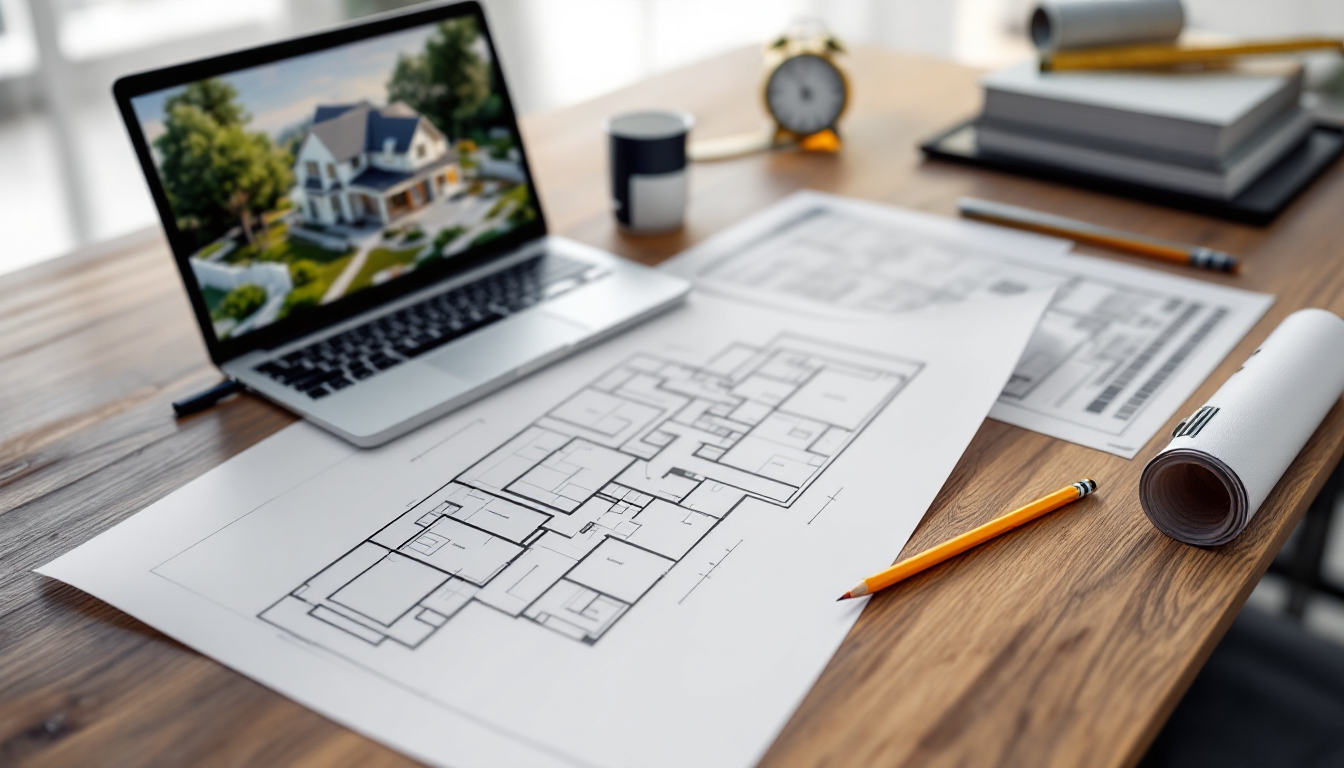
Choosing the right way to draw a site plan
A site plan communicates the same thing regardless of how it's produced: property lines, structures, setbacks, and everything else on a lot viewed from above. But the method you use to create it changes how accurate, editable, and presentable the result is. If you've already read our beginner's guide to drawing a site plan, you know the basic steps. This article goes further and compares the tools you'd actually use to do it, so you can match the method to your project — whether that's a permit submission, a landscaping mockup, or a client walkthrough.
1. Graph paper and a scale ruler
The oldest method still works for simple projects. You measure the lot by hand, pick a scale like 1 inch = 10 feet, and plot everything on graph paper.
- Pros: Free, no learning curve, works anywhere.
- Cons: Hard to revise, no automatic accuracy checks, unprofessional appearance for permit offices that expect digital submissions.
- Best for: Quick sketches, initial idea capture, or projects where a formal plan isn't required.
2. General-purpose drawing software (Illustrator, PowerPoint, etc.)
Some people default to whatever drawing tool they already own. It's better than hand-drawing because lines are straight and text is legible, but these programs weren't built for scaled drafting.
- Pros: Familiar interface, easy to add labels and colors.
- Cons: No true-to-scale drawing tools, easy to introduce measurement errors, no layers for utilities or contours.
- Best for: Polishing an already-accurate plan for presentation, not creating one from scratch.
3. Free online site plan generators
Several websites let you drag shapes onto a lot outline and generate a basic plan in minutes. They're popular for simple residential projects like sheds, fences, or small additions.
- Pros: Fast, no installation, often free for basic use.
- Cons: Limited precision, generic symbol libraries, may not meet local permit standards without cleanup.
- Best for: Homeowners testing an idea before committing to a more detailed plan.
4. CAD software (AutoCAD, DraftSight, etc.)
CAD is the professional standard for technical drawings, including site plans submitted to planning departments.
- Pros: Exact measurements, layers for separating property lines, utilities, and structures, industry-standard file formats.
- Cons: Steep learning curve, often expensive, overkill for a simple homeowner project.
- Best for: Architects, engineers, and contractors who need precision and interoperability with other technical drawings.
5. Home design and landscaping apps
Apps built specifically for residential design (rather than general CAD) sit in a useful middle ground. They typically include pre-set symbols for trees, fences, driveways, and structures, plus built-in scale tools.
- Pros: Easier than CAD, more accurate than general drawing tools, often include landscaping-specific features.
- Cons: May lack the precision required for legal/permit documents; some require subscriptions.
- Best for: Homeowners planning renovations, additions, or yard projects who want more than a sketch but don't need full CAD.
This category overlaps with related planning tasks — for example, if your project involves grading, you may also want to review approaches in our guide to landscaping a sloped backyard, since slope handling often needs to appear on the site plan itself.
6. GPS and surveying tools
For larger or irregular lots, handheld GPS units or professional surveying equipment capture exact boundary coordinates, which are then imported into drafting software.
- Pros: Highest possible accuracy, essential for legal boundary disputes or complex terrain.
- Cons: Requires equipment or a hired surveyor, adds cost and time.
- Best for: New construction, boundary disputes, or lots without a clear existing survey.
7. 3D modeling and rendering software
A flat, 2D site plan tells you where things go. A 3D model tells you what it will actually look like — how a new addition sits against the existing house, how shadows fall across the yard at different times of day, or how a fence line reads next to mature landscaping. Working in 3D from the start also makes it far easier to export a clean model as a GLB file for sharing, embedding, or walking through in real time, which matters if you're presenting the plan to a client or a permit reviewer who isn't used to reading technical drawings.
- Pros: Photorealistic output, easy to iterate, communicates design intent far better than flat plans, useful for both permits and presentations.
- Cons: Requires more setup time upfront than a quick sketch; some learning curve for materials and lighting.
- Best for: Anyone who needs to sell an idea — to a client, a homeowners' association, or themselves — before committing to construction. Tools like Home3DPlan are built specifically for this kind of workflow, letting you go from a basic lot outline to a fully rendered plan without switching software.
How to decide
Match the tool to the stakes of the project:
- Just exploring an idea? Graph paper or a free online generator is enough.
- Submitting for a permit? CAD or a surveyor-backed plan is usually required.
- Presenting to a client, buyer, or HOA? A 3D-rendered plan communicates far more clearly than lines on paper.
- Working with complex terrain? Pair GPS data with 3D software so grading and slope are represented accurately.
Many projects end up using more than one method — a rough hand sketch to start, a CAD-accurate base plan for permits, and a 3D render for anyone who needs to actually picture the result. If you're still getting comfortable with the fundamentals of scale, symbols, and measurements, it's worth revisiting the basics in our step-by-step beginner's guide before choosing which tool fits your next project.