DIY Furniture Ideas for Small Spaces: A Beginner's Guide to Building Smarter, Not Bigger
By Niklas Ekstrand, Furniture & Maker Editor · August 8, 2026
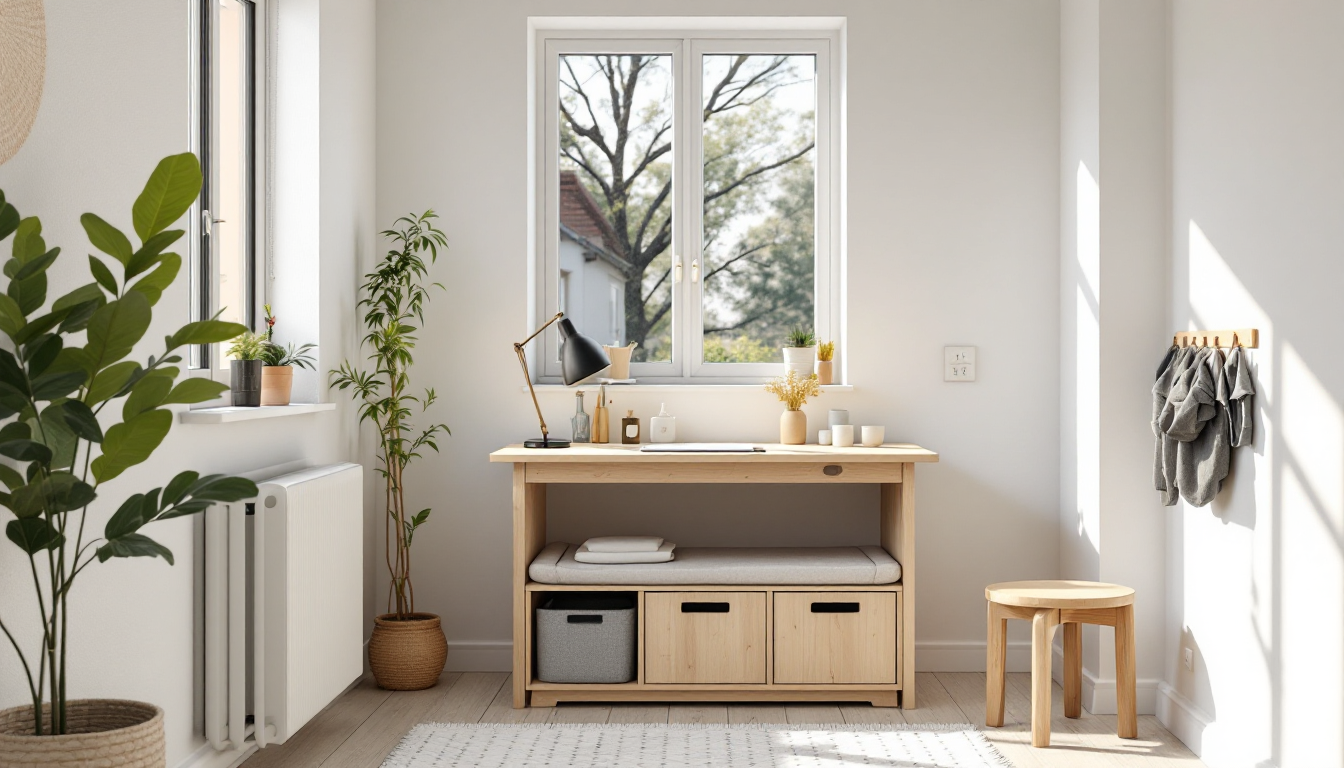
Why small spaces need a different DIY approach
Building furniture for a small apartment or studio is a different exercise than building for a house with room to spare. Every piece has to earn its footprint, and often needs to do more than one job. A coffee table might also need to store blankets. A bench might need to fold flat against a wall. If you're new to furniture DIY, the good news is that small-space projects are usually simpler and cheaper to start with than large casework — less material, fewer joints, less room for a mistake to become expensive.
This guide covers the fundamentals: how to think about scale, which project types are most beginner-friendly, what tools and materials you actually need, and how to avoid the most common first-timer mistakes. If you want a deeper dive into surface finishing once your piece is built, our beginner's guide to staining wood furniture is a natural next step.
Start by measuring, not shopping
The single biggest mistake beginners make is designing a piece before measuring the room. Small-space furniture fails most often because it's slightly too deep, too tall, or blocks a door swing.
- Measure the full footprint — width, depth, and height — plus clearance for doors, drawers, and walking paths.
- Mark it on the floor with tape before you cut a single board. Live with the outline for a day.
- Check ceiling height if you're planning anything with a lid or lift-up top.
If you're also rethinking the layout of the room itself, it helps to sketch the space first. The same measuring discipline used in our beginner's guide to drawing a site plan applies at furniture scale — draw it before you build it.
Five beginner-friendly project types
1. A fold-down wall desk
A simple hinged panel attached to a wall cleat is one of the easiest projects for a first build. It needs only a sheet of plywood, a piano hinge, and a folding leg bracket. When closed, it's essentially a shallow shelf; opened, it's a full desk. No drawers, no complex joinery — just clean cuts and a level install.
2. A storage bench for an entryway or window nook
A box with a hinged lid is forgiving to build because the joints don't need to be furniture-grade to be functional. Butt joints reinforced with pocket screws will hold up fine for a bench that mostly gets sat on and used for shoe storage. This is a good project to practice square cuts and consistent measurements before attempting anything with visible joinery.
3. A nesting or stacking side table set
Building two or three tables at slightly different heights that slide under one another is a great way to add surface area without adding floor space. Cut all the pieces from one sheet of plywood to minimize waste, and keep the design simple — straight legs, a single stretcher, a flat top.
4. A murphy-style shelf-bed combo
This is a step up in difficulty but still approachable: a bed frame that folds up into a shelving unit during the day. Start with a simplified version — a daybed frame with a hinged front panel that conceals storage — before attempting a full wall-mounted murphy bed.
5. A modular cube shelving unit
Open cube shelving built from a few identical boxes is one of the most flexible small-space projects because you can rearrange the cubes as your storage needs change. It's also a good introduction to repeatable, jig-based cutting, which matters once you're producing several identical parts.
Tools and materials worth starting with
You don't need a full shop to start. A circular saw with a straightedge guide, a drill/driver, clamps, and a tape measure will get you through most of the projects above. Plywood (especially birch or maple-faced) is the most forgiving material for beginners: it's stable, doesn't warp like solid lumber can, and takes paint or stain well.
As you get more comfortable, joinery becomes the next skill worth learning. Butt joints and pocket screws are fine for boxes and benches, but if you want furniture that looks intentional rather than assembled, it's worth learning a proper joint. Our beginner's guide to cutting dovetail joints is a good place to start once you're ready to move beyond screws and glue.
Design choices that make small furniture feel bigger
- Raise it off the floor. Legs instead of a solid base let light pass underneath, which visually opens up a room.
- Choose lighter tones. Pale wood or painted finishes reflect more light than dark stains in a compact room.
- Build in, not out. Wall-mounted and fold-away pieces free up floor space that a freestanding equivalent would consume.
- Match your interior style. If you're deciding between a pared-back Scandinavian look or a warmer Japandi feel, our guide to telling Japandi and Scandinavian styles apart can help you settle on proportions and finishes before you start cutting.
Plan the piece before you plan the room around it
Once you've built a piece or two, it's worth stepping back and thinking about how furniture and layout work together — a well-built bench in the wrong spot still makes a room feel cramped. Tools like the room planner at home3dplan.com let you test furniture placement digitally before committing to a build, which is especially useful in small spaces where a few inches can be the difference between a room that flows and one that doesn't.
Start small, measure twice, and pick projects that match your current skill level rather than your ambition. Every fold-down desk or stacking side table you finish builds the confidence and technique you'll need for the next, more ambitious piece.