How to Make Dovetail Joints: A Beginner's Guide to Your First Cut
By Conor Sheridan, 3D Visualization Lead · July 27, 2026
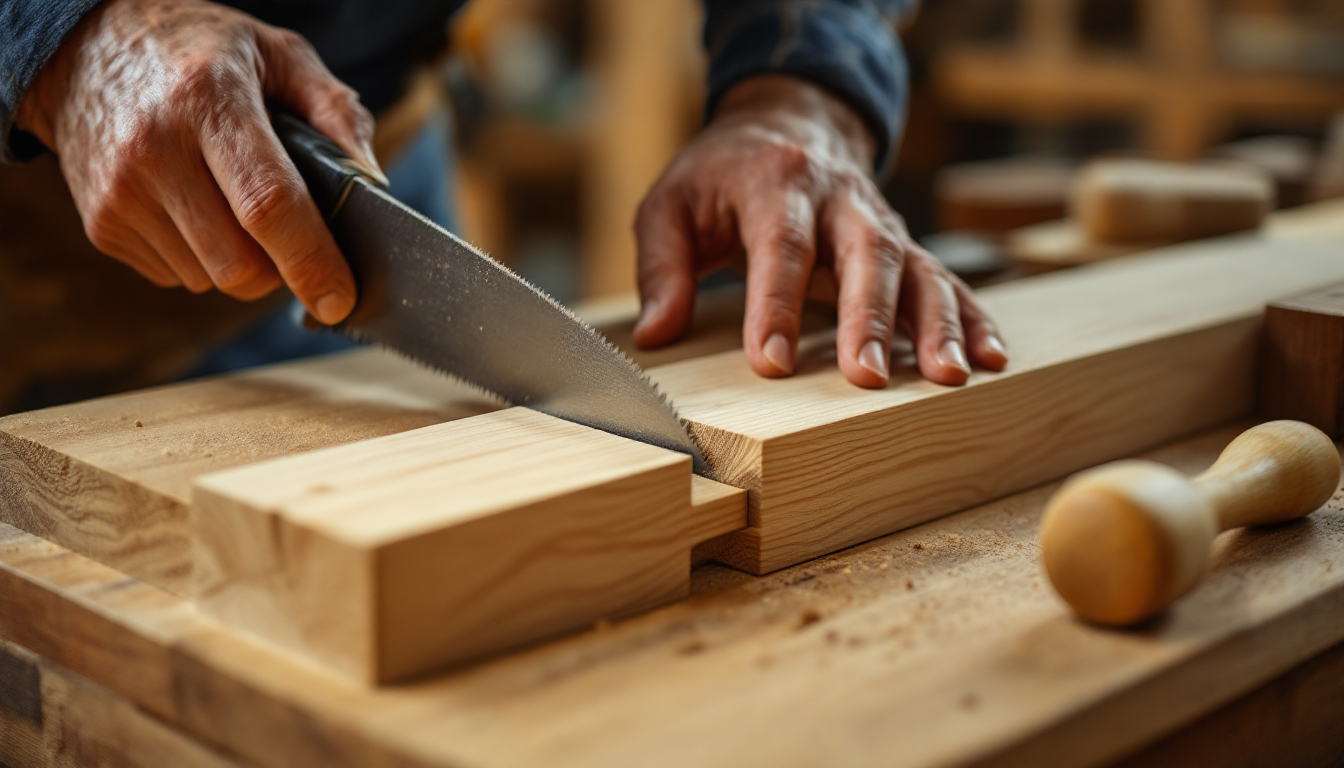
What a Dovetail Joint Actually Is
A dovetail joint locks two pieces of wood together using a series of interlocking wedge-shaped pins and tails. Because the shape widens like a fan, the joint physically resists being pulled apart along the direction of the fibers, which is why it has been the go-to method for drawer boxes, blanket chests, and fine cabinetry for centuries. Unlike joints that rely mostly on glue, a well-cut dovetail holds together almost entirely through mechanical geometry, and glue is just there for extra insurance.
If you're new to woodworking, this joint has a reputation for being intimidating. It isn't. It just requires patience, sharp tools, and accurate marking. This guide walks through the process from start to finish so you can cut your first joint with confidence.
Tools You'll Need
- A dovetail saw (a fine-toothed backsaw designed for precise, narrow cuts)
- A marking gauge to scribe the baseline
- A dovetail marker or an adjustable bevel gauge set to roughly 1:6 or 1:8
- A sharp bench chisel set
- A mallet
- A pencil or marking knife
- Clamps and a sturdy workbench or vise
Sharpness matters more than brand names here. A dull chisel will crush wood fibers instead of slicing them, and that's where most beginner joints go wrong.
Step 1: Mark the Baseline
Set your marking gauge to the thickness of the board and scribe a line across the end grain and down the faces of both boards. This baseline tells you exactly how deep to cut and where the joint stops. Every following cut references back to this line, so take the extra minute to get it right.
Step 2: Lay Out the Tails
Decide how many tails you want. For a small drawer side, three to five tails is typical; wider boards can take more. Using your dovetail marker, draw the angled tail shapes on the end grain of the tail board, then square those lines down the face to the baseline with a try square. Shade in the waste areas with a pencil so you don't accidentally cut the wrong section — this single habit prevents the most common beginner mistake.
Step 3: Cut the Tails
Clamp the board upright or at an angle in the vise, whichever lets you saw straight down the marked lines comfortably. Cut on the waste side of the line, staying just outside your pencil mark, and stop exactly at the baseline. Consistent, controlled strokes matter more than speed. Once the angled cuts are done, remove the waste between tails with a coping saw or by chiseling in from both faces toward the middle, then pare back to the baseline with a sharp chisel.
Step 4: Transfer Tails to the Pin Board
This is where accuracy pays off. Place the finished tail board on top of the pin board, aligned exactly where the joint will sit, and trace the tail shapes onto the end grain using a marking knife. A knife line is thinner and more accurate than pencil, which matters because any gap here will show in the finished joint. Square these lines down to the baseline on the pin board.
Step 5: Cut the Pins
Again, shade the waste so you know which side of the line to cut. Saw just outside the knife lines, then remove waste between the pins the same way you did for the tails — coping saw first, chisel to finish. Sneak up on the fit gradually, paring in small amounts rather than removing too much at once. It's much easier to trim a tight joint than to fix one that's too loose.
Step 6: Test and Assemble
Dry-fit the joint before glue ever touches it. It should go together with firm hand pressure or light mallet taps, not require force that risks splitting the wood, and not wobble either. If it's too tight, identify the high spots with a pencil rub test and pare them back a sliver at a time. Once you're happy with the fit, apply glue sparingly, clamp, and let it cure fully before any further shaping.
Common Beginner Mistakes
- Skipping the baseline gauge line: without it, depth control becomes guesswork.
- Cutting on the wrong side of the line: always cut in the waste, not on the line itself.
- Using a dull chisel: it tears fibers and makes clean corners nearly impossible.
- Rushing the fit: forcing an oversized joint together often splits the tails.
Where Dovetails Fit Into a Bigger Project
Dovetail joints show up most often in drawer boxes, so it helps to think about how that drawer will actually be used before you cut a single tail. If you're planning built-in storage as part of a larger layout, it's worth reviewing how the whole space flows — for example, when fitting drawers into a narrow kitchen, the practical planning ideas in these galley kitchen layout basics can help you decide where solid joinery matters most. Similarly, if the furniture piece you're building will sit against a wall you plan to modify later, it's smart to confirm first whether that wall is structural using this guide to identifying a load-bearing wall before committing to a fixed design.
Once your joinery skills improve, you may also want to finish the piece with a stain that highlights the joint lines rather than hiding them — the step-by-step process in this wood furniture staining guide is a natural next step after assembly. And if you want to see how a finished piece will actually look in your room before you commit hours of hand-cut joinery, tools like the visualization features on Home3DPlan let you preview furniture and layouts in a virtual space first.
Practice Before You Commit to a Project
Before cutting your first drawer for a real piece of furniture, practice on scrap wood of the same thickness you'll be using. Cut a joint, take it apart, and cut it again. Most woodworkers need several practice joints before the process feels natural, and that repetition is what builds the muscle memory for straight saw cuts and clean chisel work. Once you can consistently produce a snug, gap-free joint on scrap, you're ready to bring that skill to real furniture.