How to Stain Wood Furniture: A Beginner's Step-by-Step Guide
By Niklas Ekstrand, Furniture & Maker Editor · July 15, 2026
Why Staining Is the Easiest Way to Transform Furniture
Staining wood furniture is one of the most rewarding beginner woodworking skills you can learn. Unlike painting, stain lets the natural grain shine through while changing the tone of the wood to match your space. Whether you're reviving a thrifted dresser or finishing a new build, the process follows the same core steps: prep, apply, wipe, repeat, and protect.
This guide walks through everything a first-timer needs to know, from choosing the right stain to avoiding the blotchy finishes that trip up so many DIYers.
What You'll Need Before You Start
- Sandpaper in 120, 150, and 220 grit
- Tack cloth or a lint-free rag for dust removal
- Wood conditioner (especially for softwoods like pine)
- Wood stain — oil-based, water-based, or gel, depending on your project
- Foam brush, natural-bristle brush, or clean cotton rags
- Protective topcoat such as polyurethane, wax, or lacquer
- Painter's tape, drop cloths, and gloves
If you're planning a larger furniture project and want to visualize how a finished piece will look in a room before committing to a color, tools like the room planning features on home3dplan.com can help you test tones and layouts digitally first.
Step 1: Strip or Sand Off the Old Finish
Stain only penetrates bare, open wood grain, so any existing varnish, paint, or wax has to go. For furniture with an old finish, use a chemical stripper or sand down to raw wood with 120-grit paper. Work through progressively finer grits (120 → 150 → 220) so the surface is smooth but still able to absorb stain. Always sand in the direction of the grain — sanding across it leaves scratches that show up darker once stained.
Step 2: Clean the Surface Thoroughly
Dust left behind from sanding will trap in the stain and create a gritty, uneven texture. Wipe the piece down with a tack cloth, then follow with a slightly damp rag to lift any remaining fine particles. Let it dry completely before moving on.
Step 3: Apply Wood Conditioner (For Softwoods)
Pine, birch, maple, and other softwoods absorb stain unevenly, which often results in blotchy patches. A pre-stain wood conditioner evens out absorption and is applied 15-30 minutes before staining. Hardwoods like oak, walnut, or ash generally don't need this step, since their tighter, more even grain takes stain more predictably.
Step 4: Test the Stain on a Scrap Piece
Never apply stain directly to your furniture without testing first. Use an offcut of the same wood, or an inconspicuous spot like the underside of a leg, to check color and drying time. Stain almost always looks darker on the can label than it does on your actual wood, so this step prevents costly surprises.
Step 5: Apply the Stain
- Stir the stain thoroughly — pigments settle at the bottom of the can.
- Apply a thin, even coat with a brush or rag, working in the direction of the grain.
- Let it sit for the time recommended on the label (usually 5-15 minutes).
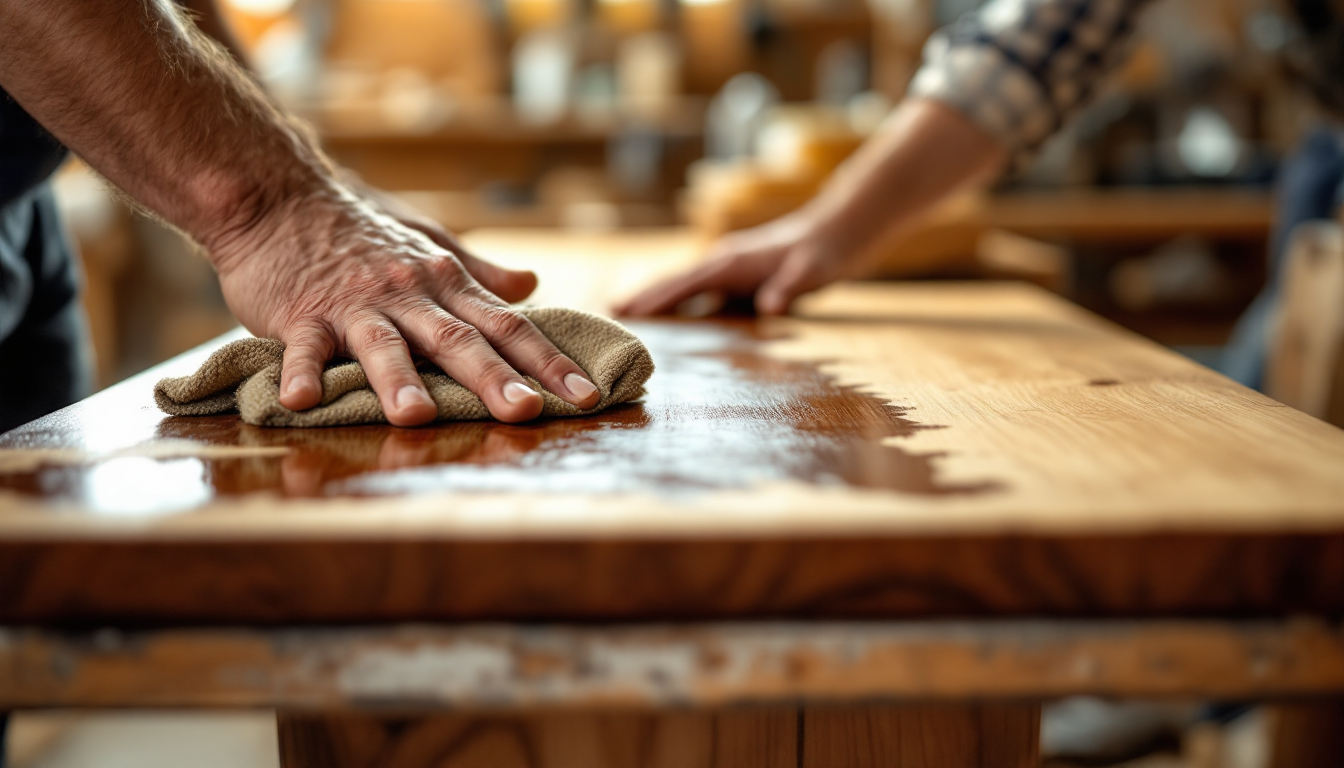
- Wipe off the excess with a clean rag before it dries completely.
- For a deeper color, apply a second coat once the first has fully dried.
Oil-based stains offer longer working time and rich, traditional tones, while water-based stains dry faster and have less odor. Gel stains sit on top of the wood rather than soaking in, which makes them a good choice for vertical surfaces or furniture prone to blotching.
Step 6: Let It Dry Completely
Drying times vary by product and humidity, but most stains need at least 24 hours before you can safely apply a topcoat. Rushing this step is one of the most common beginner mistakes — a topcoat applied too soon can trap moisture and cause clouding or peeling.
Step 7: Seal the Wood
Stain alone doesn't protect the wood from moisture, scratches, or fading. Once dry, apply two to three thin coats of polyurethane, wax, or lacquer, sanding lightly with fine-grit paper between coats for a smooth result. A water-based polyurethane keeps the finish clear and won't yellow over time, while an oil-based version adds warmth but ambers slightly with age.
Common Beginner Mistakes to Avoid
- Skipping the sanding step — old finish or rough grain prevents even stain absorption.
- Applying too much stain at once — thin coats always look better than one heavy, uneven one.
- Not wiping off excess stain in time — this leaves a sticky, tacky surface that never fully cures.
- Ignoring ventilation — stains and topcoats release fumes, so always work in a well-ventilated space.
Bringing It All Together
Staining furniture is a patient, layered process rather than a one-step fix, but the fundamentals are simple enough for any beginner to master with a little practice. Start with a small, low-stakes piece — a side table or stool — before tackling a larger dresser or dining set. Once you're comfortable with the basics of prep and application, you'll find it easier to plan bigger interior projects with confidence, whether that's refinishing a full furniture set or coordinating your indoor pieces with an outdoor refresh, such as the ideas covered in this beginner's guide to front yard landscaping or this comparison of front yard landscaping styles, both useful if you're planning a whole-home makeover alongside your furniture projects.