Galley Kitchen Layout Ideas: A Beginner's Guide to Planning the Space
By Ingrid Halvorsen, Home Planning Specialist · July 17, 2026
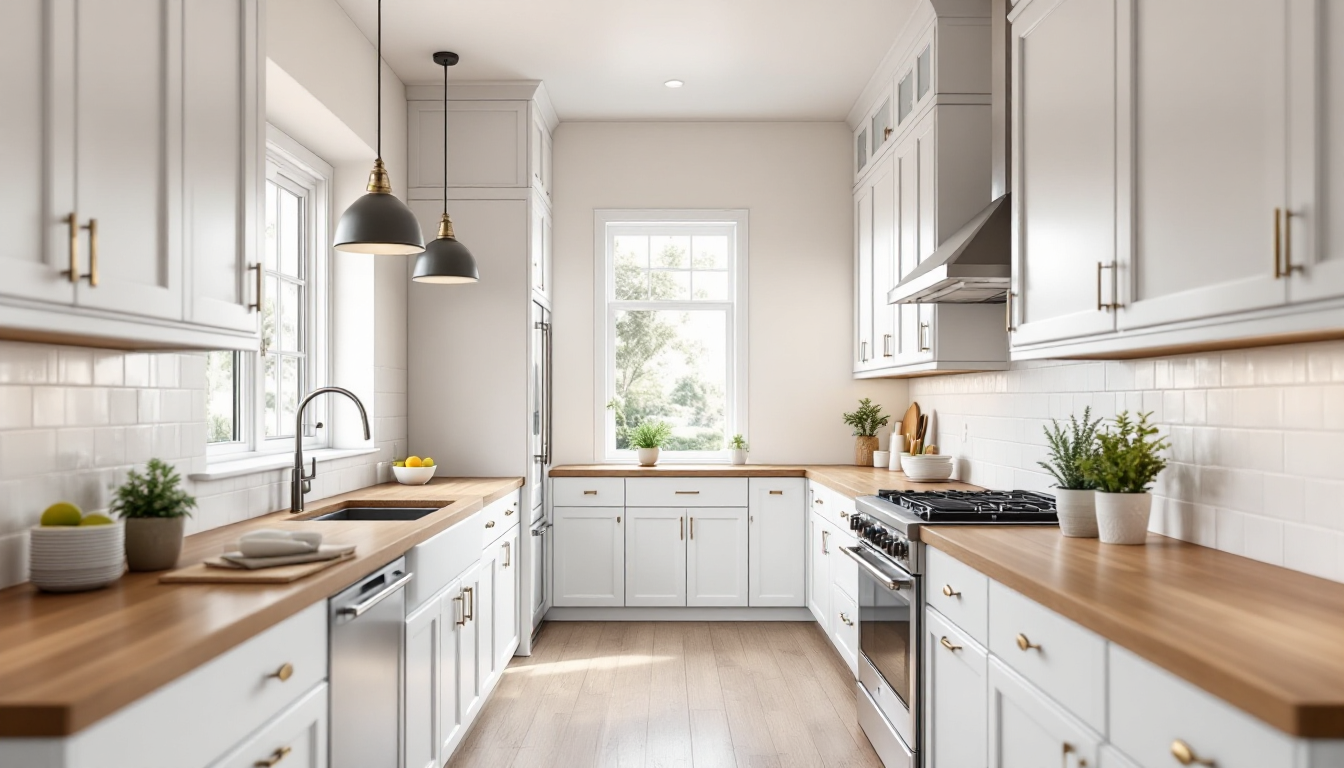
What Exactly Is a Galley Kitchen?
A galley kitchen is a layout made of two parallel runs of cabinetry and countertop, facing each other across a central walkway — much like the narrow kitchens found on ships, which is where the name comes from. It's one of the most efficient layouts in residential design because everything sits within a step or two of the cook. If you're planning a kitchen for the first time, understanding this layout is a great starting point before you look at bigger, more complex configurations.
Unlike an L-shaped or U-shaped kitchen, a galley has no corners to navigate. That makes it simple to plan on paper, but it also means every decision — where the sink goes, how wide the aisle is, where storage lives — has an outsized effect on how the room actually feels to use. Getting the basics right early saves you from a cramped, awkward space later.
Step 1: Confirm You Have the Right Footprint
Galley layouts work best in long, narrow rooms — typically between 8 and 14 feet long and no more than 8 feet wide. If your space is wider than that, an L-shaped or single-wall layout may serve you better. If it's a through-room connecting two areas of the house (say, a hallway between a mudroom and a living room), a galley kitchen is often the only layout that makes sense, since it doesn't require corner cabinets or a large footprint.
Before committing, measure your space and sketch it to scale. Even a simple floor plan drawn on graph paper will reveal whether your room can comfortably fit two runs of cabinets plus a walkway. For a more precise view of how the finished room will feel, many beginners find it helpful to model the space in a 3D home planning tool, which lets you walk through the layout virtually before any cabinets are ordered.
Step 2: Get the Aisle Width Right
The single most important number in a galley kitchen is the clearance between the two counters. Too narrow, and two people can't pass each other or open appliance doors at the same time. Too wide, and the kitchen loses the efficient, everything-within-reach quality that makes galleys so functional.
- 42 inches is the minimum recommended clearance for a single-cook kitchen.
- 48 inches is more comfortable if two people cook together or if you need to fully open an oven or dishwasher door while someone stands nearby.
- 36 inches is workable only in very tight secondary kitchens, like a basement or vacation-home galley.
Measure from the front edge of one counter to the front edge of the opposite counter, not from wall to wall — cabinet depth eats into your usable aisle space.
Step 3: Plan the Work Triangle Across Both Walls
In a galley kitchen, the classic "work triangle" between sink, stove, and refrigerator gets split across two facing walls instead of wrapping around corners. A common and efficient arrangement is to put the sink and stove on one run, with the refrigerator anchoring one end of the opposite run. This keeps wet and hot zones close together while giving the fridge its own clear approach path, so someone grabbing a drink doesn't cross paths with someone cooking.
Avoid placing the refrigerator and stove directly across from each other — open doors on both sides at once can block the aisle entirely.
Step 4: Decide Where Storage Goes
Because galley kitchens have no corner cabinets, every inch of base and wall cabinetry is easy to access — one of the layout's biggest advantages. Plan storage by zone:
- Near the stove: pots, pans, oils, and cooking utensils.
- Near the sink: everyday dishes, cleaning supplies, and a pull-out trash bin.
- Near the fridge: pantry items, food storage containers, and small appliances used less often.
If one wall is shorter (for example, because a doorway interrupts it), assign that wall lighter-duty storage, like open shelving or a narrow pantry cabinet, rather than heavy appliances.
Step 5: Decide If You Need One or Two Open Ends
Some galley kitchens are closed at both ends (a "true" galley), while others are open at one or both ends, connecting to a dining area or living space. An open-ended galley feels less enclosed and allows for better light and airflow, but it also means you lose a bit of wall space for cabinetry. If natural light is limited, an open end plus a well-placed window can make a big difference — the same way a thoughtfully planned exterior space can transform how a house feels from the outside, as covered in this guide to planning a front yard step by step.
Step 6: Light Both Runs Evenly
Because a galley kitchen has two facing walls, uneven lighting is a common beginner mistake — one side gets a window, the other stays dim. Balance this with a mix of:
- Under-cabinet task lighting on both runs
- A centered ceiling fixture or run of pendant lights above the aisle
- Reflective surfaces, like a light-colored countertop or a small mirror-backed backsplash, to bounce light across the room
Step 7: Choose Finishes That Suit a Narrow Room
Light wall colors and cabinet finishes help a narrow galley feel wider. If you're planning to refinish or build custom cabinetry as part of the remodel, understanding your material options matters — this comparison of wood stain types is a useful reference when deciding how dark or light to go on cabinet doors, and this beginner's guide to staining wood furniture walks through the process if you plan to refinish existing pieces yourself.
Putting It All Together
A galley kitchen rewards careful planning more than almost any other layout, simply because there's so little room for error. Start with an accurate floor plan, respect the minimum aisle clearance, split your work triangle sensibly across both walls, and light the room evenly. Once those fundamentals are in place, the layout tends to run itself — efficient, compact, and easy to move through every single day.