Floor Plan Symbols: A Beginner's Guide to Reading and Drawing Them
By Niklas Ekstrand, Furniture & Maker Editor · August 26, 2026
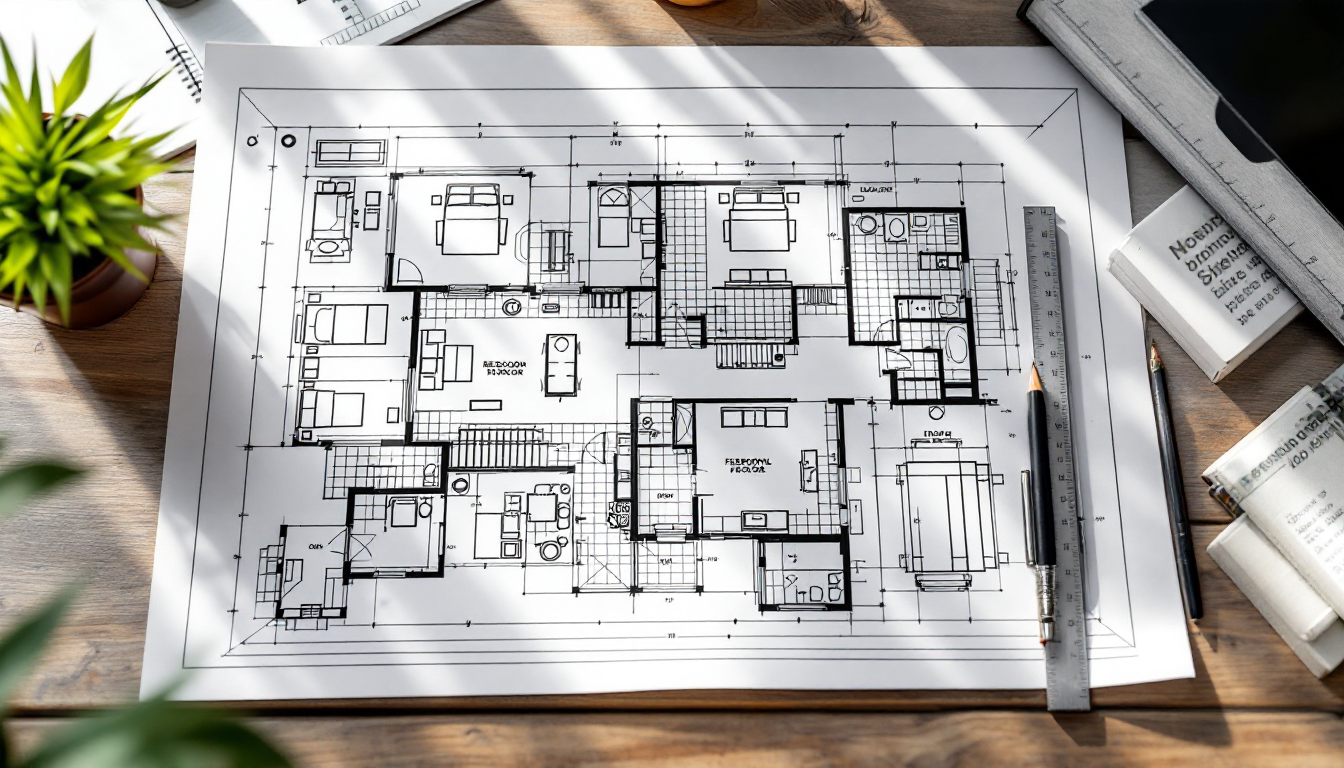
Why Floor Plan Symbols Matter
A floor plan is a shorthand language. Instead of drawing every hinge and outlet in realistic detail, architects and designers rely on a standardized set of marks called floor plan symbols. Once you learn to read them, a flat two-dimensional drawing starts to tell you almost everything about a space: where the walls sit, which way a door swings, where the plumbing goes, and how a room will actually feel to walk through.
This guide is written for absolute beginners — homeowners planning a renovation, students starting their first drafting class, or DIYers sketching an addition before hiring a contractor. By the end, you'll be able to recognize the most common symbols and start drawing your own simple plan with confidence.
The Core Categories of Floor Plan Symbols
Most symbols fall into a handful of categories. Learning these groups first makes the individual symbols much easier to memorize.
- Structural elements: walls, columns, beams
- Openings: doors and windows
- Fixtures: kitchen appliances, bathroom fittings
- Furniture: beds, sofas, tables (often optional but helpful)
- Electrical and mechanical: outlets, switches, HVAC vents
- Stairs and vertical circulation
1. Walls
Walls are drawn as parallel lines, with thickness roughly matching real-world scale. A solid black or dark gray fill often indicates a load-bearing or exterior wall, while a thinner unfilled outline may represent an interior partition. Some plans use hatching (diagonal lines) to distinguish masonry from framed walls — this becomes especially important if you're later comparing structural options like a mansard roof design that changes how upper-floor walls meet the roofline.
2. Doors and Windows
Doors are typically shown as a straight line (the door panel) attached to a quarter-circle arc, which represents the swing path. The arc tells you which way the door opens and how much floor clearance it needs — critical information if you're planning furniture placement nearby. Windows appear as a break in the wall line, usually with two or three thin parallel lines marking the glass and frame. Sliding doors and pocket doors have their own distinct symbols, generally shown as straight lines without an arc, since they don't swing into the room.
3. Fixtures and Appliances
Kitchens and bathrooms use recognizable outline shapes: a rectangle with rounded corners for a bathtub, a circle or oval for a sink basin, and a rectangle with an X or diagonal lines for a stove or cooktop. These symbols are usually drawn to scale so you can judge clearances — for example, whether there's enough space to open a dishwasher door without blocking a walkway. If you're working through layout options for a compact room, this same symbol logic applies directly to small bathroom floor plan layouts, where every inch of fixture clearance counts.
4. Stairs
Stairs are shown as a series of parallel lines representing each tread, with an arrow indicating the direction of travel (usually pointing "up"). A break line partway through often shows where the stair continues to another level outside the current plan's view.
5. Electrical and Mechanical Symbols
Outlets are typically small circles with two short perpendicular lines; switches are shown as an "S" inside a circle, sometimes with a dashed line connecting the switch to the fixture it controls. HVAC vents, ceiling fans, and light fixtures each have their own simplified icons, which vary slightly depending on the drafting standard being used (US conventions differ somewhat from European ones).
How to Start Reading a Plan Step by Step
- Find the scale and north arrow first. This tells you how to interpret every measurement and orientation on the page.
- Trace the exterior walls to understand the overall footprint of the home.
- Locate all door and window openings to understand circulation paths and natural light.
- Identify wet areas (kitchen, bathrooms, laundry) by their fixture symbols, since plumbing often dictates room placement.
- Check for a legend. Many plans include a small key in a corner explaining any non-standard symbols used.
Tips for Drawing Your Own Symbols
If you're sketching a plan by hand or in basic software, consistency matters more than artistic skill. Use the same symbol every time you represent the same element, and keep a simple legend on the side of your page as you go. Many beginners start on paper and later move their sketch into a digital format — if that's your plan, it helps to understand how a flat sketch translates into a fuller model, a process covered in more detail in this guide on turning a 2D floor plan into 3D.
It's also worth thinking about scale from the start. A plan drawn at 1/4 inch = 1 foot (or 1:50 in metric) is common for residential work and large enough to show furniture and fixture symbols clearly without cluttering the page. Tools like Home3DPlan can help you go from a hand-drawn symbol sketch to a cleaner digital layout without needing to learn full CAD software first.
Common Mistakes Beginners Make
- Forgetting to show door swing direction, which can hide clearance conflicts
- Mixing symbol styles inconsistently across the same drawing
- Omitting a scale or north arrow, making the plan hard to interpret later
- Confusing electrical symbols with plumbing symbols, especially in first drafts
These are easy fixes once you know what to look for, and catching them early saves confusion when you or a contractor revisit the plan months later.
Where to Go From Here
Once floor plan symbols feel familiar, the natural next step is applying them to a real layout — whether that's a full house plan or a smaller project like reworking furniture placement in a single room. If you want practice with a compact, symbol-heavy space, the same skills carry over well into planning something like a small bedroom furniture layout, where accurate symbols make the difference between a workable plan and a cramped one on paper that doesn't match reality.