How to Turn a 2D Floor Plan Into 3D: A Beginner's Guide
By Ingrid Halvorsen, Home Planning Specialist · August 18, 2026
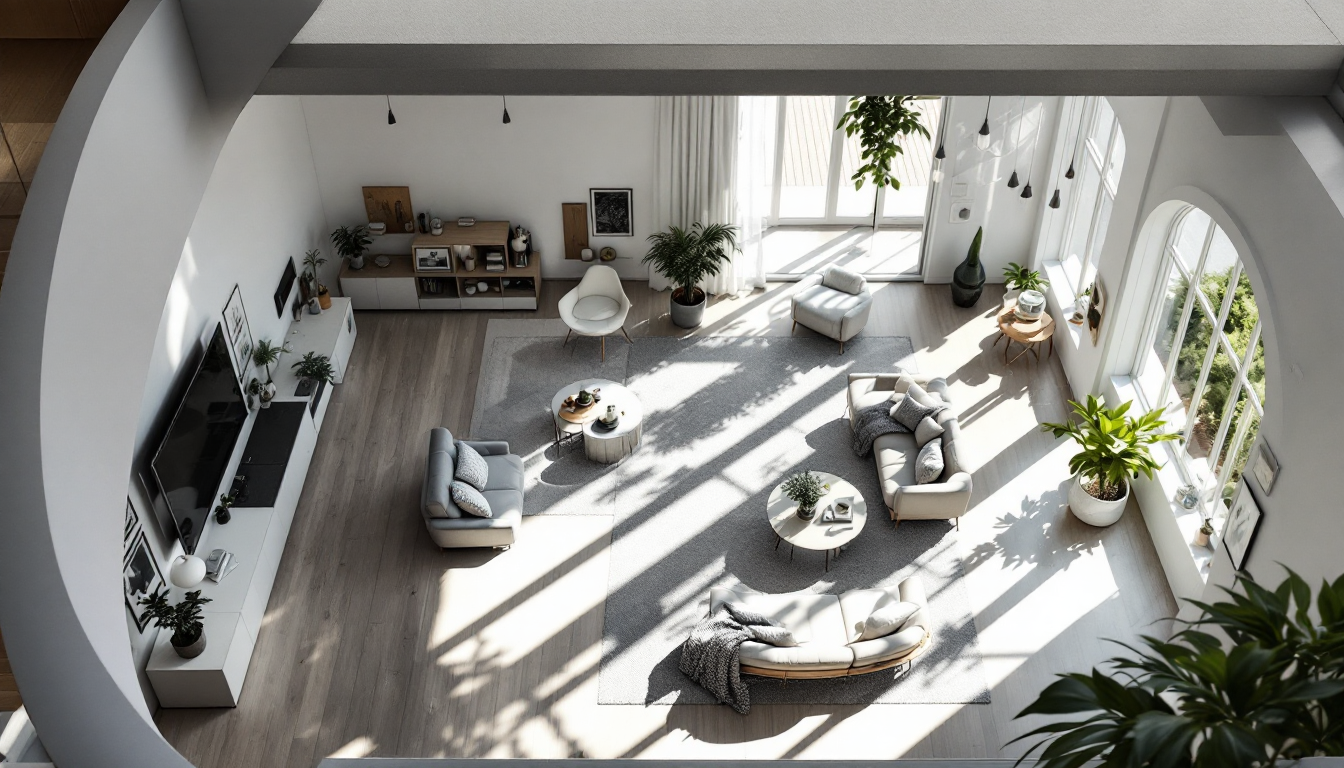
Why a Flat Drawing Isn't Enough
A 2D floor plan is a useful shorthand: it tells you where the walls are, how wide the doorways are, and roughly how furniture might fit. But it's easy to misjudge a room when you're only looking at it from above. Hallways that look generous on paper can feel cramped in real life, and a sofa that "fits" on the drawing might block a window or crowd a doorway once it exists in three dimensions. Turning your 2D plan into a 3D model closes that gap — it lets you walk through the space, check sightlines, and catch problems before they become expensive mistakes.
This guide walks through the process for someone doing this for the first time, whether you're planning a renovation, designing a new room layout, or just want to visualize a space before committing to furniture. If you want a broader look at different software and workflow options, there's a companion comparison piece on this topic — this article focuses purely on the steps.
Step 1: Get an Accurate Base Drawing
Before any conversion can happen, your 2D plan needs to be accurate. This means real measurements, not estimates. Grab a tape measure or laser measure and record:
- Wall lengths (measure at floor level and again at a higher point, since older homes are rarely perfectly square)
- Ceiling height
- Door and window widths, plus their distance from the nearest corner
- Locations of outlets, switches, vents, and any plumbing or radiators you can't move
If you already have an existing drawing — from an architect, a listing, or a hand sketch — double-check it against the real room. Small errors on paper get magnified once you're placing walls and furniture in 3D. This same measure-twice discipline shows up in other planning tasks too, like when you're working out how to draw a site plan for an outdoor project — the accuracy of your starting data determines how useful the final model is.
Step 2: Choose a Tool That Matches Your Skill Level
You don't need professional CAD software to get started. Most home design platforms, including tools available through Home3DPlan, let you draw walls on a grid, set their height and thickness, and generate a 3D view automatically. Look for a tool that offers:
- A simple wall-drawing interface with snap-to-grid measurements
- Automatic conversion from your 2D lines into 3D walls
- A furniture and fixture library you can drag into the model
- An option to export or share the finished view
Beginners often overthink this step. Pick a tool that's approachable rather than one with the most features — you can always move to something more advanced once you understand what you actually need from it.
Step 3: Recreate the Walls and Openings
With your measurements in hand, start tracing the outline of your space in the software. Set wall thickness to match reality (interior walls are typically 4-6 inches, exterior walls thicker), then place doors and windows at their correct positions and widths. This is the point where your flat plan starts becoming a volume — most tools will let you toggle to a 3D view immediately, even before you've added anything else, so you can already check that the proportions feel right.
Pay attention to door swing direction and window sill height at this stage. These details are easy to skip in a 2D plan but matter enormously once you're deciding where furniture can go.
Step 4: Add Height, Ceilings, and Structural Details
A 2D plan is inherently flat, so this is where the real "3D" thinking begins. Set your ceiling height, and if the room has sloped ceilings, dormers, beams, or soffits, add them now. These elements affect where furniture can sit and how light moves through the room, so they shouldn't be an afterthought.
Step 5: Populate the Space With Furniture
Once the shell of the room exists in 3D, bring in furniture from the software's library or import your own pieces. This step is where a 3D model earns its keep — you'll immediately see if a layout that looked fine on paper actually leaves enough clearance to open a closet door or walk around a bed. If you're working on a compact room, it's worth comparing a few layout options side by side rather than committing to the first one; the guide on small bedroom furniture layouts shows how differently the same square footage can be used depending on furniture placement, which is exactly the kind of thing a 3D view reveals fast.
Step 6: Apply Materials, Colors, and Textures
A gray box with furniture in it is technically 3D, but it won't tell you much about how the finished room will feel. Add flooring materials, wall colors, and finishes to get a more realistic sense of the space. If you're new to how textures work in 3D visualization, the beginner's guide to adding textures covers the basics of applying surface detail without needing advanced rendering skills.
Step 7: Walk Through and Adjust
The final step is the payoff: switch to a first-person or orbit view and walk through your model. Check clearances around furniture, look for awkward sightlines from the entry, and confirm that traffic paths make sense. It's common to move a wall, resize a doorway, or swap furniture placement at this stage — that's the point of doing this in 3D before anything is built or purchased.
Common Mistakes to Avoid
- Skipping accurate measurements: a beautiful 3D model built on wrong numbers just produces confident-looking mistakes.
- Ignoring door swings and clearances: these are easy to miss in 2D but obvious once you're viewing the space in 3D.
- Adding too much detail too early: get the layout right first, then add materials and decor.
Turning a flat plan into a 3D model isn't about mastering complicated software — it's about following the steps in order and checking your work as you go. Once the basic process feels familiar, you'll find it faster to test new layout ideas in 3D than to keep redrawing them on paper.