How to Add Textures to a 3D Model: A Beginner's Guide
By Adrian Kessler, Architecture & Structure Writer · August 14, 2026
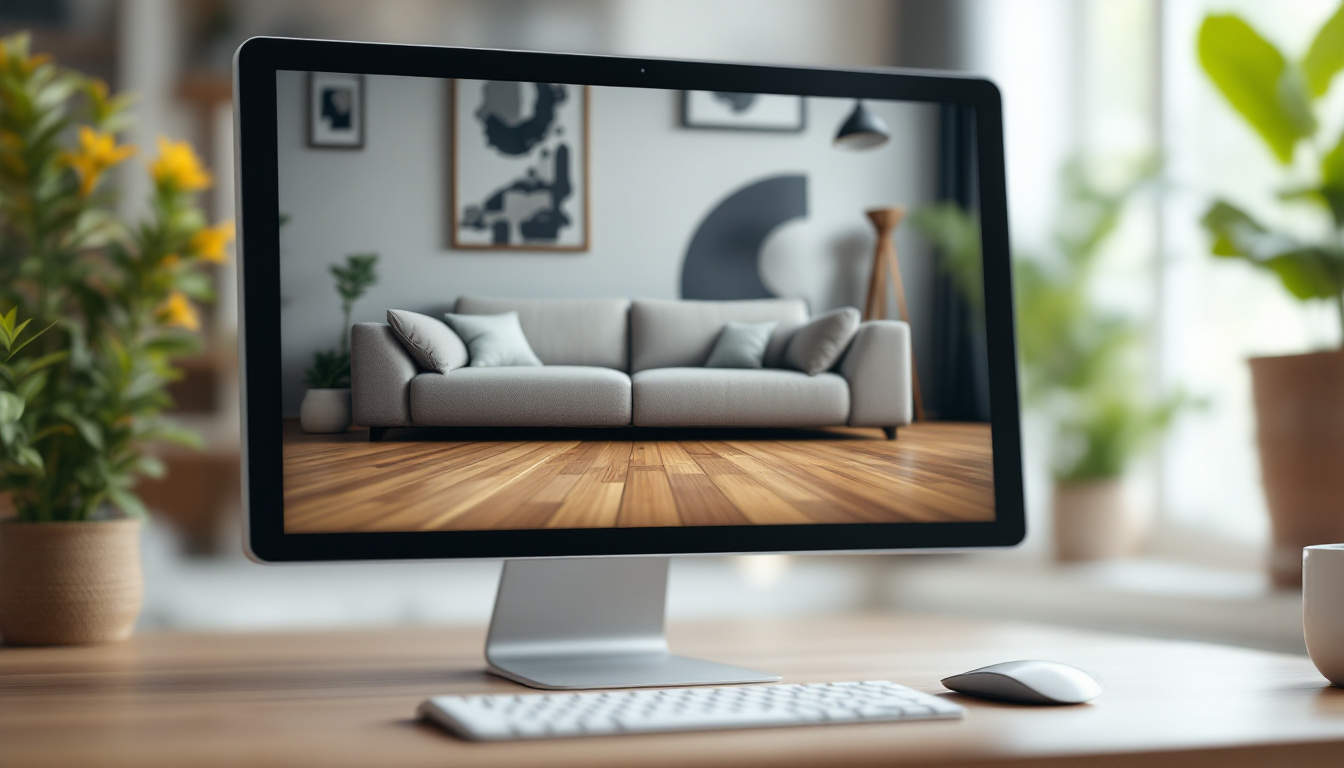
Why a Model Looks Fake Until It Has Texture
A freshly built 3D model, before any texture is applied, usually looks like a plaster cast: uniform gray, smooth, and lifeless. Texturing is the step that tells the viewer what a surface is actually made of — oak plank flooring, brushed steel, painted drywall, or worn leather. For anyone planning a room layout or furniture piece in home design software, understanding texturing basics is what separates a rough massing model from a believable preview of a finished space.
This guide walks through the core concepts in plain language: what a texture actually is, how it gets onto a 3D surface, and the practical steps to apply one for the first time. It's written for someone who has never textured a model before, not for someone comparing advanced workflows.
What "Texture" Actually Means in 3D
In everyday language, texture means how something feels — rough, smooth, bumpy. In 3D modeling, a texture is usually an image file that gets wrapped around a 3D shape to control how it looks. That image can control several things at once:
- Color (albedo/diffuse map): the base color and pattern, like wood grain or tile grout lines.
- Roughness/glossiness: how sharp or blurry reflections appear on the surface.
- Bump or normal maps: small surface irregularities that catch light without adding real geometry.
- Metalness: whether a surface behaves like metal or a non-metal (dielectric) material.
Together these are often called a "material," and a material is applied to a model's surface. If you want to go deeper on how surface bumps are simulated without extra geometry, the comparison of a normal map versus a bump map is a natural next read once you understand the basics here.
Step 1: Understand UV Mapping First
Before a texture image can wrap correctly around a 3D shape, the software needs to know how to "unfold" that shape into a flat layout — similar to how a cardboard box can be flattened into a single sheet. This flattening process is called UV mapping, and the resulting flat layout is a UV map.
Most beginner-friendly 3D and home design tools generate a basic UV map automatically for simple shapes like boxes, cylinders, or imported furniture models. You don't need to master manual UV unwrapping to get started — just know that if a texture looks stretched, distorted, or repeats oddly, the UV map is usually the culprit, not the texture image itself.
Step 2: Choose or Create Your Texture Image
You have three realistic options as a beginner:
- Use built-in material libraries. Most 3D and interior design programs ship with pre-made materials: woods, fabrics, stones, metals. This is the fastest starting point.
- Download texture packs. Sites offering free or paid seamless textures (tileable images with no visible seams) are useful when the built-in library doesn't have what you need.
- Photograph or scan real materials. More advanced, but useful when you're matching an exact existing floor or countertop.
For beginners, seamless, tileable images are important. A texture that isn't seamless will show visible repeating edges once stretched across a large surface like a floor or wall.
Step 3: Apply the Texture to the Model
The general workflow is consistent across most 3D and design applications:
- Select the object or surface you want to texture.
- Open the material or texture panel.
- Assign a base color/diffuse image.
- Adjust the tiling scale so the pattern reads at a realistic size (a 2-meter-wide texture stretched over a 6-meter wall will look oversized unless scaled properly).
- Add supporting maps — roughness, normal, or bump — if the software supports them, to add realism without extra modeling work.
Scale is the detail beginners get wrong most often. Before finalizing, compare the texture against a known reference object in the scene, like a door or a person, to check that plank widths or tile sizes look plausible.
Step 4: Check Lighting Before Judging the Result
A texture can look completely different depending on the lighting in the scene. Flat, even lighting hides roughness and bump detail; angled or lower lighting reveals it. Always review a textured model under at least two lighting conditions before deciding a material "isn't working." This is the same principle used when reviewing a full room composition — the same way lighting changes the mood in a cozy room design, it changes how convincing a texture reads in a render.
Common Beginner Mistakes
- Ignoring scale:
- Overusing high-gloss materials: everything looking like polished plastic is a common early-stage error.
- Skipping roughness maps: color alone rarely sells a material; variation in shininess matters just as much.
- Not checking tiling seams: visible repeat lines are one of the fastest ways to spot an unfinished texture job.
Where Texturing Fits Into the Bigger Design Process
Texturing is usually one of the last steps after the model's geometry and layout are settled. If you're still working out room dimensions, it's worth confirming layout fundamentals first — for example, checking a small bathroom floor plan before spending time texturing fixtures that might still move. Getting the structural and spatial decisions right first means texture work only needs to happen once.
Once you're comfortable with the basics covered here, the natural next step is comparing specific texturing techniques and tools against each other to see which fits your project and software best.