Common 3D Rendering Mistakes to Avoid: A Beginner's Guide
By Conor Sheridan, 3D Visualization Lead · November 12, 2026
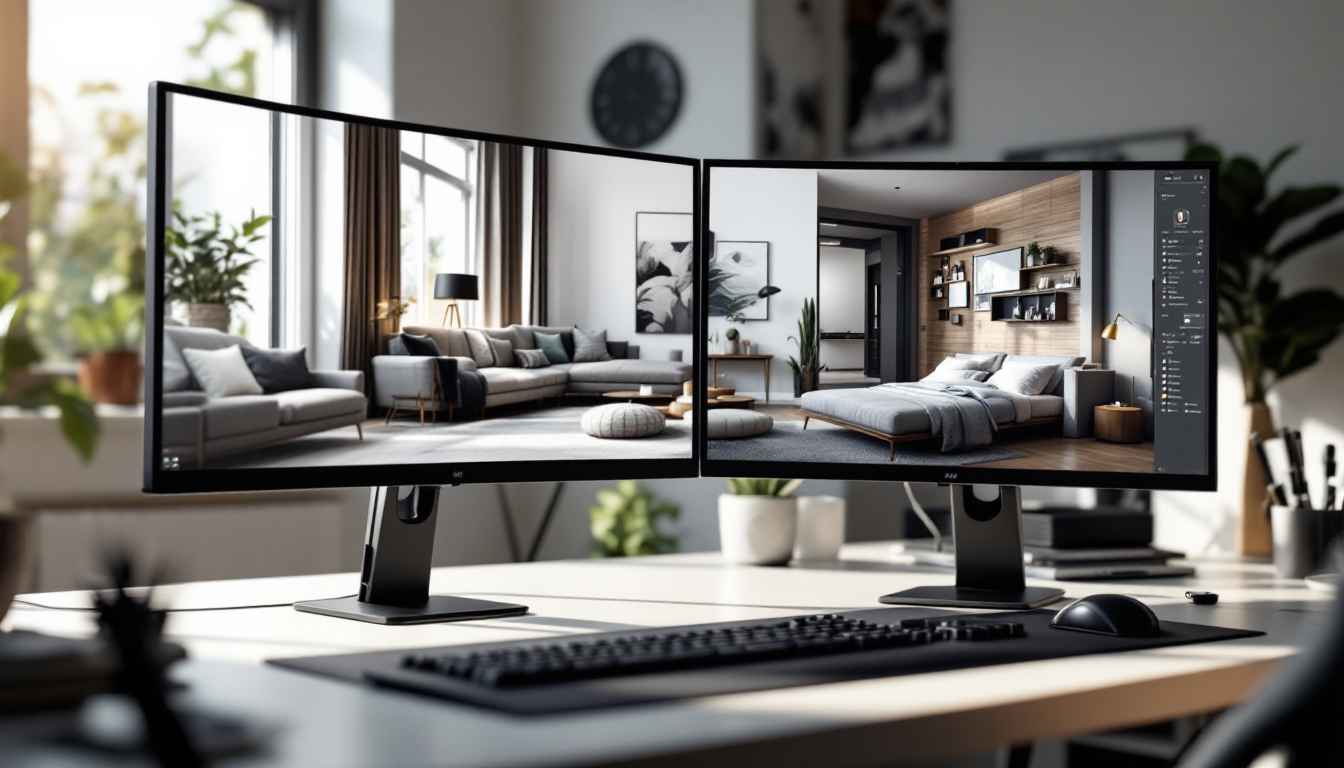
Why Most Early Renders Look "Off"
If you've ever exported your first render and felt disappointed without knowing exactly why, you're not alone. Most beginner renders don't fail because of bad software — they fail because of a handful of repeatable mistakes in lighting, materials, scale, and composition. The good news is that once you can name these mistakes, they're easy to spot and fix before they eat up hours of re-rendering.
This guide walks through the most common pitfalls step by step, so you can build good habits from your very first project. If you want a deeper dive into the techniques that make renders convincing, our beginner's guide to realistic 3D renders pairs well with this one.
Mistake 1: Treating Lighting as an Afterthought
Lighting is the single biggest factor in whether a render looks believable, yet it's often the last thing beginners think about. A common error is placing a single bright light source and calling it done, which creates flat, harsh scenes with no depth.
- Fix: Use at least two or three light sources — a key light, fill light, and some ambient bounce — to mimic how real rooms are lit by windows, lamps, and reflected light.
- Fix: Pay attention to color temperature. Mixing cool daylight with warm interior bulbs without intention creates an unnatural, muddy look.
- Fix: Don't skip global illumination or bounce lighting settings if your renderer offers them — this is what makes corners and shadowed areas feel natural instead of pitch black.
Mistake 2: Ignoring Real-World Scale
It's surprisingly easy to build a scene where a sofa ends up slightly too large or a doorway too narrow, and the eye notices immediately even if the viewer can't articulate why. Scale mistakes are one of the fastest ways to break realism.
- Fix: Always model against real-world units (meters or feet), not arbitrary scene units.
- Fix: Use a reference object, like a standard door height (around 80 inches) or a human figure, to sanity-check proportions before you commit to a full layout.
Scale problems often show up most clearly in furniture-heavy spaces. If you're designing a living room, our comparison of L-shaped living room layout ideas is a useful reference for realistic proportions and flow before you start rendering.
Mistake 3: Using Flat, Generic Materials
A wood floor that looks like plastic, or a countertop with no reflection at all, instantly signals "unfinished render." This usually happens when beginners apply a single color texture without any additional material properties.
- Fix: Learn the basics of PBR (physically based rendering) materials — roughness, metalness, and normal maps do most of the work in making a surface feel tactile and real.
- Fix: Avoid stretching or tiling textures without checking the UV mapping; a repeating pattern that doesn't line up is an easy giveaway.
- Fix: Vary material finishes within a scene — a room full of equally matte or equally glossy surfaces looks synthetic.
For a side-by-side look at how different realism techniques affect the final image, see 7 ways to make 3D renders look realistic, compared.
Mistake 4: Overcrowding or Under-Dressing the Scene
Empty rooms with nothing but furniture look sterile, while rooms stuffed with decorative clutter look chaotic and slow down render times unnecessarily. Beginners tend to swing to one extreme or the other.
- Fix: Add a few believable "life" details — a book on a side table, a throw blanket, a plant — but keep prop count proportional to the room's actual function.
- Fix: If you're still deciding on a layout, work out the floor plan and furniture flow first. Our guide to open concept floor plan pros and cons is a helpful starting point for understanding how space and furniture density interact before you start placing 3D assets.
Mistake 5: Choosing the Wrong Camera Angle
A camera placed too low, too high, or too close to a wall with a wide-angle lens can distort a space and make it look nothing like the real room it's meant to represent. This is one of the most overlooked mistakes because it happens after all the modeling work is already done.
- Fix: Keep the camera roughly at eye level (around 5 to 5.5 feet) for most interior shots unless you specifically want a dramatic angle.
- Fix: Avoid extreme wide-angle focal lengths for close interiors — they introduce barrel distortion that warps straight lines.
Mistake 6: Skipping Post-Processing Entirely
Raw render output straight from the engine often looks slightly washed out or overly digital. Beginners sometimes assume the render is "finished" the moment it exports, when in fact a light pass of post-processing is standard practice.
- Fix: Adjust exposure, contrast, and color balance in a photo editor or your renderer's built-in compositor.
- Fix: Add subtle depth-of-field or a touch of film grain if photorealism is the goal — too much sharpness everywhere can paradoxically look fake.
Mistake 7: Not Planning for the Final File Format
Finally, a mistake that isn't visual but still derails projects: exporting your model in a format that doesn't support the materials or animations you built. This is especially common when a render needs to move into a real-time viewer or AR app.
- Fix: Decide early whether you need GLB or glTF, since one bundles everything into a single file while the other splits assets out. Our beginner's guide to GLB vs glTF breaks down which format fits which use case.
Building Better Habits From the Start
Most rendering mistakes come down to rushing past the fundamentals — lighting, scale, materials, and camera placement — to get to a finished image faster. Slowing down on these basics early will save far more time than it costs. If you'd rather skip the trial-and-error entirely, tools like Home3DPlan can help you generate accurate, realistic 3D layouts and renders without needing to master every technical detail from scratch.