7 Ways to Make 3D Renders Look Realistic, Compared
By Conor Sheridan, 3D Visualization Lead · November 11, 2026
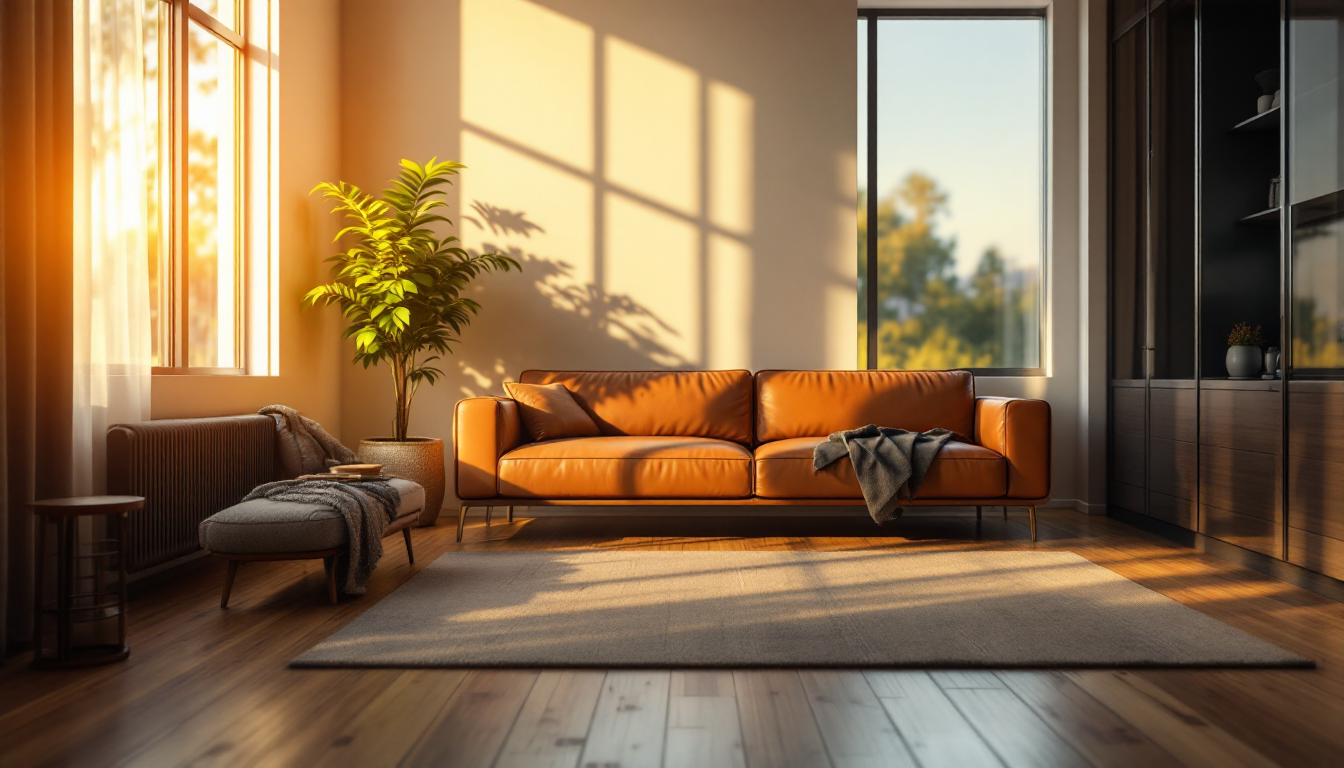
Realism is a stack of decisions, not one setting
Every render that fools the eye is the result of several smaller choices stacked together: lighting setup, material accuracy, camera behavior, geometry detail, and post-processing. There is no single toggle that makes a scene look real. If you want the conceptual groundwork first, our beginner's guide to realistic 3D renders covers the fundamentals. This article takes a different approach: it compares seven practical methods and tools people actually use to close the gap between "obviously CG" and "could be a photo," so you can weigh them against your budget, software, and deadline.
1. HDRI environment lighting
High dynamic range images capture real-world lighting information, including the sun's position, sky color, and reflected bounce light from an actual location. Dropping an HDRI into your scene as an environment light instantly gives objects believable highlights and ambient color instead of the flat, generic lighting most default scenes start with.
- Best for: exterior shots, product renders, anything with glass or metal
- Learning curve: low
- Limitation: interior scenes still need supplemental artificial lights to avoid muddy shadows
2. Physically based rendering (PBR) materials
PBR material systems define how a surface reacts to light using measured properties: base color, roughness, metalness, and normal detail. Instead of guessing how "shiny" a floor should look, you work with values that mimic real-world physics, which is why PBR has become the standard in both offline renderers and real-time engines.
- Best for: furniture, flooring, countertops, anything with a repeating texture
- Learning curve: moderate — requires understanding texture maps
- Limitation: low-quality source textures will undercut even a perfect PBR setup
3. Ray-traced renderers vs real-time engines
This is one of the biggest forks in the road for realism work. Ray tracing simulates individual light paths bouncing through a scene, producing physically accurate reflections, refractions, and soft shadows, but it's computationally expensive. Real-time engines use clever approximations to render at interactive frame rates, which matters enormously if you need a client to walk through a space live instead of waiting on a render queue. We break down the tradeoffs in detail in our real-time rendering vs ray tracing comparison.
- Best for ray tracing: hero shots, marketing stills, final delivery images
- Best for real-time: client walkthroughs, VR, interactive configurators
- Limitation: ray tracing render times scale poorly on large scenes without a capable GPU
4. Camera realism settings
Real cameras have imperfections that your eye subconsciously expects: slight depth-of-field blur, mild chromatic aberration, lens vignetting, and exposure that clips highlights the way a sensor does. Many renders look "too clean" simply because they skip these camera-level settings. Adjusting focal length and f-stop to match a real lens, rather than using a default orthographic-feeling camera, does more for perceived realism than most people expect.
- Best for: interior walkthroughs, hero marketing shots
- Learning curve: low once you understand basic photography terms
- Limitation: overdone depth of field or vignette reads as fake just as fast as having none
5. High-resolution, well-optimized geometry
Realism isn't only about shading — geometry carries a lot of the visual load. Hard, perfectly straight edges with zero bevel read as computer-generated because almost nothing in the real world has a truly sharp edge. Small chamfers, slight surface imperfections, and correct scale relationships between objects (a chair that's actually chair-sized next to a table) go a long way. If your pipeline ends in a delivered 3D asset, getting this geometry into a clean, efficient format matters too; see our comparison of GLB vs GLTF file formats for how export choices affect the final look and performance.
- Best for: close-up product shots, furniture visualization
- Learning curve: moderate — requires modeling discipline
- Limitation: excessive detail bloats file size and slows real-time viewers
6. Compositing and color grading in post
Even a technically perfect render benefits from the same post-processing a photographer would apply: contrast curves, subtle color grading, grain, and bloom around bright light sources. This step is often what separates a render that looks "rendered" from one that looks photographed, because it reintroduces the slight imperfections and tonal compression of real photography.
- Best for: final marketing images, portfolio pieces
- Learning curve: moderate — overlaps with photo editing skills
- Limitation: time-consuming if done manually on every frame of an animation
7. AI-assisted upscaling and denoising
Newer AI-based denoisers and upscalers can clean up noisy ray-traced renders in a fraction of the time a full render would take, and some tools can even enhance texture detail after the fact. This is increasingly common in fast-turnaround visualization work, including tools used to quickly preview furniture placement, similar to the AR-based approaches covered in our comparison of AR furniture-viewing tools.
- Best for: fast iteration, draft previews, animation frames
- Learning curve: low to use, moderate to fine-tune
- Limitation: can introduce artifacts or smooth away intentional detail if overused
Which approach should you start with?
If you're working on a single still image, prioritize HDRI lighting, PBR materials, and camera settings — that combination covers most of what makes a render believable. If you're producing walkthroughs or need clients to explore a space interactively, lean toward a real-time engine and make sure your exported files are lean and properly structured, since a model built for visualization often needs to double as an interactive asset. Planning the room itself before you ever open a render engine also pays off; tools like home3dplan's 3D planning platform let you lock in layout and furniture placement early, so your lighting and material work later isn't undone by last-minute layout changes.
Realistic rendering is rarely about owning the most expensive software. It's about applying a handful of these techniques consistently, in the right order, and knowing which one is doing the heavy lifting for your specific type of project.