Pocket Hole Joinery for Beginners: A Simple Guide to Getting Started
By Niklas Ekstrand, Furniture & Maker Editor · November 4, 2026
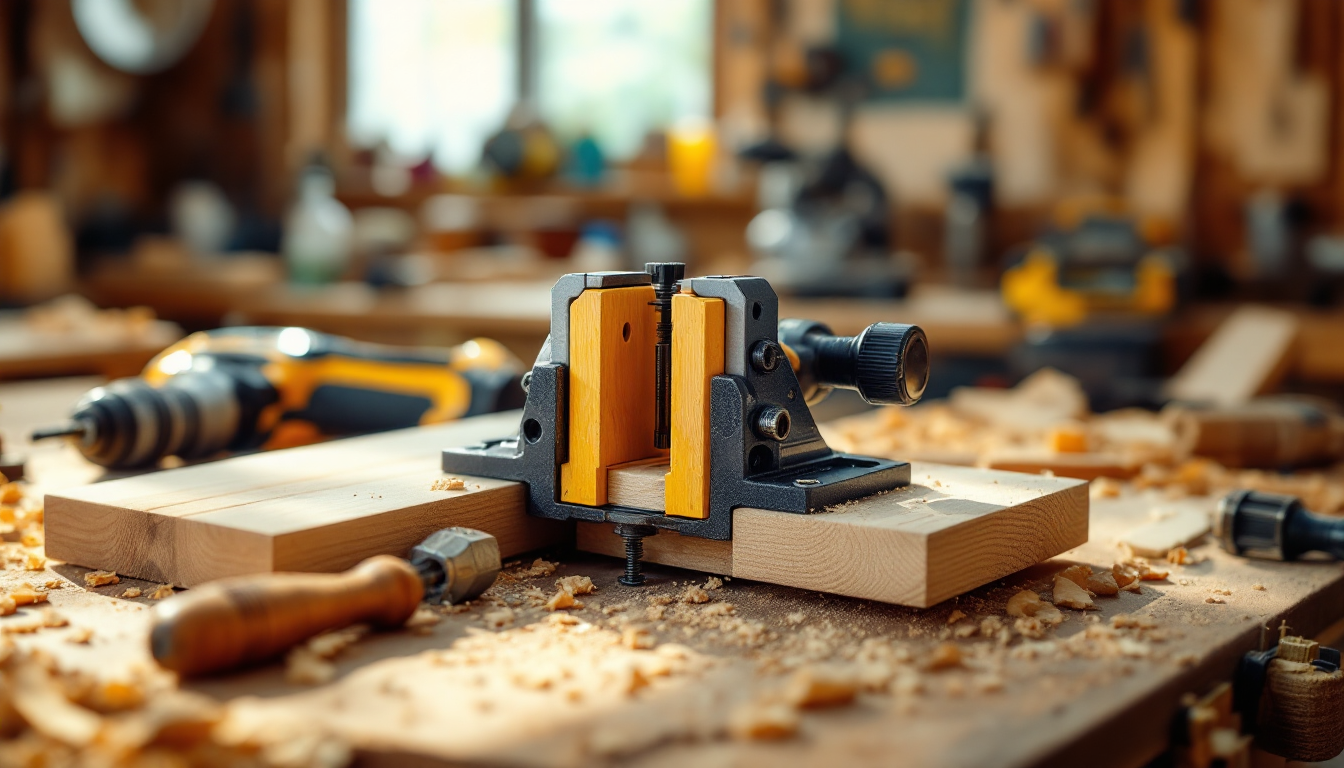
What Pocket Hole Joinery Actually Is
Pocket hole joinery is a method of joining two pieces of wood by drilling an angled hole into one board and driving a self-tapping screw through it into the second board. The result is a strong, mechanical joint that can be assembled in minutes, without clamps curing overnight or specialized hand-cut joints. It's one of the most approachable ways to start building furniture, cabinets, or shelving if you're new to woodworking.
Unlike dowels or mortise-and-tenon joints, pocket holes don't require precision chisel work or a drill press. A dedicated jig holds your drill bit at the correct angle, so the learning curve is short. That's exactly why this method is a go-to recommendation for anyone building their first project, whether it's a simple shelf or a piece inspired by a warm minimalist interior design plan you've sketched out.
Why Beginners Should Start Here
Pocket holes are forgiving. If your cut isn't perfectly square or your boards are slightly off, the screw still pulls the joint tight. A few reasons this method suits newcomers:
- Speed: A joint can go from drilled to clamped-and-screwed in under a minute.
- Low tool investment: A basic jig, a stepped drill bit, and a driver are enough to start.
- Strength: Properly sized screws create joints strong enough for face frames, drawer boxes, and most furniture carcasses.
- Reversibility: Mistakes can be unscrewed and redrilled elsewhere on the board.
It's also a practical skill if you're planning a DIY build around a home upgrade. If you've already mapped out a project using a home renovation planning checklist, pocket hole joinery is often the fastest way to build the built-ins, shelving, or trim pieces on that list without hiring it out.
Tools and Materials You Need
Before drilling anything, gather the essentials:
- Pocket hole jig: Entry-level single-hole clamping jigs work fine for beginners; multi-hole jigs speed up repetitive work later.
- Stepped drill bit: Usually included with the jig, this bit drills the pocket and pilot hole in one pass.
- Pocket hole screws: These are self-tapping with a flat washer head. Length depends on material thickness — typically 1 1/4" for 3/4" plywood or hardwood.
- Drill/driver: A standard cordless drill works; a separate impact driver speeds up screw driving.
- Clamps: Even a basic face clamp keeps boards aligned while you drive the screw.
- Wood glue: Optional but recommended for extra holding strength on furniture joints.
Step-by-Step: Your First Pocket Hole Joint
- Set the jig for your material thickness. Most jigs have a depth collar or dial — match it to 3/4" or whatever stock you're using.
- Clamp the workpiece into the jig. The jig guides the drill bit at roughly a 15-degree angle so the screw exits inside the joint, not through the face of the board.
- Drill the pocket holes. Drill slowly and let the stepped bit do the work; back it out periodically to clear sawdust.
- Position the second board. Butt it against the drilled piece at the angle you want — usually a 90-degree corner joint.
- Clamp the two pieces together. A right-angle clamp keeps the joint flush while you drive the screw.
- Drive the pocket screw. Use a square-drive bit matched to your screws and drive until the head seats snugly — don't overtighten, which can strip the hole.
- Check the joint. It should be flush and rigid. If it flexes, add a second screw or switch to a slightly longer one.
Common Beginner Mistakes to Avoid
- Using the wrong screw length: Too long, and the screw tip pokes through the opposite face. Measure your stock thickness before choosing screws.
- Skipping clamps: Hand-holding boards while driving screws almost always shifts alignment. Clamp first, every time.
- Overdriving screws: Pocket screws are self-tapping but still susceptible to stripping if you drive with too much torque.
- Ignoring grain direction: Pocket holes work with the grain, across it, and on plywood edges, but very thin stock (under 1/2") can split if drilled too close to an edge.
- Forgetting hole placement on visible faces: Plan joints so pocket holes end up on the inside or back of a piece where they won't show.
Where Pocket Holes Fit Into a Bigger Project
Pocket hole joints are especially useful for face frames, drawer boxes, shelving units, and simple furniture like benches or desks. They're less suited to extremely visible joinery (like a fine dining table apron) where woodworkers often prefer mortise-and-tenon or dowel joints for appearance. As you grow more comfortable, it helps to sketch your build before cutting any wood. Tools that let you visualize a finished piece in your space — similar to how a furniture AR visualization app previews placement — can save material and rework by catching sizing issues early.
If you're combining a furniture build with a larger room refresh, platforms like Home3DPlan can help you plan the layout and finishes around your new piece before you start cutting boards, so the built shelf or bench actually fits the space and style you're aiming for.
Final Thoughts
Pocket hole joinery won't replace every traditional joint in a serious woodworker's toolkit, but as a starting point, it's hard to beat. The tools are inexpensive, the technique is quick to learn, and the joints hold up well for everyday furniture and shop projects. Start with a simple test joint on scrap wood, get a feel for drilling angle and screw length, and you'll be ready to tackle your first real build with confidence.