Paver Patio Ideas: A Beginner's Guide to Planning Your First Outdoor Space
By Marta Nowak, Landscape & Outdoor Designer · September 29, 2026
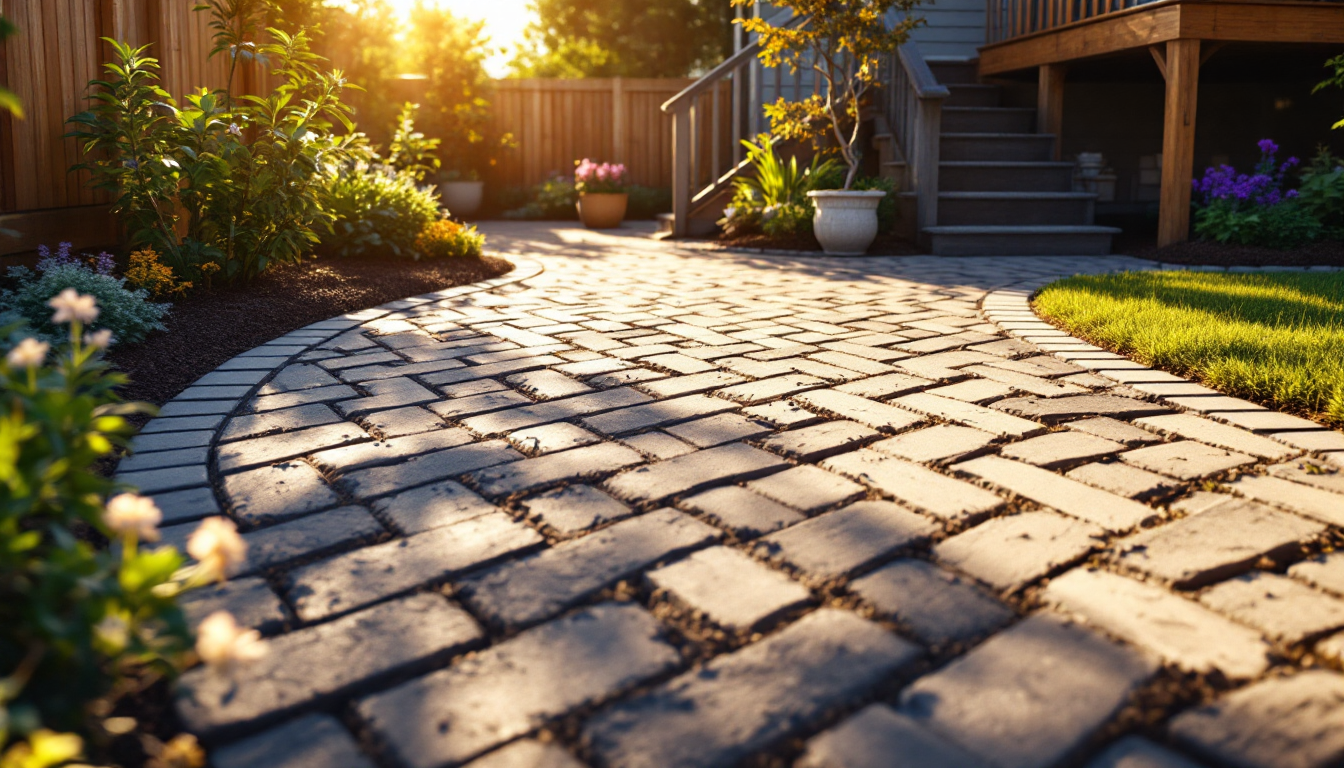
Why a Paver Patio Is a Great First Hardscaping Project
If you've never tackled an outdoor build before, a paver patio is one of the most forgiving places to start. Unlike poured concrete, pavers don't require a truck, a crew, or a same-day pour deadline. You can work in stages, fix mistakes as you go, and lift a paver back out if you've made an error — something that's simply not possible once concrete sets. That flexibility makes it an ideal entry point for homeowners who want to extend their living space outdoors without committing to an irreversible project.
This guide walks through the basics: what pavers are, how to choose a layout, which materials suit different budgets, and the planning steps that prevent costly do-overs. If you're also rethinking your yard's layout, it pairs well with a broader look at common landscaping mistakes to avoid before you plant or build.
What Exactly Is a Paver Patio?
A paver patio is built from individual units — concrete, brick, or natural stone — laid over a prepared base of compacted gravel and sand rather than poured as one continuous slab. Each piece interlocks or sits tightly against its neighbors, distributing weight and allowing for slight, natural ground movement without cracking. This is why paver patios tend to age more gracefully than concrete: a single damaged piece can be popped out and replaced instead of jackhammering an entire slab.
Common Paver Materials for Beginners
- Concrete pavers: The most budget-friendly and widely available option, sold in dozens of shapes, colors, and textures that mimic stone.
- Clay brick: Classic and durable, with a warm color that rarely fades, though it costs more than standard concrete units.
- Natural stone (flagstone, bluestone, travertine): The most premium look, with irregular shapes that create a more organic, less uniform patio.
- Permeable pavers: Designed with gaps that let rainwater filter through to the soil, useful in areas with drainage restrictions or heavy runoff.
Start With the Shape and Size of Your Space
Before browsing paver colors, figure out how the patio will actually be used. A patio meant for a small bistro table needs far less square footage than one meant to host a grill, dining set, and lounge chairs. A comfortable rule of thumb is at least 12 by 12 feet for a small seating area, and 16 by 18 feet or more if you're planning a dining zone plus a separate lounge zone.
Sketching the layout — even roughly on graph paper — helps you avoid the classic beginner mistake of building a patio that looks generous on paper but feels cramped once furniture is in place. This is the same principle used in room-by-room interior planning: block out furniture footprints first, then adjust the boundaries around them, rather than the other way around.
Popular shapes for beginners include:
- Simple rectangle or square: Easiest to plan, cut, and cost out, with minimal waste.
- Curved or kidney shape: Softens the transition between patio and lawn, especially useful if you're layering in garden beds or a berm along the edge.
- L-shape: Separates a dining area from a lounge area while keeping both connected to the house.
- Multi-level patio: Uses low retaining walls or steps to work with a sloped yard instead of fighting it.
Patterns That Change the Whole Feel of the Space
The way pavers are arranged has a bigger visual impact than most beginners expect. A running bond (bricks staggered like a brick wall) reads as classic and low-key. Herringbone patterns feel more custom and hold up well to vehicle weight if the patio doubles as a parking pad. Basket-weave patterns suit traditional homes, while large-format single pavers laid in a simple grid give a clean, modern look with fewer visible joints.
If you're unsure which pattern fits your home's architecture, it helps to think about your house's existing lines the way you would when comparing a floor plan to an elevation drawing: the pattern should feel like it belongs to the structure it's attached to, not like an unrelated addition.
Planning the Base: The Step Beginners Skip
The single biggest reason paver patios fail isn't the pavers themselves — it's an inadequate base. Skipping proper excavation and compaction leads to sinking, shifting, and weeds pushing through joints within a year or two. A reliable base generally includes:
- Excavating 7-9 inches deep, accounting for the paver thickness plus base materials.
- Adding 4-6 inches of compacted crushed gravel for drainage and stability.
- A 1-inch layer of coarse sand, screeded flat, as the setting bed.
- Pavers laid tight against each other, then joint sand swept in and compacted.
Slope matters too — a patio should pitch slightly away from the house, roughly a quarter-inch per foot, so water drains away from your foundation instead of pooling against it.
Budgeting and Choosing Materials Wisely
Costs vary widely by material and region, but concrete pavers typically run less per square foot than natural stone, while labor (if you hire a contractor) often costs more than the materials themselves. Beginners on a budget can save by handling demolition and excavation themselves and hiring a professional only for the base compaction and layout, where mistakes are hardest to fix later.
If you want to visualize different paver colors, patterns, or patio shapes against your actual yard before committing to materials, tools like home design and planning software can help you test layouts digitally rather than relying on guesswork or sample squares laid out on the lawn.
Next Steps
Once the shape, pattern, and base plan are settled, the remaining decisions — furniture, lighting, plantings around the edges — become much easier because the hard structural choices are already locked in. Measure twice, sketch your layout, and choose a base that won't let you down, and the paver patio itself becomes the easiest part of the project.