The Kitchen Work Triangle Rule: A Beginner's Guide to Planning a Kitchen That Flows
By Camille Moreau, Lead Interior Designer · July 19, 2026
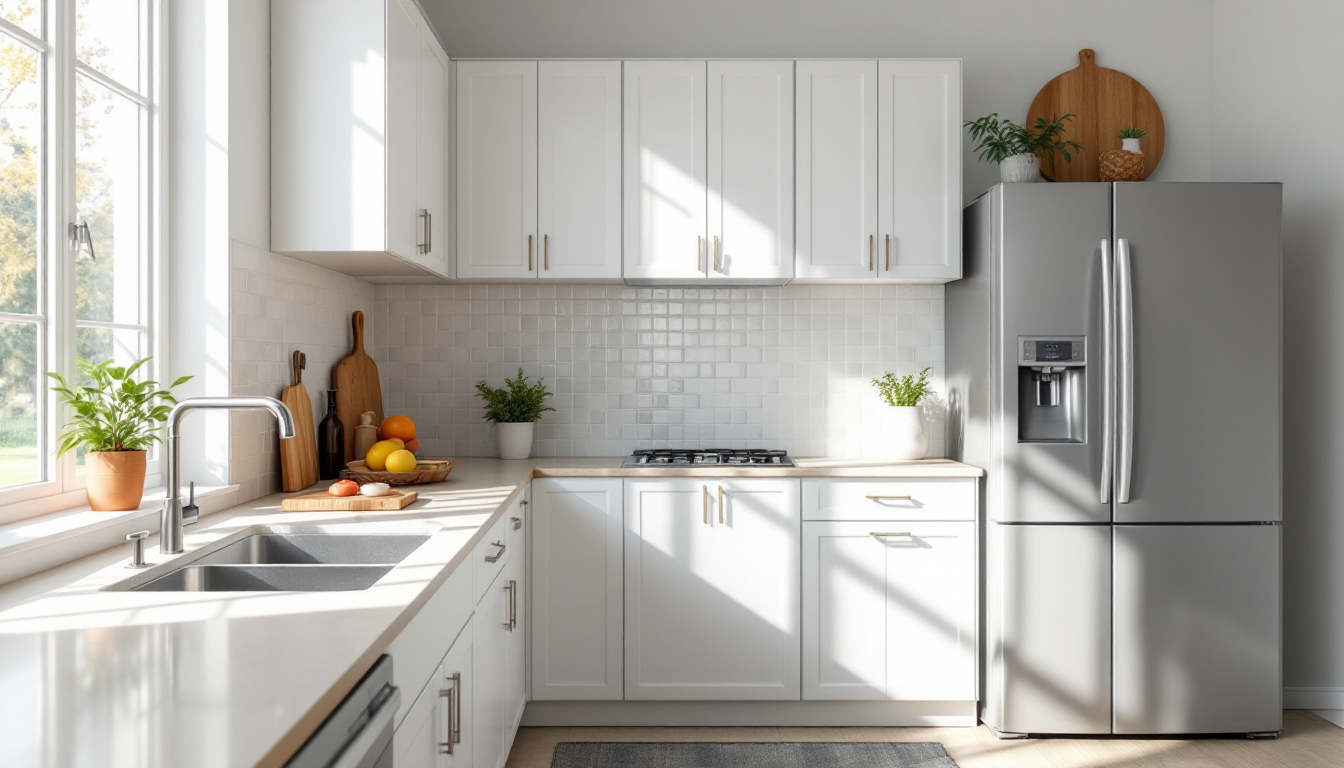
What Is the Kitchen Work Triangle Rule?
If you've ever felt like your kitchen fights you every time you cook, the problem is often not your appliances or your countertops — it's the layout. The kitchen work triangle rule is one of the oldest and most reliable principles in kitchen design, and it's a great starting point if you're planning a kitchen for the first time.
The rule is simple: imagine drawing a line between your three main work zones — the refrigerator, the sink, and the stove (or cooktop). Together, these three points form a triangle. The idea is that keeping this triangle efficient, with reasonable distances and no obstacles between the points, makes cooking smoother and less tiring.
This concept dates back to the 1940s, when researchers studying kitchen efficiency noticed that most cooking tasks involve moving between these three points repeatedly. Decades later, it's still one of the first things designers check when evaluating a floor plan — including at home3dplan.com, where we use it as a baseline before layering in storage and style decisions.
Why the Triangle Matters for Beginners
When you're new to kitchen planning, it's tempting to focus on finishes first — cabinet color, countertop material, backsplash tile. But none of that matters if you're constantly crossing the room to grab a pan, or if your fridge door blocks the sink. The work triangle rule forces you to think about function before form, which is exactly the right order.
A well-planned triangle reduces unnecessary steps, keeps traffic flowing (especially if more than one person cooks at a time), and helps you decide where to place counters, islands, and storage before anything gets built.
The Three Classic Guidelines
Most kitchen designers still reference three basic measurements when applying the rule:
- Each side of the triangle should measure between 4 and 9 feet. Shorter distances feel cramped; longer ones mean more walking.
- The total perimeter of the triangle should be no more than 26 feet. This keeps the whole workflow tight and efficient.
- No major traffic path should cut through the triangle. If people walking to the dining room or back door constantly cross between your sink and stove, the layout will feel chaotic no matter how nice it looks.
These aren't rigid laws — modern kitchens with islands, open shelving, and multiple cooks often bend them — but they're a dependable checkpoint when you're sketching your first layout.
How to Apply the Rule Step by Step
1. Sketch Your Current or Planned Layout
Draw a rough floor plan, even if it's just on graph paper. Mark where your sink, fridge, and stove are (or will be). This gives you a visual base to measure from.
2. Measure the Three Distances
Using a tape measure or your scaled drawing, measure the distance between each pair of points: fridge to sink, sink to stove, and stove to fridge. Add them together to check the total perimeter.
3. Check for Obstacles
Look at what sits between each point. Is there an island, a peninsula, or a doorway cutting through the path? Minor detours are normal, but a full walking route through the middle of the triangle is a red flag.
4. Adjust Before You Commit
If your triangle is too large, consider whether the sink or stove can move closer to the fridge, or whether a secondary prep sink could shorten the walk. If it's too small, you may need to widen counters slightly to avoid a cramped, bump-into-each-other feel.
5. Think About Real Cooking Habits
The rule works best when paired with how you actually cook. If you always wash vegetables, then move to the stove, then plate at the counter near the fridge, walk through that sequence mentally and see if the triangle supports it naturally.
Applying the Rule to Different Layouts
The work triangle looks different depending on your kitchen's shape. In an L-shaped kitchen, the triangle usually forms naturally along two walls. In a U-shaped kitchen, all three points often sit on separate walls, which tends to work beautifully. Galley kitchens — narrow, two-wall layouts common in apartments and older homes — need a bit more care, since the fridge, sink, and stove are often squeezed along a single run. If you're working with this layout, our beginner's guide to planning a galley kitchen walks through how to keep the triangle functional even in a tight footprint, and our comparison of seven galley kitchen layouts is useful if you're deciding between configurations before committing to one.
When the Rule Doesn't Quite Apply
Modern open-plan kitchens, kitchen islands with secondary sinks, and multi-cook households have all pushed designers to treat the triangle as a guideline rather than gospel. Some newer approaches divide the kitchen into "zones" instead — prep, cook, clean, storage — which can work better for larger spaces. Still, for a first-time planner, the triangle remains the easiest mental model to start with, because it's concrete and measurable rather than abstract.
Final Thoughts
The kitchen work triangle rule isn't about rigid math — it's about reducing friction in a space you use every single day. Start by mapping your three key points, measuring the distances, and clearing obstacles from the path between them. Once that foundation is solid, you can move on to the more enjoyable decisions: cabinet finishes, lighting, and layout style. And if your next project extends beyond the kitchen, tools like the room planning resources on home3dplan.com can help you visualize how these zones connect to the rest of your home.