7 Ways to Start Building Furniture as a Beginner, Compared
By Niklas Ekstrand, Furniture & Maker Editor · August 29, 2026
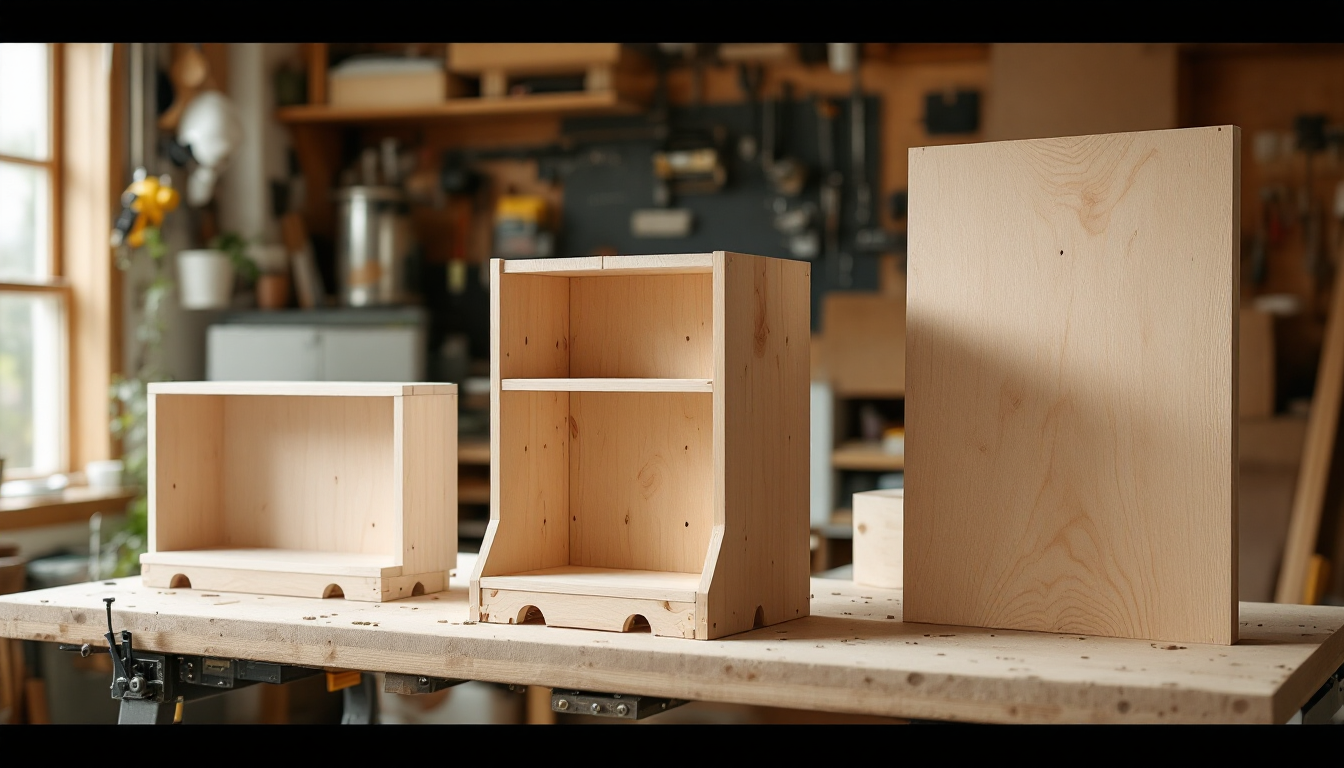
There's more than one way into this hobby
Ask ten woodworkers how they got started and you'll get ten different answers. Some began with a box store 2x4 and a miter saw. Others jumped straight to a table saw and a stack of hardwood. A growing number now start with a laptop and a CNC file. None of these paths is wrong, but they're not equally suited to every beginner's budget, workshop, or patience level.
If you've already read a step-by-step introduction like our beginner's guide to building furniture, you know the basic sequence: plan, cut, join, finish. This article is different — it's a side-by-side comparison of the actual routes beginners take to get there, so you can pick the one that matches your situation instead of copying someone else's workflow.
The seven approaches, compared
1. Pre-cut kits with pocket-hole assembly
Kits that arrive with parts already cut to size are the lowest-friction entry point. You supply a drill, a pocket-hole jig, and glue. There's almost no measuring involved, which removes the step where most beginners make expensive mistakes.
- Cost: Moderate — you pay for convenience.
- Skill required: Very low.
- Best for: First-time builders who want a finished piece of furniture, not a woodworking hobby yet.
2. Simple boards and butt joints (the classic starter path)
This is the traditional "learn to build furniture" route: dimensional lumber, a circular saw or miter saw, wood glue, and screws. It's cheap and forgiving, and it teaches you to read a tape measure and square a frame — skills every other method eventually relies on.
- Cost: Low.
- Skill required: Low, but mistakes are visible.
- Best for: Shelving, plant stands, garage storage — things where joinery doesn't need to be invisible.
3. Pre-made cut lists with hand tools
Instead of designing on the fly, you work from a written plan that tells you exactly what to cut and in what order. This removes a huge source of beginner anxiety: not knowing if you're about to waste a board. Learning how to make a cut list before you cut is arguably the single highest-leverage skill for anyone starting out, regardless of which method you choose otherwise.
- Cost: Low to moderate.
- Skill required: Low-moderate; more planning than execution.
- Best for: Anyone who has wasted material by winging it once already.
4. Mortise and tenon joinery by hand
This is where furniture building starts to feel like a craft rather than assembly. A hand-cut mortise and tenon joint needs no metal fasteners and holds up for decades, but it demands patience with a chisel and a saw. If you're curious whether you're ready, this guide to cutting a mortise and tenon joint walks through the process without assuming prior experience.
- Cost: Low tool cost, high time cost.
- Skill required: Moderate to high.
- Best for: Builders who want traditional joinery and don't mind a learning curve measured in scrap wood.
5. Power-tool joinery (dowels, dominoes, biscuits)
Jigs and dedicated joiners let you produce mortise-and-tenon-strength joints in a fraction of the time, at the cost of buying a specialized tool. This is a common second step once someone has built a few basic pieces and wants stronger, faster results without going full hand-tool purist.
- Cost: Moderate to high (tool investment).
- Skill required: Moderate.
- Best for: Beginners with some budget who want speed and repeatability.
6. CNC-cut parts from downloaded or custom files
Rather than cutting joinery by hand, a CNC router (yours or a local makerspace's) cuts precise parts from a digital file. This shifts the skill requirement from hand-tool dexterity to computer literacy — measuring twice matters less when the machine is doing the cutting. There's a wide range of sources for CNC furniture plans, from free community files to paid, nested-for-your-material designs, and a dedicated beginner's guide to going from file to finished piece if you want the full workflow.
- Cost: High upfront (machine access), low per-project once set up.
- Skill required: Low woodworking skill, moderate digital skill.
- Best for: Beginners who are more comfortable with software than with a hand plane.
7. Design-first, build-second (sketch or 3D model before cutting)
Some beginners skip straight to designing their own piece using planning software or even a floor-plan style tool, then build from that model. This is slower to get started but avoids the common trap of buying materials before knowing exactly what you're building. Tools originally meant for room layouts, like those used to plan a home's layout in 3D, are increasingly used the same way for furniture massing and scale checks.
- Cost: Low (mostly software).
- Skill required: Low woodworking skill, moderate spatial/design skill.
- Best for: Visual thinkers who want to see a piece before committing wood to it.
How to pick between them
A few honest questions narrow this down fast:
- Do you already own tools, or are you starting from zero? Zero tools points toward kits or CNC access; an existing miter saw points toward the classic board-and-screw path.
- Do you care about joinery quality, or just a usable result? If it's the latter, don't feel guilty about pocket holes or dowels — visible screws have furnished houses for decades.
- How much time do you want to spend learning versus building? Hand-cut joinery is a skill investment; CNC and kits are a money investment instead.
- Do you have a small workshop or none at all? If space is tight, it's worth pairing your method choice with small-space DIY furniture strategies so the project actually fits your reality.
The bottom line
There's no single "correct" way to learn furniture building. The kit builder who finishes a bookshelf this weekend and the hand-tool enthusiast who spends a month on a single mortise and tenon are both doing the same fundamental thing: turning raw material into something useful through a repeatable process. Pick the method that matches your tools, budget, and patience today — you can always graduate to a harder one once the first project is done.