How to Cut a Mortise and Tenon Joint: A Beginner's Guide
By Conor Sheridan, 3D Visualization Lead · August 22, 2026
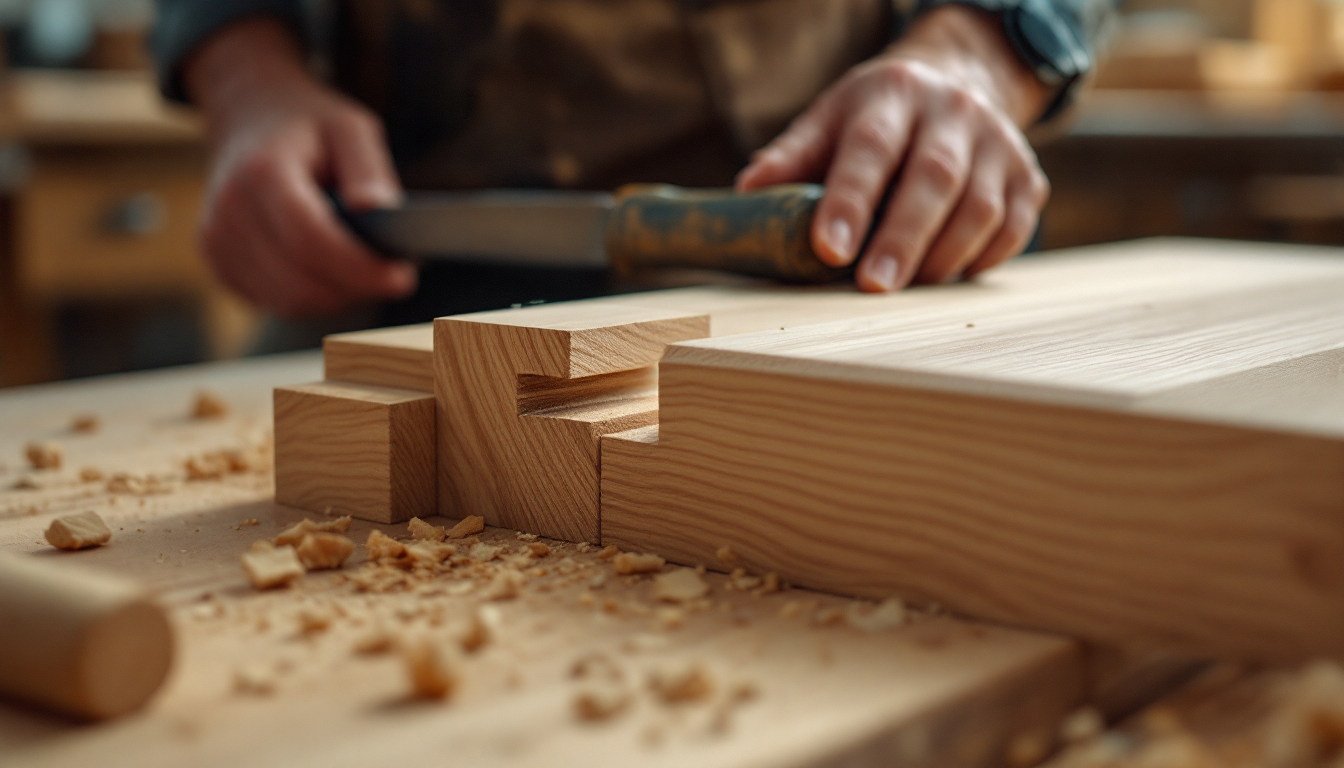
What a Mortise and Tenon Joint Actually Is
The mortise and tenon is one of the oldest woodworking joints still in everyday use, and for good reason: it's strong, it hides most of its mechanics inside the wood itself, and it doesn't require any special hardware. A tenon is a tongue cut into the end of one board, and a mortise is a matching slot cut into another board to receive it. Glue them together and you get a joint that resists both pulling and racking forces far better than screws or dowels alone.
If you're building a table, chair, door frame, or any project where two pieces meet at a right angle under load, this joint is worth learning properly. It looks intimidating the first time you see it in a plan, but the process breaks down into a short, repeatable sequence.
Tools You'll Need
- Marking gauge (a wheel-type gauge is easiest for beginners)
- Combination square or try square
- Backsaw or tenon saw
- Chisels matched to your mortise width
- Mallet
- Drill or mortising machine (optional, for waste removal)
- Pencil or marking knife
You don't need power tools to cut this joint well. Plenty of furniture makers cut mortise and tenon joints entirely by hand, and doing it that way at least once will teach you more about the geometry than any router jig will.
Step 1: Plan the Joint Dimensions
Before any wood is cut, decide on your proportions. A common rule of thumb is to make the tenon thickness roughly one-third the thickness of the stock. So a 3/4-inch-thick rail would get a 1/4-inch tenon. The tenon should also be centered on the board unless the design calls for it to be offset.
Getting this right at the planning stage matters just as much as it does when you're figuring out board dimensions for a cut list before you start cutting — mistakes made on paper are far cheaper to fix than mistakes made in solid wood.
Step 2: Mark Out the Mortise and Tenon Together
This is the step beginners most often skip, and it's the one that prevents sloppy joints. Set your marking gauge to the tenon thickness and scribe the shoulder lines on both the mortise piece and the tenon piece at the same time, using the same gauge setting. This ensures the two halves will match no matter how the gauge was set, because any small error is duplicated in both pieces rather than causing a mismatch.
Mark the tenon's length on the end grain and its shoulder line around all four faces of the board. On the mortise piece, mark the width and depth of the slot, keeping the layout centered on the stock.
Step 3: Cut the Mortise First
It's easier to cut a tenon to fit an existing mortise than the reverse, so always cut the mortise first. Choose a chisel that matches your marked mortise width exactly. Working within your layout lines, chop straight down in small increments, working from the center outward, then clear the waste and repeat until you reach the marked depth.
If you're using a drill to remove the bulk of the waste first, drill a series of overlapping holes just inside your lines, then square up the sides and ends with a chisel. Keep the walls of the mortise flat and vertical — this is what gives the joint its glue surface and its strength.
Step 4: Cut the Tenon
With the mortise finished, saw the tenon's cheeks first, cutting just outside your gauge lines and staying on the waste side. A backsaw with a stiff spine helps keep the cut straight. Once the cheeks are cut, saw the shoulders to separate the waste and free the tenon.
Test the fit against the mortise frequently rather than trying to get it perfect in one pass. A good tenon should slide in with hand pressure and only need a mallet tap for the last few millimeters — not so tight that you're forcing fibers apart, and not so loose that the joint has play.
Step 5: Fit, Trim, and Glue
Pare thin shavings off the tenon cheeks with a chisel or shoulder plane until it seats fully into the mortise. Check that the shoulders sit flush against the mating board with no gaps, since gaps here are far more visible than any small imperfection inside the joint.
Once you're happy with the dry fit, apply glue to the mortise walls and tenon cheeks, clamp the assembly, and check the joint for square before the glue sets. A well-fitted mortise and tenon joint often doesn't need any mechanical fastener at all — the glue bond on that much long-grain surface is enough.
Common Beginner Mistakes
- Cutting on the wrong side of the line: always saw on the waste side, never on the line itself.
- Forcing a tight tenon: if you have to hammer it in hard, you risk splitting the mortise walls.
- Uneven shoulders: check squareness with a try square before committing to the final shoulder cut.
- Skipping the dry fit: always test-assemble before glue goes anywhere near the joint.
Where This Fits Into a Bigger Project
Mortise and tenon joinery is often just one part of a larger furniture build, and it pairs naturally with other joinery skills like cutting dovetail joints for drawers and casework. If you're designing furniture from scratch, it also helps to visualize how the joints will sit inside the finished piece before you commit to stock — something a quick furniture plan or model can help you check ahead of time. For more woodworking and design guides like this one, browse the resources at Home3DPlan.
Once you've cut a handful of these joints, the sequence becomes second nature: mark together, cut the mortise first, sneak up on the tenon fit, and always test before you glue. It's a slow joint to master but a fast one to trust once you have.