7 Ways to Add Textures to a 3D Model, Compared: From Quick Presets to Custom UV Painting
By Marta Nowak, Landscape & Outdoor Designer · August 15, 2026
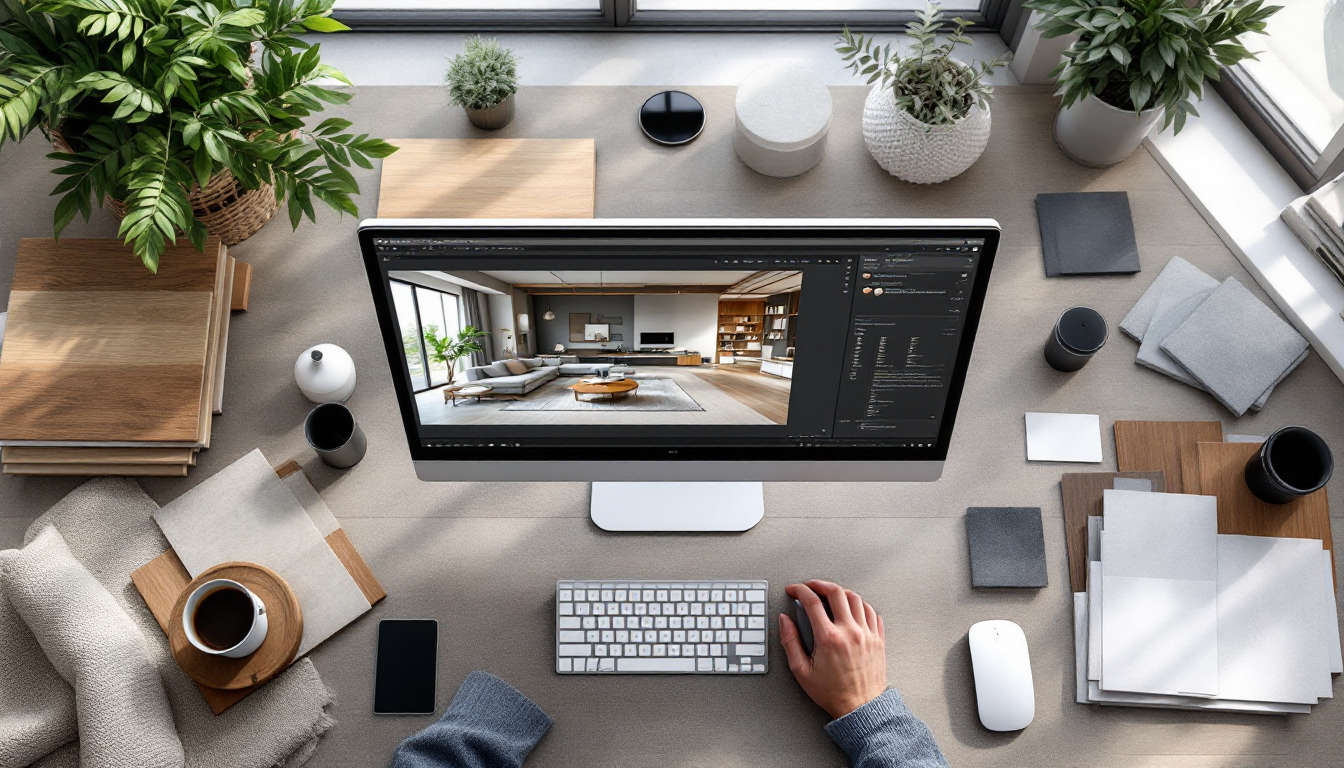
Texturing isn't one method — it's a set of trade-offs
Once you've placed geometry for a room or a piece of furniture, the next decision is how surfaces will look: matte plaster, brushed oak, honed marble, worn brass. There are several distinct ways to get there, and each one trades speed against control. If you're still getting oriented to the basic concept, the companion piece A Beginner's Guide to Adding Textures to a 3D Model covers the fundamentals of UVs, materials, and maps. This guide assumes you know the vocabulary and want to compare the actual tools and workflows available to you.
Below are seven approaches, roughly ordered from fastest/least flexible to slowest/most controllable, so you can pick based on the project in front of you rather than defaulting to whatever tutorial you saw first.
1. Built-in material libraries (fastest, least custom)
Most home design and CAD software — SketchUp, Chief Architect, Sweet Home 3D, and similar tools — ships with a library of pre-made materials: woods, stones, fabrics, paints. You drag a swatch onto a surface and it's done.
- Pros: Instant results, no software beyond your modeling tool, consistent scale and tiling already handled.
- Cons: Limited selection, generic look, hard to match a specific real-world product like a client's chosen tile.
- Best for: Early concept renders, client walkthroughs where realism matters less than layout and proportion.
2. Procedural materials (node-based, no image files)
Tools like Blender's Shader Editor or Substance's procedural graphs let you build materials from math and noise patterns instead of photographs. Wood grain, rust, or concrete pitting is generated algorithmically.
- Pros: Infinitely scalable with no visible tiling seams, easy to tweak color and roughness without repainting, small file sizes.
- Cons: Steeper learning curve, can look "synthetic" if not tuned carefully, slower to render in real time compared to flat images.
- Best for: Repeating surfaces like large floors or exterior siding where seams would otherwise be obvious.
3. Photo-based tileable textures (the industry default)
This is the classic workflow: download or photograph a seamless image, apply it as a diffuse map, and pair it with a matching normal or bump map for surface relief. If you're deciding between those two supporting map types, the comparison in Normal Map vs Bump Map: 6 Texturing Approaches Compared is directly relevant here, since almost every photo-based material benefits from one or the other.
- Pros: Photorealistic, huge libraries available online (many free), predictable results.
- Cons: Requires correct UV unwrapping to avoid stretching, tiling can repeat visibly on large surfaces without careful offsetting.
- Best for: Final renders of interiors — flooring, countertops, upholstery — where clients expect a realistic preview.
4. AI texture generators
Newer tools can generate a seamless texture, or even a full PBR material set (diffuse, roughness, normal, height), from a text prompt or a reference photo. This is genuinely useful when you need something specific fast — "reclaimed barn wood, gray weathering" — and don't want to hunt through stock libraries.
- Pros: Very fast for one-off or unusual materials, no licensing hunt.
- Cons: Quality is inconsistent, seams sometimes need manual fixing, output resolution may be too low for close-up renders.
- Best for: Quick concept exploration or filling in a material you can't find elsewhere.
5. Hand-painted UV textures
For a truly custom object — a carved trim detail, a specific stain pattern on a built piece — some designers paint directly onto the unwrapped UV map in Substance Painter, Mari, or even Blender's texture paint mode. This gives full control over wear patterns, dirt in corners, and asymmetry that photo textures can't replicate exactly.
- Pros: Complete creative control, ideal for hero objects that the camera will get close to.
- Cons: Time-intensive, requires artistic skill and a tablet for best results.
- Best for: Feature furniture pieces, one-of-a-kind builds, or portfolio-quality renders.
6. Physically-Based Rendering (PBR) material sets from marketplaces
Sites that sell full PBR material bundles give you every map — albedo, normal, roughness, ambient occlusion, displacement — pre-matched and ready to import as a set. This sits between library defaults and full custom work.
- Pros: Professional accuracy, consistent lighting response across renderers, saves the work of pairing maps manually.
- Cons: Costs money per material, still requires correct UV setup to look right.
- Best for: Freelancers and studios producing client-facing renders regularly enough to justify a materials budget.
7. Photogrammetry / scanned real-world materials
Scanning an actual surface — a client's existing stone patio, a salvaged wood plank — with photogrammetry apps or a structured-light scanner produces a texture set that's a true digital twin of the material. This is the highest-fidelity option and increasingly common in landscape and hardscape visualization, where matching an existing paver or retaining wall matters for continuity.
- Pros: Unmatched accuracy for matching existing materials, useful for renovation and addition projects.
- Cons: Requires equipment or a scanning app, post-processing to clean up the scan, overkill for generic surfaces.
- Best for: Renovation visualizations where new work must blend with an existing material, such as extending a patio designed alongside a broader plan like those discussed in landscaping a sloped backyard.
Choosing the right method for your project
A quick way to decide: if the surface is background (a wall the camera glances past), use a library material or a procedural fill. If it's a hero surface the client will scrutinize — a countertop, a custom cabinet front, a floor near a window — invest in photo-based or hand-painted textures with proper normal or bump detail. If you're matching something that already exists on site, photogrammetry or a careful photo match beats guessing.
Whichever method you choose, none of it will look right without a clean model underneath it. Getting the base geometry and layout correct — whether that's a room shape, a built-in, or an outdoor structure — is worth doing first. Tools like Home3DPlan can help you build that accurate base plan before layering on materials, which saves you from redoing texture work after a layout change.