Drought Tolerant Landscaping Ideas: A Beginner's Guide to a Water-Wise Yard
By Marta Nowak, Landscape & Outdoor Designer · November 14, 2026
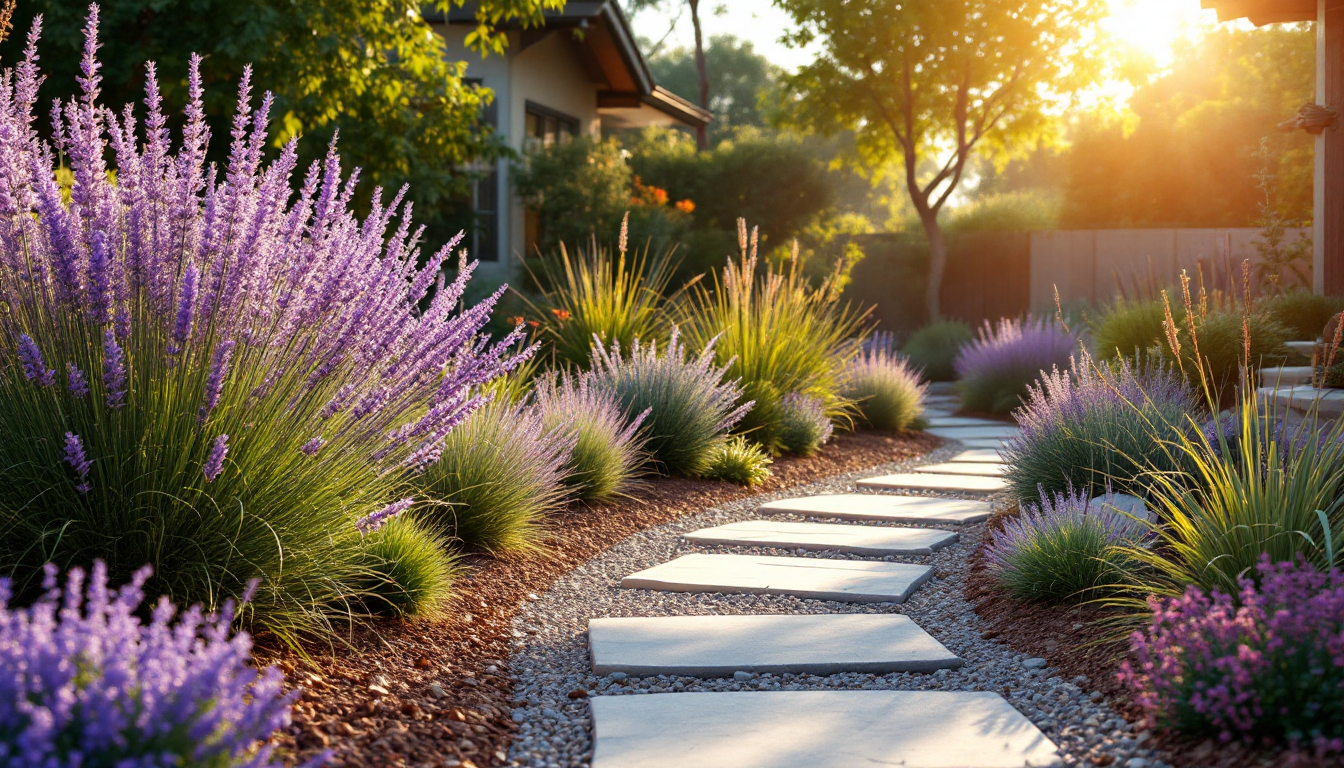
Why Drought Tolerant Landscaping Is Worth Learning
If your yard turns brown every summer or your water bill spikes the moment the weather warms up, drought tolerant landscaping is a practical place to start. This approach isn't about giving up on a beautiful yard — it's about matching plants, soil, and layout to the climate you actually have, instead of fighting it every season. For beginners, the good news is that you don't need to rip everything out at once. A few foundational changes make a lasting difference.
This guide walks through the core principles step by step, so you can plan a yard that looks intentional and holds up through dry spells. If you're also mapping out structural changes to your property, it pairs well with the process of creating a site plan for permitted outdoor projects, since grading and hardscape often need approval before you dig.
Step 1: Understand Your Site Before You Plant Anything
Every drought tolerant yard starts with observation, not shopping. Spend a week or two noticing:
- Sun exposure — which areas get full sun, partial shade, or deep shade throughout the day
- Drainage patterns — where water pools after rain and where it runs off quickly
- Soil type — sandy soil drains fast and needs organic matter; clay holds water but compacts easily
- Slope — even a gentle grade changes how water moves across your lot
This is the same groundwork used in professional landscape design, and it determines everything else you do next, from where you place beds to which plants will actually thrive.
Step 2: Improve the Soil Before You Buy Plants
Drought tolerant doesn't mean "no water needed" — it means plants that need less water once established, and soil that holds moisture efficiently plays a huge role in that. Work a few inches of compost into planting beds to improve structure in both sandy and clay soils. Good soil acts like a sponge, storing moisture near the root zone instead of letting it evaporate or run off.
A 2-3 inch layer of mulch on top of bare soil is one of the simplest, highest-impact steps a beginner can take. Mulch slows evaporation, moderates soil temperature, and suppresses the weeds that compete with your plants for water.
Step 3: Group Plants by Water Needs
This principle, sometimes called hydrozoning, is central to water-wise design. Instead of scattering thirsty plants among drought-tolerant ones, cluster plants with similar water requirements together. That way you can water each zone appropriately instead of over-watering the whole yard to keep a few thirsty plants alive.
- High-water zone: small, near the house or patio — vegetable beds, container gardens, a few focal flowering plants
- Moderate zone: native shrubs and perennials that need occasional deep watering the first year or two
- Low-water zone: the largest area — succulents, ornamental grasses, and regionally native plants once fully established
Step 4: Choose Plants Suited to Your Region
Native and regionally adapted plants are the backbone of drought tolerant landscaping because they've evolved to handle your local rainfall patterns without extra help. A local extension office or native plant nursery can point you toward species that handle your specific climate, but general categories to look for include:
- Ornamental grasses (blue fescue, feather reed grass)
- Mediterranean herbs (lavender, rosemary, sage)
- Succulents and sedums for sunny, well-drained spots
- Native wildflowers suited to your region's rainfall
Group these by height and bloom time the way you'd plan furniture groupings in a room — for layout logic, the same zoning thinking used in planning functional indoor layouts applies outdoors: define zones first, then fill in details.
Step 5: Reduce Turf, Add Hardscape
Traditional lawn is one of the thirstiest elements in most yards. Replacing even a portion of it with gravel paths, patios, or decomposed granite seating areas cuts water use significantly while adding visual structure. Hardscape also gives your yard "bones" that look good year-round, independent of how plants are performing in a particular season.
Consider a berm — a gently mounded area of soil — near a patio or along a property line. Berms improve drainage, create planting opportunities for low-water plants, and add dimension to an otherwise flat yard without requiring additional irrigation.
Step 6: Water Smarter, Not More Often
Drip irrigation delivers water directly to plant roots with far less evaporation loss than sprinklers. For beginners, a simple drip system on a timer is one of the best investments you can make, especially during the first year while plants are establishing root systems. After that, many drought tolerant plants need little to no supplemental watering beyond rainfall.
Water deeply and infrequently rather than shallow and often — this encourages roots to grow downward in search of moisture, making plants more resilient long term.
Planning Before You Dig
Before committing to a full redesign, it helps to visualize how new beds, pathways, and plant groupings will actually look against your house. Sketching options or using a home design planning tool to test layouts can save you from costly trial and error once materials and plants are in the ground. If your outdoor plans include renovations near the house itself, it's also worth reviewing a general renovation planning checklist to keep budget and timeline realistic.
Starting Small
You don't need to convert your entire yard in one weekend. Start with one bed, get the soil and plant groupings right, and expand as you see what thrives. Drought tolerant landscaping rewards patience: the first year is about establishment, and every year after that typically asks less of you — and less from the hose.