7 Ways to Cut a Mortise and Tenon Joint, Compared: Hand Tools to Power Tools
By Marta Nowak, Landscape & Outdoor Designer · August 23, 2026
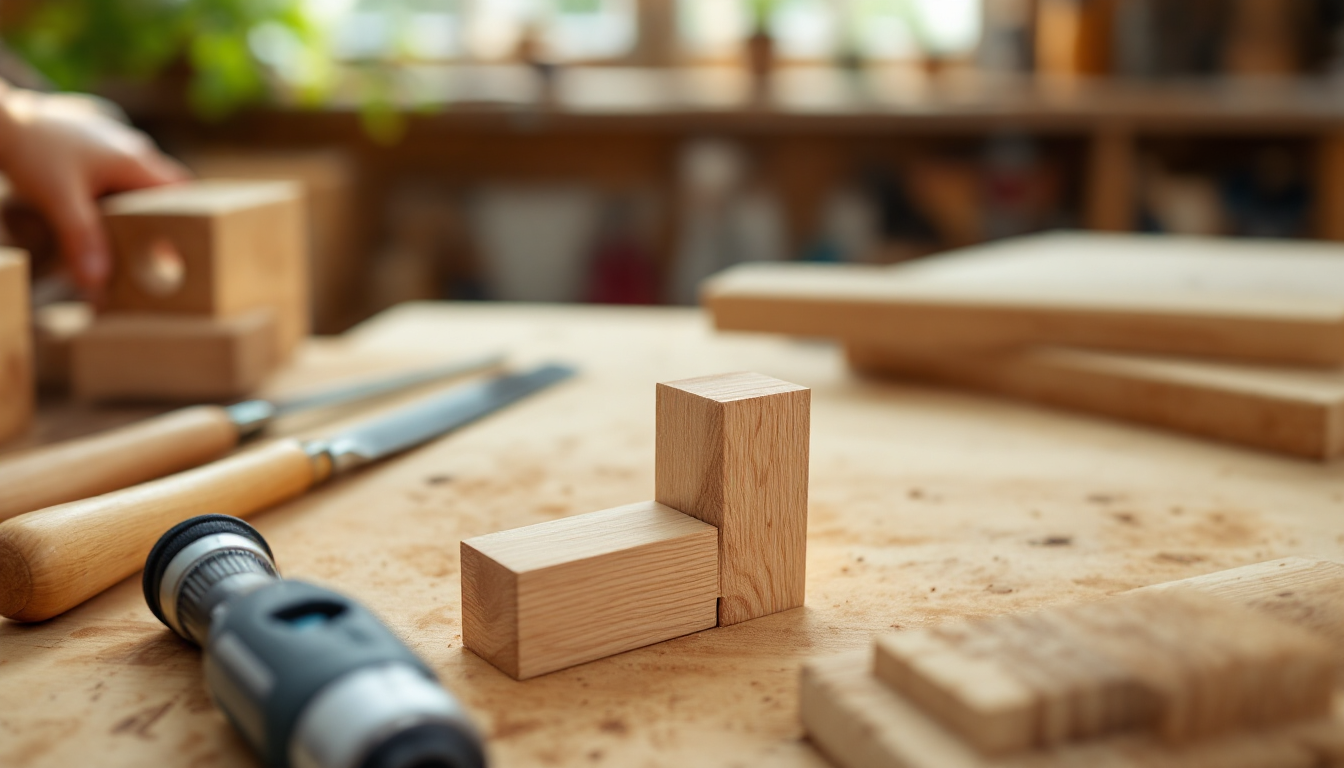
The mortise and tenon joint has held frames, doors, and tables together for centuries, and there's more than one legitimate way to cut one. The "right" method depends less on tradition and more on what's in your shop, how many joints you need to cut, and how much precision the project demands. If you've already read a step-by-step introduction to how to cut a mortise and tenon joint as a beginner, this guide takes a step back to compare the actual tool options side by side, so you can pick the approach that fits your bench instead of copying someone else's workflow.
What you're actually choosing between
Every method below produces the same basic result: a rectangular peg (the tenon) that fits snugly into a matching rectangular hole (the mortise). The differences come down to how you remove waste, how repeatable the setup is, and how forgiving the process is of a shaky hand. Some approaches favor one-off furniture pieces; others only make sense once you're cutting the same joint a dozen times for a set of chairs or a run of cabinet doors.
1. Hand chisel and mallet (fully manual)
This is the classic approach: score the mortise outline with a marking gauge, drill or chop out the bulk of the waste, then pare the walls square with a bench chisel. The tenon gets cut with a backsaw guided by knife lines.
- Pros: No power tools required, quiet, portable, and it teaches you to read the wood grain directly.
- Cons: Slow, and consistency across multiple joints depends entirely on your layout accuracy and saw control.
- Best for: One-off pieces, tight budgets, or anyone who enjoys the process as much as the result.
2. Drill press plus chisel cleanup
Here the drill press removes most of the mortise waste with a series of overlapping holes, and a chisel squares up the corners afterward. It's a hybrid method that speeds up the slowest part of hand-cutting without requiring specialty jigs.
- Pros: Faster than pure hand-chopping, uses a tool most shops already own, and holes stay a consistent depth thanks to the drill press stop.
- Cons: Corners still need hand paring, and it's easy to wander off your layout lines if the fence isn't locked down tight.
- Best for: Small furniture projects where you're cutting fewer than ten mortises.
3. Router with an edge guide or template
A handheld router with a straight bit and an edge guide (or a shop-made template) can plunge and clear a mortise in a fraction of the time hand tools take, leaving clean, flat walls.
- Pros: Fast, repeatable once the template is dialed in, and the finish quality often needs no further cleanup.
- Cons: Setup takes time, rounded corners from the router bit need to be squared with a chisel unless you round over the tenon to match instead.
- Best for: Batch work like table legs or door frames where the same joint repeats several times.
4. Dedicated benchtop mortiser
A mortising machine uses a hollow square chisel with an auger inside it, punching clean rectangular holes in one plunge per section. It's purpose-built for exactly this joint.
- Pros: Extremely fast and consistent, square corners with no hand-paring needed, ideal for production runs.
- Cons: It's a single-purpose tool that takes up floor space and represents a real investment if you only build furniture occasionally.
- Best for: Anyone building chairs, frames, or cabinetry regularly enough to justify a dedicated machine.
5. Table saw with a tenoning jig
While mortises are awkward on a table saw, tenons are one of its strengths. A tenoning jig holds the workpiece vertically and slides past the blade to cut cheeks with dead-flat, glue-ready surfaces.
- Pros: Fast, precise, and the fence setup means every tenon comes out identical.
- Cons: Only handles the tenon half of the joint; you'll still need another method for the mortise. Also requires comfort with the blade running close to a vertical workpiece.
- Best for: Shops that already pair a table saw with a mortiser or router setup.
6. Domino or loose-tenon joiner
Rather than cutting a mortise and a matching integral tenon, a domino-style joiner cuts two mortises and joins them with a separate loose tenon (a floating spline of wood). It's technically a variant of the traditional joint, but it solves the same structural problem.
- Pros: Remarkably fast, very forgiving of minor layout error, and strong enough for most furniture applications.
- Cons: The machines are expensive, and purists note it's not a true mortise and tenon in the historical sense.
- Best for: Production shops or DIYers prioritizing speed over traditional joinery.
7. CNC router (file-driven joinery)
If you're already designing furniture digitally, a CNC router can cut both the mortise and the tenon directly from a file, with the machine handling depth, squareness, and repeatability automatically. This pairs naturally with a broader shift toward digital-first building, similar to how many makers now pull parts straight from CNC furniture plans instead of drafting each piece by hand.
- Pros: Unmatched consistency across dozens of identical joints, no hand-tool skill required once the file is correct, and it scales effortlessly for batch production.
- Cons: Requires CAD/CAM knowledge, machine access, and careful test cuts to dial in bit diameter and fit tolerance.
- Best for: Makers producing multiples of the same design, or anyone integrating joinery into a full digital workflow.
How to choose
For a single project with a handful of joints, hand tools or a drill-press hybrid are perfectly reasonable and cost nothing extra. Once you're repeating a joint more than a few times, a router template or benchtop mortiser pays for itself in saved hours. And if you're already planning builds digitally, it's worth generating an accurate cut list before you touch any of these methods, since knowing your exact tenon lengths and mortise depths in advance prevents wasted stock no matter which tool cuts the joint. Whichever route you pick, dry-fit before glue-up, and if you're mapping out the full piece of furniture first, tools like those on Home3DPlan can help you visualize joinery placement before cutting a single mortise.