7 Lighting Setups for 3D Renders, Compared: HDRI, Three-Point, Sun & Sky, and More
By Conor Sheridan, 3D Visualization Lead · September 10, 2026
Why lighting method matters more than the render engine
Ask ten visualization artists what makes a render look real, and most will point to lighting before they mention materials or geometry. The render engine handles the math, but the setup you feed it determines whether a living room looks like a photograph or a video game cutscene. If you're new to the fundamentals of light behavior, our beginner's guide to believable light covers the basics of color temperature, shadow softness, and exposure. This piece is different: it's a side-by-side comparison of the actual lighting methods you'll choose between when setting up a scene, so you can pick the right one for the job instead of defaulting to whatever preset loaded first.
1. HDRI environment lighting
An HDRI (High Dynamic Range Image) wraps your scene in a 360° photo of a real environment, and that image supplies both the light and the reflections. It's the fastest way to get plausible outdoor light into an exterior or window-lit interior.
- Best for: exteriors, sunrooms, and any scene with large windows.
- Strengths: realistic reflections almost for free, quick setup, good for early client previews.
- Weaknesses: hard to art-direct precisely; you're at the mercy of the HDRI's original sun angle unless your software lets you rotate and adjust intensity independently.
2. Physical sun and sky systems
Instead of a photo-based environment, a procedural sun-and-sky system simulates atmospheric scattering based on geographic location, date, and time. Many archviz tools default to this because it ties lighting to a real address and season.
- Best for: architectural exteriors where accurate shadow direction and seasonal light matter (a north-facing kitchen at 4pm in December looks very different from July).
- Strengths: physically accurate, easy to animate for daylight studies, no need to source an HDRI.
- Weaknesses: flat overcast days can look uninteresting without added fill; less control over stylized mood lighting.
3. Three-point lighting (key, fill, rim)
Borrowed straight from photography and film, three-point lighting uses a dominant key light, a softer fill to control shadow contrast, and a rim or back light to separate the subject from the background. It's less about realism-by-simulation and more about deliberate composition.
- Best for: product shots, single hero pieces of furniture, or portfolio renders where you're selling one object.
- Strengths: total creative control, consistent and repeatable results, easy to tweak ratios for mood.
- Weaknesses: can look artificial in full-room interior scenes if not blended with ambient light; takes practice to balance ratios convincingly.
4. IES light profiles for fixtures
IES files are manufacturer-published data describing exactly how a real light fixture distributes its beam — the same files lighting designers use for actual building projects. Loading an IES profile onto a pendant or recessed can in your 3D scene reproduces that fixture's real-world falloff and hotspot shape.
- Best for: interior scenes with visible fixtures — pendants, sconces, track lighting — where accuracy matters to the client.
- Strengths: highly realistic pooling and falloff patterns you can't easily fake by hand; free libraries exist from major lighting manufacturers.
- Weaknesses: needs correctly scaled fixtures to look right, and profiles vary in quality between manufacturers.
5. Mesh lights and emissive materials
Rather than placing an invisible light object, you assign an emissive (glowing) material directly to geometry — a lamp shade, a light strip, a window pane. The geometry itself becomes the light source.
- Best for: scenes with many small visible light sources, like a bookshelf with integrated LED strips or a chandelier with dozens of bulbs.
- Strengths: what you see is what emits — no mismatch between a visible bulb and an invisible point light floating nearby.
- Weaknesses: can be noisier to render (more sampling needed) and slower on some engines compared to dedicated light objects.
6. Studio/softbox rigs (dome or panel lights)
A virtual softbox or light dome mimics a photography studio: large, soft area lights positioned around the subject with no environment or sun involved. Common in product visualization and catalog-style furniture renders.
- Best for: isolated product renders on white or neutral backgrounds, e-commerce style shots.
- Strengths: even, shadow-controlled illumination; very consistent across a batch of similar products.
- Weaknesses: not suitable for full-room interior scenes — it reads as clearly staged rather than lived-in.
7. Mixed/layered lighting (the professional default)
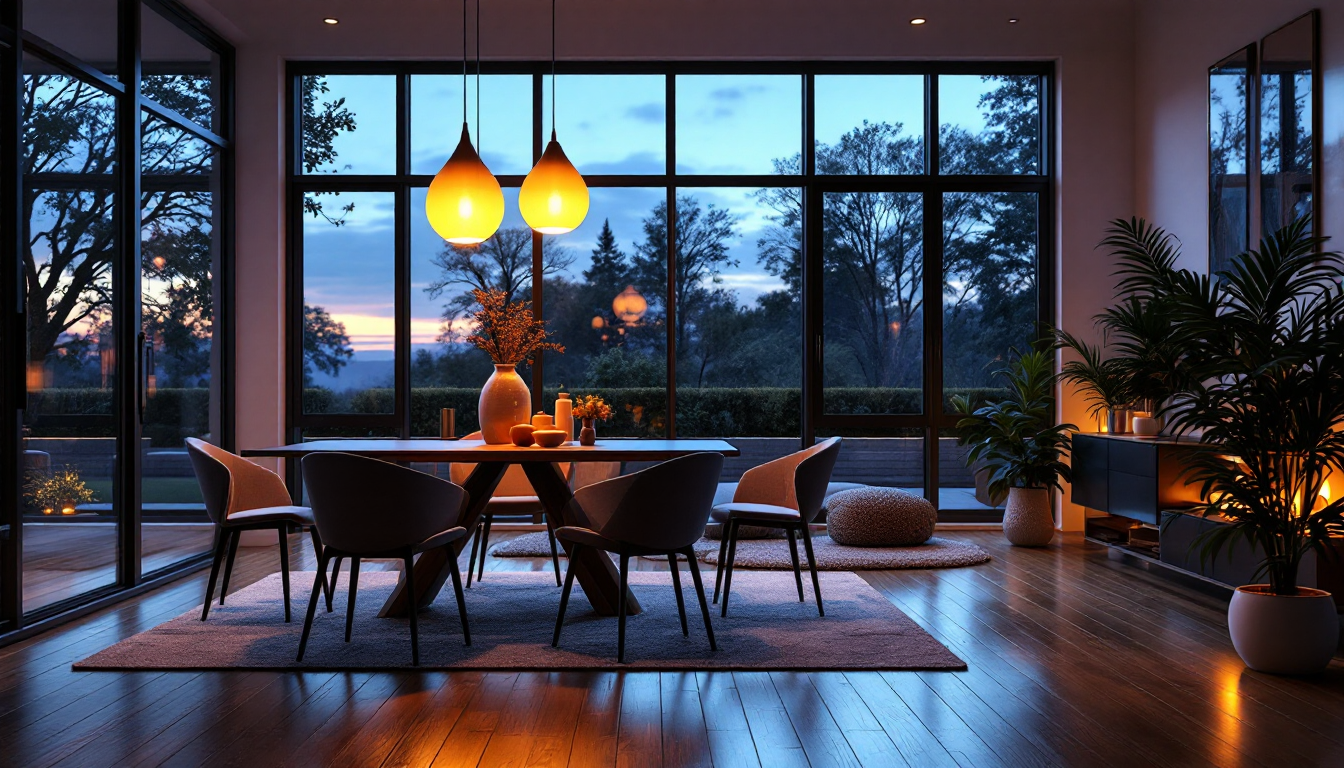
In practice, most finished interior renders combine several of the above: an HDRI or sun system for ambient exterior light, IES fixtures for interior lamps, and small emissive accents for candles or screens. Layering gives you both physical plausibility and creative control over mood.
- Best for: final client-facing interior and exterior renders, walkthrough animations, and marketing material.
- Strengths: the most convincing results; lets you dim, warm, or cool individual layers independently.
- Weaknesses: more setup time and more variables to balance; requires understanding how each method behaves before combining them.
Quick comparison at a glance
- Fastest setup: HDRI environment
- Most physically accurate for exteriors: sun and sky system
- Best creative control: three-point lighting
- Most realistic fixture behavior: IES profiles
- Best for glowing objects: mesh/emissive lights
- Best for catalog product shots: studio softbox rigs
- Best overall for finished work: mixed/layered lighting
Choosing based on your actual project
If you're rendering a full house walkthrough for a client presentation, start with a sun-and-sky or HDRI base, then layer in IES-driven interior fixtures once you're happy with the overall exposure. If you're producing a single furniture render for a catalog or an online store listing, a studio rig or three-point setup will get you there faster with less noise to clean up. And if you're still translating a flat floor plan into a lit, styled 3D scene in the first place, it's worth reviewing how to turn a 2D floor plan into a 3D model before worrying about light rigs at all — lighting choices only pay off once the geometry and camera angles are locked. Room proportions matter too: a poorly arranged layout will fight your lighting no matter how good the HDRI is, so it helps to also think through techniques for making a small room read as larger in camera before you finalize your light rig.
Whichever method you land on, the fastest way to compare them honestly is to render the same room with each setup at matching exposure and review them side by side, ideally within the same project pipeline you use at home3dplan.com for turning plans into finished visuals — the differences in mood and realism become obvious once they're stacked next to each other rather than judged in isolation.