Best Lighting for 3D Renders: A Beginner's Guide to Believable Light
By Conor Sheridan, 3D Visualization Lead · September 9, 2026
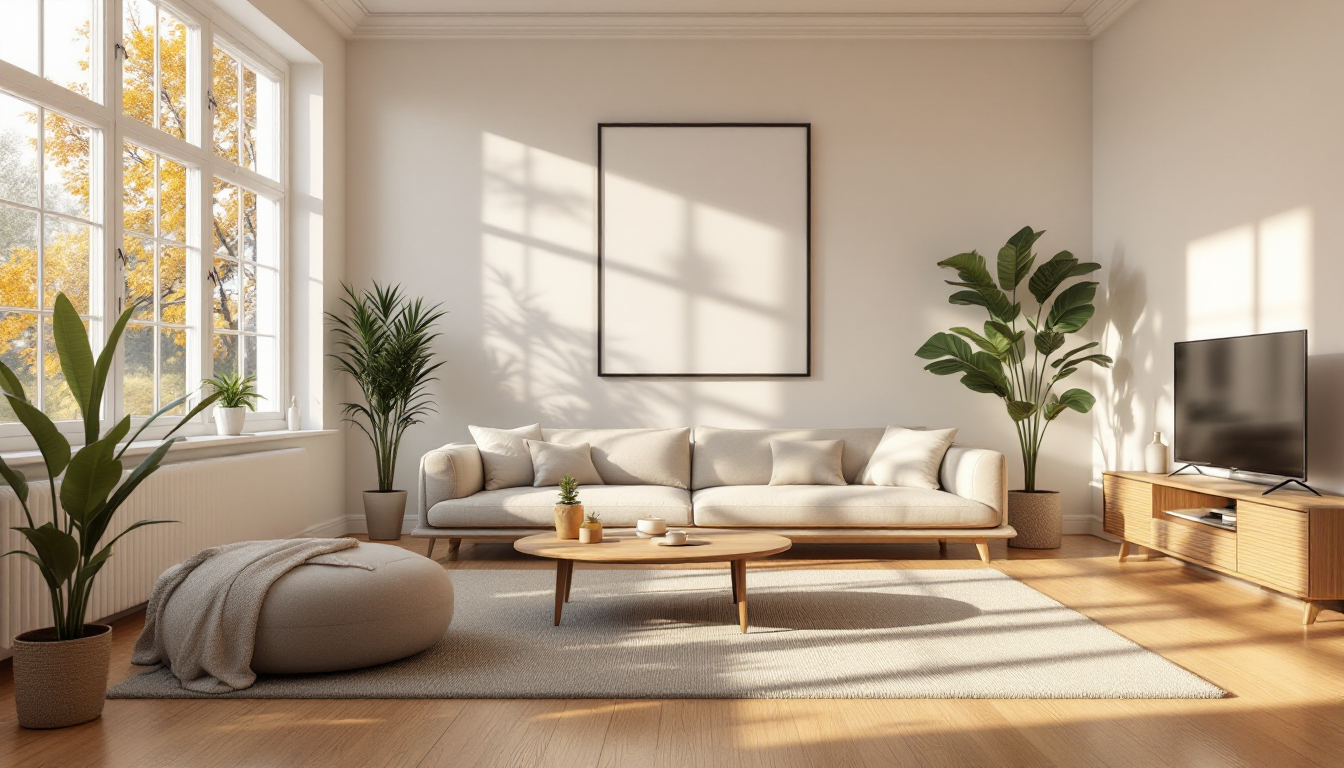
Why lighting makes or breaks a 3D render
Ask any visualization artist what separates a convincing render from an obviously fake one, and the answer is almost never geometry or textures — it's lighting. You can model a sofa down to the stitching, but if the light hitting it looks flat or artificial, the whole scene reads as "computer generated." Good lighting is what tells the eye "this is a real room," even before the brain notices the furniture or the wall color.
This guide is written for people who are just starting out with 3D visualization, whether you're rendering a room from a 2D floor plan turned into a 3D model or experimenting with a design tool for the first time. We'll walk through the core light types, how real photographers and archviz artists think about light, and a simple step-by-step setup you can copy for your first interior scene.
Step 1: Understand the three jobs every light does
Before touching software settings, it helps to think about light in terms of purpose rather than brightness. In almost every well-lit render, light is doing one of three jobs:
- Key light — the dominant light source, usually daylight through a window or a main ceiling fixture. It defines the overall mood and direction of shadows.
- Fill light — softer, secondary light that lifts shadows so they don't go pure black. In real rooms this is often bounced light off walls and ceilings.
- Accent light — small, localized lights (lamps, sconces, under-cabinet strips) that add depth and draw the eye to specific areas.
If you only remember one rule from this article, make it this: a scene with just one flat light source will look artificial no matter how good your models are. Real rooms are lit from multiple directions at different intensities.
Step 2: Start with natural daylight (HDRI or sun-and-sky)
For beginners, the fastest way to get believable lighting is to lean on daylight simulation instead of manually placing dozens of lamps. Most modern rendering engines offer two beginner-friendly options:
- HDRI environment lighting — a 360° photo of a real sky or outdoor scene wraps around your model and lights it the way that environment naturally would. This is the quickest way to get soft, realistic fill light with almost no setup.
- Sun and sky systems — built-in engine controls where you set a time of day, date, and geographic location, and the software calculates the sun's angle and color temperature automatically.
Start with an HDRI or sun-and-sky setup as your base layer before adding any interior lights. It gives you a believable starting exposure and color balance, and it's far more forgiving than trying to fake daylight with point lights.
Step 3: Layer in interior lights with intention
Once daylight is doing the heavy lifting, add interior fixtures to support it rather than compete with it. A practical order:
- Ceiling or ambient fixtures first — these establish the base interior brightness so the room doesn't look pitch dark once the sun goes down in your test renders.
- Task and accent lights second — lamps, pendant lights over a kitchen island, or under-shelf LEDs. Keep these warmer in color temperature (around 2700K–3000K) to contrast pleasantly with cooler daylight (5500K–6500K).
- Rim or highlight lights last — small, low-intensity lights placed to catch an edge of furniture or add a subtle glow behind an object. Use sparingly; this is seasoning, not a main course.
This layering approach mirrors real interior design thinking. If you've read about the 60-30-10 rule for balancing color in a room, lighting works on a similar principle: one dominant source, one supporting layer, and small accents — not five different lights all fighting for attention at equal strength.
Step 4: Get exposure and color temperature right
Even a well-placed light will look wrong if the exposure or white balance is off. A few beginner-safe habits:
- Render with your camera's exposure set close to how a real camera would expose the scene — most engines have a physical camera mode with ISO, shutter speed, and aperture. Start with presets meant for "interior daylight" and adjust from there.
- Keep color temperatures consistent with the light's real-world source: daylight is cool-neutral, incandescent and halogen bulbs are warm, and most modern LED bulbs sold for homes sit around 2700K–3000K (warm white).
- Avoid pushing brightness so high that highlights clip to pure white — that's one of the fastest ways to make a render look synthetic.
Step 5: Use shadows and bounce light to add depth
Shadows are just as important as the lights that cast them. Soft, slightly diffused shadows (like you'd get from an overcast sky or a large window) tend to look more natural than sharp, hard-edged ones from a small point light. If your render feels flat, check whether global illumination or bounce lighting is enabled — this simulates light reflecting off walls, floors, and furniture, which is how real rooms actually fill their darker corners.
Common beginner mistakes to avoid
- Using only one light source. Even a single sunny window needs some fill to avoid harsh, unrealistic contrast.
- Ignoring color temperature mixing. A room lit entirely in one flat white tone looks sterile; a mix of warm and cool light feels lived-in.
- Overusing accent lights. Too many small glowing points scattered around a scene create visual clutter instead of depth.
- Skipping test renders. Render at low resolution frequently while adjusting lights so you're not waiting on full-quality passes to catch a mistake.
Putting it into practice
The best way to learn lighting is to light the same room several different ways and compare the results side by side — midday sun versus golden hour, warm lamps versus cool overheads. If you're building your scene from scratch, tools like Home3DPlan let you generate a 3D model and test different lighting moods quickly, which is a practical way to build intuition before moving into more advanced, manually-lit renders. Once you're comfortable with these fundamentals, you'll be ready to explore more advanced techniques like three-point lighting rigs, custom light temperature grading, and physically based light intensities in lumens or watts.