7 Pocket Hole Jigs for Beginners, Compared: Which One Earns a Spot on Your Bench
By Niklas Ekstrand, Furniture & Maker Editor · November 5, 2026
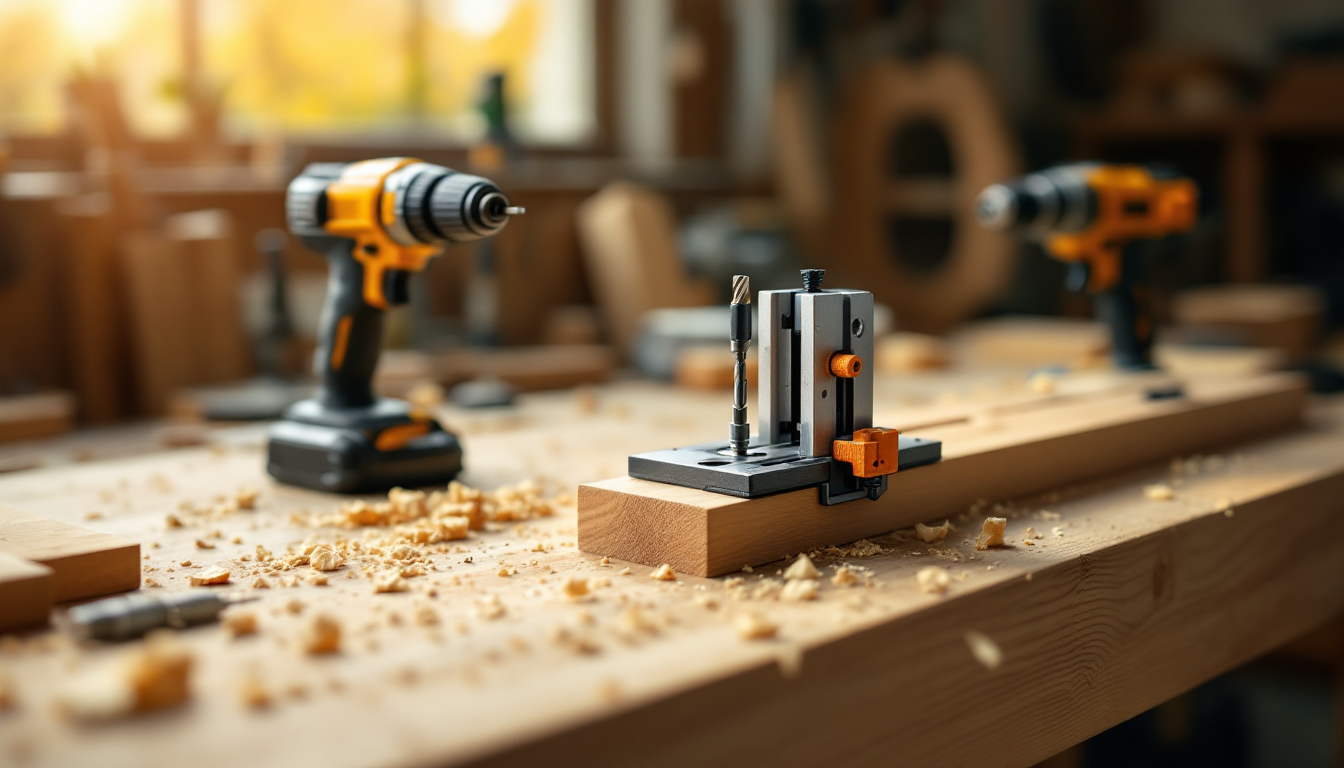
Why the jig you pick matters more than the technique
Pocket hole joinery is forgiving, fast, and genuinely beginner-friendly — we covered the fundamentals in our pocket hole joinery guide for beginners. But the technique only performs as well as the jig behind it. A wobbly, undersized jig gives you wandering holes and screws that blow out the face of your boards. A well-matched jig gives you tight, repeatable joints on the first try, every time.
The challenge is that "pocket hole jig" covers a huge range of tools, from a $20 clamp-on bracket to a $600 benchtop machine with dust collection. This comparison walks through seven realistic options for someone just starting out, with honest notes on where each one shines and where it falls short.
1. Single-hole mini jigs (the $20-$30 entry point)
These compact jigs clamp directly onto the workpiece and drill one hole at a time through a single guided bushing. They're the cheapest way to try pocket screws before committing to anything bigger.
- Best for: occasional repairs, small boxes, testing the waters
- Drawback: slow for anything with more than a handful of joints, and clamping can be fiddly on thin stock
2. Two-hole portable jigs with a built-in clamp
Stepping up slightly, these jigs add a second guide hole and an integrated clamp lever, so you're not wrestling a separate C-clamp into position. This is the sweet spot many beginners land on because it balances speed and price.
- Best for: shelving, face frames, small furniture builds
- Drawback: still manual, so large projects take longer than a benchtop system
3. Adjustable step-less jigs
Rather than fixed drill guide holes for specific board thicknesses, step-less jigs use a sliding collar or dial to match any thickness from roughly 1/2 inch to 1.5 inches. This removes the guesswork of swapping bushings.
- Best for: mixed-material projects where board thickness varies (plywood shelving mixed with solid wood face frames)
- Drawback: slightly pricier than fixed jigs, and the adjustment mechanism needs occasional calibration checks
4. Benchtop clamping stations
These mount to a workbench or come with their own base, and they combine a drill guide with a built-in material clamp and stop block. You set the board, clamp down with a lever, and drill. No more holding the jig with one hand and the drill with the other.
- Best for: anyone building more than a project or two a month — cabinets, face frames, drawer boxes
- Drawback: takes up permanent bench space, and the upfront cost (often $100-$150) is a real jump from the portable options
5. Machine-style pocket hole units with foot pedals
Designed for shops that run repetitive production work, these use a foot pedal to actuate the clamp while both hands stay on the drill or the machine's own motor. Some models even auto-feed and drill in one motion.
- Best for: small production runs, built-ins, anyone selling furniture
- Drawback: overkill for a one-off bookshelf, and the price tag ($300+) only makes sense with volume
6. Drill-press-mounted jigs
If you already own a drill press, a jig adapter can turn it into a pocket hole station with excellent repeatability, since the press controls depth and angle more precisely than a handheld drill ever will.
- Best for: woodworkers who already have a drill press and want machine-shop consistency without buying a dedicated unit
- Drawback: ties up your drill press, and setup for angled pocket holes takes more fiddling than a purpose-built jig
7. CNC-cut pocket hole alternatives (dowels and dominoes via digital joinery)
Not a jig at all, but worth including: if your workflow already runs through a home design and planning platform where you're drawing cabinetry or furniture digitally, some makers skip pocket screws entirely on show surfaces and use CNC-cut dowel or Domino-style joints instead, reserving pocket holes for hidden structural connections. It's a hybrid approach rather than a straight swap.
- Best for: builders pairing digital cut sheets with mixed joinery methods
- Drawback: requires CNC access or a Domino-class tool, which is a bigger investment than any jig on this list
How to actually choose
Match the jig to your real project cadence, not your aspirational one:
- One project a year: a single-hole or two-hole portable jig covers you without wasted money.
- A project every month or two: the adjustable step-less jig or a benchtop clamping station will save real time over a year of builds.
- Regular builds or small-batch sales: a benchtop station or foot-pedal machine pays for itself quickly in reduced setup time per joint.
- Already own a drill press: a press-mounted jig adapter is often the best dollar-for-dollar upgrade.
Planning the joints before you cut
Whichever jig you land on, it helps to know where your pocket holes will go before you're standing at the bench. Sketching your cabinet or furniture piece first — even roughly — lets you plan screw placement so holes end up hidden on the inside faces and away from edges where they'd be visible or weaken the joint. If you're also planning a larger room or built-in around the piece, tools that let you test layouts digitally, similar to the methods described in our comparison of living room layout approaches, can help you confirm dimensions before any wood gets cut.
Final take
There's no single "best" pocket hole jig — only the one that matches your project frequency, budget, and whether you value speed over price. Beginners rarely go wrong starting with a two-hole portable jig or an adjustable step-less model, then upgrading to a benchtop station once pocket screws become a regular part of the build process rather than an occasional shortcut.