7 Ways to Get PBR Materials for Your 3D Projects, Compared
By Conor Sheridan, 3D Visualization Lead · October 2, 2026
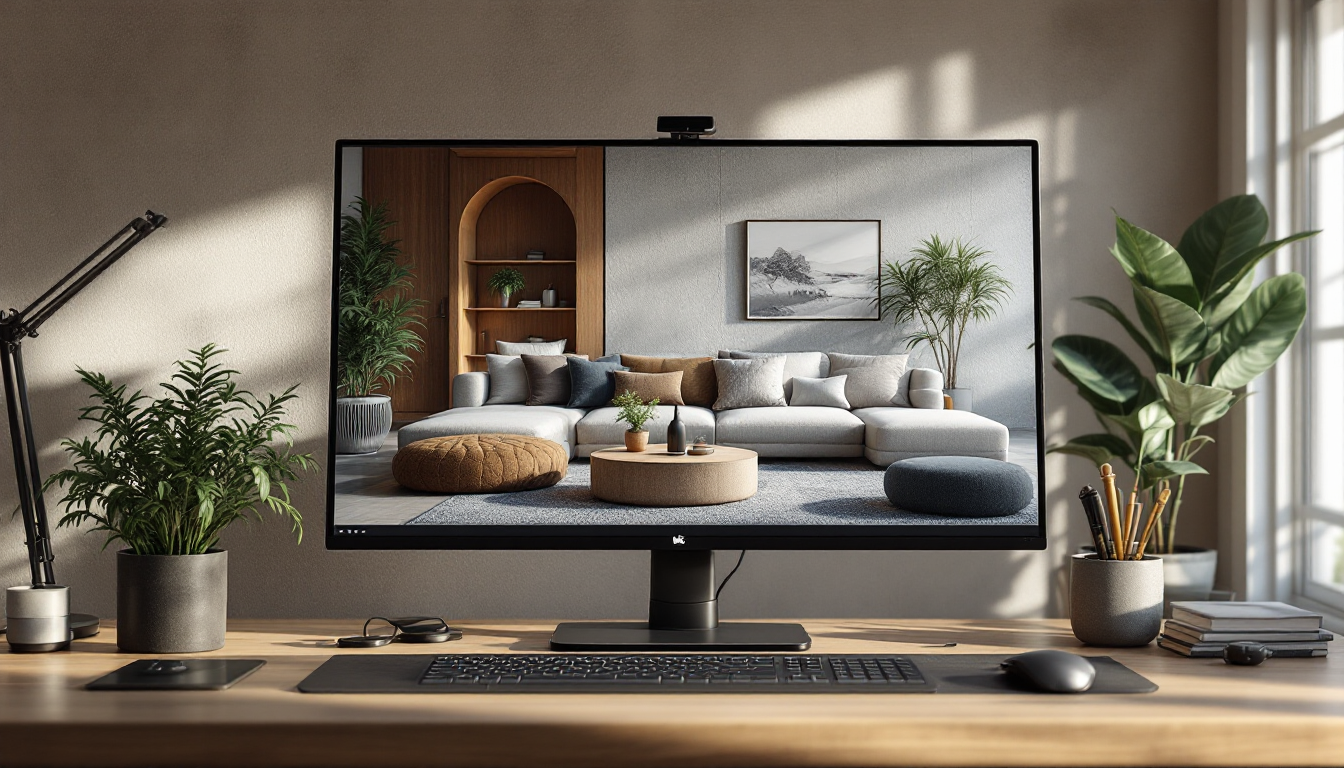
Once you understand what PBR materials actually are and why they matter for realistic rendering, the next question is practical: where do you actually get them? Not all sources are equal. Some are fast but generic, others are gorgeous but expensive, and a few require skills you may not have yet. This guide compares seven common ways designers and visualization artists acquire PBR material libraries, so you can match the option to your project, budget, and timeline.
1. Free Online Libraries
Sites offering free PBR texture sets are the obvious starting point, and for good reason. Many provide complete channel sets — albedo, roughness, normal, and sometimes displacement — scanned from real surfaces like wood, concrete, and fabric.
- Pros: No cost, decent variety, good for learning and early-stage mockups.
- Cons: Resolution and tiling quality vary widely; popular materials get overused and start looking generic in portfolios.
Best for: students, hobbyists, and anyone testing a scene before committing to paid assets.
2. Paid Marketplaces
Subscription-based or pay-per-asset marketplaces sell curated, high-resolution PBR sets, often with multiple variants (worn, clean, mossy, painted) of the same base material.
- Pros: Consistent quality control, large catalogs, frequent updates, licensing clarity for commercial work.
- Cons: Monthly or per-asset cost adds up; some platforms lock higher resolutions behind premium tiers.
Best for: freelancers and studios producing client-facing renders where quality consistency matters.
3. Photogrammetry and Material Scanning
If you need a material that doesn't exist in any library — a client's actual stone countertop, a specific reclaimed wood plank — scanning it yourself with photogrammetry or a dedicated material scanner is the only real option.
- Pros: Perfect accuracy to the real surface, useful for high-stakes architectural visualization.
- Cons: Requires equipment, lighting control, and processing software; steep learning curve.
Best for: professionals matching renders to real, specified materials — similar to how accuracy matters when comparing floor plans against elevations before construction.
4. Procedural Material Generators
Node-based tools let you build materials from scratch using mathematical patterns rather than photos. You adjust sliders for grunge, scratches, roughness variation, and color, generating infinite variations without ever touching a camera.
- Pros: Fully non-destructive, resolution-independent, easy to customize endlessly.
- Cons: Steeper learning curve than dragging in a texture pack; can look synthetic if overdone.
Best for: artists who need full creative control and plan to reuse base materials across many projects.
5. AI-Generated Textures
Newer AI tools can generate seamless texture maps from a text prompt or a reference photo, sometimes producing full PBR channel sets automatically.
- Pros: Extremely fast, good for rapid concept exploration, no licensing ambiguity if generated from scratch.
- Cons: Output quality is inconsistent; normal and roughness maps often need manual correction before they hold up in close-up renders.
Best for: early concepting and mood boards, less so for final client deliverables.
6. Built-In Software Libraries
Most modern 3D and rendering software ships with a starter library of PBR materials — enough to furnish a basic scene without sourcing anything externally.
- Pros: Zero setup time, guaranteed compatibility with your renderer's shader model.
- Cons: Limited variety; everyone using the same software ends up with similar-looking scenes.
Best for: quick internal drafts, test renders, or beginners still learning material workflows alongside basics like CAD drafting fundamentals.
7. Custom Studio or Freelancer Asset Packs
If you outsource your renders entirely, many rendering services and freelancers maintain their own proprietary material libraries, built and refined over years of project work.
- Pros: Often the highest and most consistent quality, tailored to architectural and interior work specifically.
- Cons: Not something you can buy standalone — it comes bundled with hiring that studio or artist.
Best for: clients who want finished renders without managing material sourcing themselves.
How to Choose
Match the source to the job. A quick internal mockup doesn't need scanned 8K marble; a client-facing hero render for a kitchen remodel probably does. Consider:
- Budget: Free and built-in libraries cost nothing but limit variety.
- Resolution needs: Close-up camera angles demand higher-res maps than wide establishing shots.
- Licensing: Always confirm commercial-use rights before shipping client work.
- File compatibility: Make sure maps match your target format when you eventually export a clean GLB for web or AR viewing.
Good material sourcing is one piece of a larger realism puzzle. Lighting, camera angle, and layout all matter just as much — explore more on home3dplan.com for guides on turning a floor plan into a fully rendered, lifelike space.