Parametric Furniture Design: A Beginner's Guide to Building with Variables
By Niklas Ekstrand, Furniture & Maker Editor · October 7, 2026
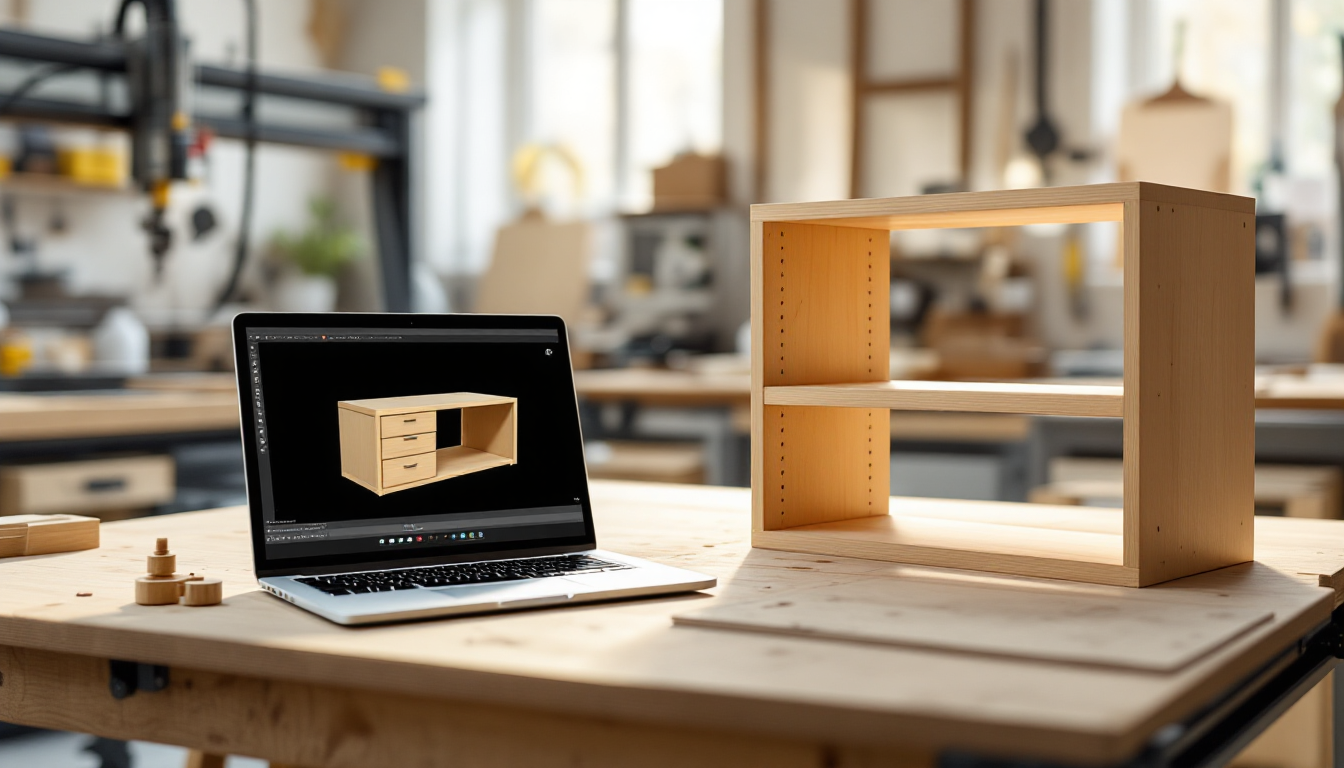
What Parametric Furniture Design Actually Means
Parametric furniture design is a way of building objects around relationships instead of fixed numbers. Rather than drawing a bookshelf that is exactly 36 inches wide, you define a formula: the shelf width equals some variable, the number of dividers depends on that width, and the joinery slots adjust automatically to match material thickness. Change one number — say, the thickness of your plywood — and every joint, notch, and panel in the design updates itself.
This is different from traditional CAD drafting, where each line and dimension is drawn by hand and has to be manually corrected if something changes. If you've worked through the fundamentals of reading and making technical drawings, think of parametric design as the next layer on top: instead of static geometry, you're building a system of rules that generates the geometry for you.
Why Furniture Makers Use It
Furniture is full of repeating relationships. A drawer needs to be slightly smaller than its opening. A shelf pin hole spacing needs to repeat evenly up a cabinet side. A mortise needs to match a tenon's exact thickness, no matter what wood you end up using. Parametric design lets you encode these relationships once, then reuse them across dozens of projects.
- Material flexibility: Swap 3/4-inch plywood for 18mm and your joinery recalculates instead of failing to fit.
- Fast iteration: Testing a taller or wider version of a piece takes seconds, not a full redraw.
- Fewer shop mistakes: Because dimensions are derived from formulas rather than typed in repeatedly, there's less room for a stray transcription error to throw off a cut list.
- CNC-ready output: Many parametric tools export directly to cut-ready files, which matters if your design is headed to a CNC router rather than a table saw.
The Core Building Blocks
Variables
Everything starts with variables: width, height, depth, material thickness, number of shelves, joint tolerance. Naming these clearly at the outset is the single most important habit a beginner can build. A variable called panelThickness that drives every joint in the model is far more useful than typing "0.75 inches" forty separate times.
Constraints and Relationships
Constraints tell the software how parts relate to each other — for example, "the side panel height always equals the carcass height minus the top and bottom panel thickness." These relationships are what make the model "parametric" instead of just a 3D sketch with numbers on it.
Joinery Logic
Good parametric furniture files bake joinery rules directly into the geometry. If you're unfamiliar with how joints actually work and when to use them, it's worth reviewing a beginner's guide to joining wood the right way before you try to automate it — parametric tools can generate a dovetail or a finger joint instantly, but only if you understand why that joint is appropriate for the load and material involved.
A Simple Starting Workflow
- Pick a simple object. A single shelving unit or a side table is a better first project than a full kitchen system. Fewer variables mean fewer places to get confused.
- List your variables before opening software. Write down width, height, depth, material thickness, and any joint tolerances on paper first.
- Choose a tool that supports parametric modeling. Options range from node-based software to spreadsheet-driven CAD plugins. Many beginners start with free, browser-based parametric furniture generators before moving to dedicated CAD environments.
- Build the relationships, not the final shape. Define how parts depend on each other before worrying about exact dimensions.
- Test by changing one variable. Increase the height variable and confirm the whole model updates correctly — this is the real test of whether your design is parametric or just a static 3D file with sliders attached.
- Generate a cut sheet. The payoff of parametric work is a clean, accurate list of parts ready for the shop or the CNC.
Where Wood Selection Fits In
Parametric models are only as good as the material assumptions built into them. Thickness, grain direction, and expansion/contraction all vary by species, so your formulas need realistic inputs. If you're deciding what to build with, a comparison of strength, cost, and workability across common furniture woods is a useful reference before you lock in your thickness variables. Mixing species in one piece also raises visual questions worth thinking through separately, covered in a guide to combining wood tones with confidence.
Common Beginner Mistakes
- Hard-coding a number "just this once." One hidden fixed value defeats the purpose and will silently break the model later.
- Skipping tolerances. Real material is never exactly the thickness it's labeled, so build in a small adjustable tolerance variable from day one.
- Over-complicating the first project. Save multi-material, multi-joint complexity for after you trust your variable relationships.
- Ignoring real-world shop constraints. A parametric design that looks perfect on screen still needs to respect your CNC bed size or table saw capacity.
Where This Leads
Once the basics click, parametric thinking tends to spread into how you plan entire rooms, not just single pieces — matching modular shelving to a wall, or scaling a dining table to a space you've already drawn out. If you want to see how these furniture plans connect to full room layouts, exploring house and room planning tools is a natural next step, since parametric furniture design works best when it's grounded in accurate real-world dimensions from the start.