Types of Wood Joints: A Beginner's Guide to Joining Wood the Right Way
By Niklas Ekstrand, Furniture & Maker Editor · September 21, 2026
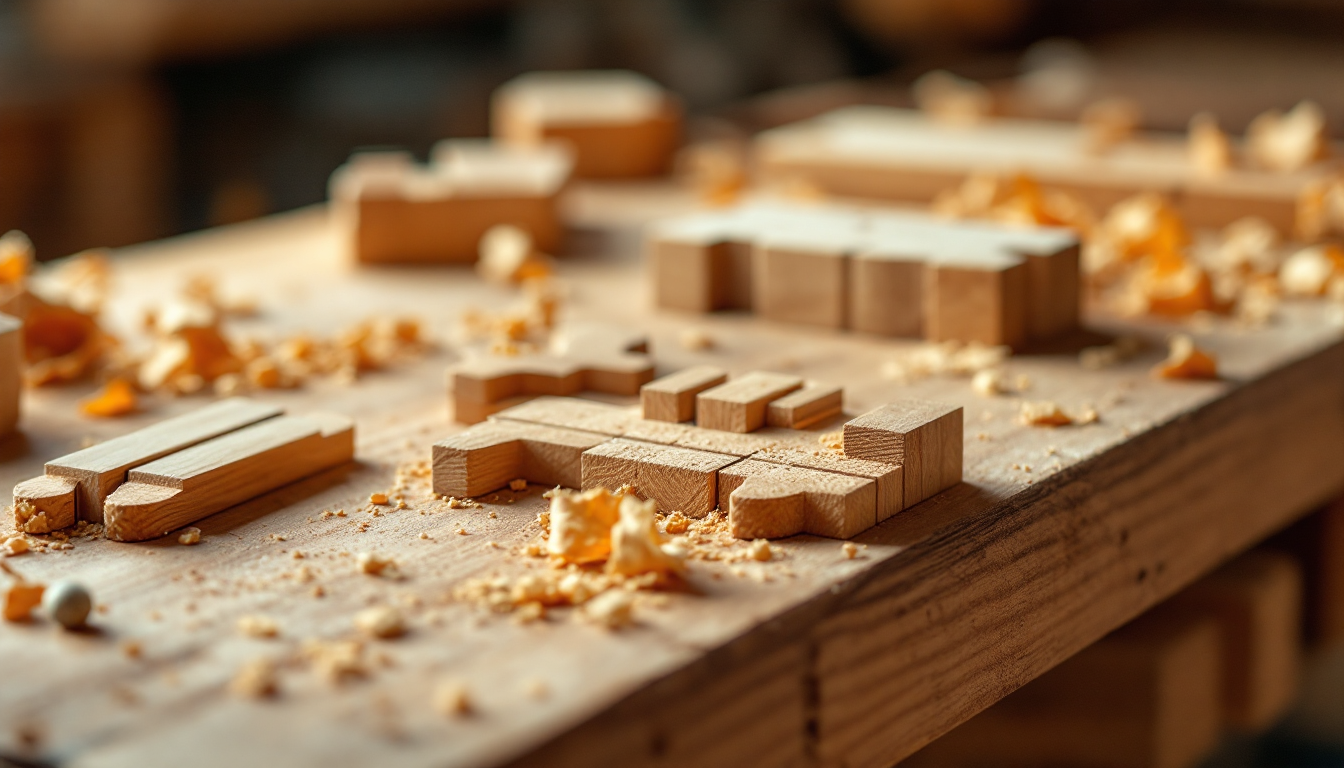
Why the joint matters more than the wood
Every piece of furniture is really just a collection of decisions about how two boards meet. Pick the wrong joint and even the best wood for furniture making will eventually crack, wobble, or pull apart. Pick the right one, and a modest material can outlast the person who built it. If you're new to woodworking, understanding the handful of joints that show up again and again is the fastest way to start building things that actually hold together.
This guide walks through the core types of wood joints, what each is good for, and how to decide which one belongs in your project. Think of it as the vocabulary lesson before the grammar — once you know the names and mechanics, everything else in furniture building starts making more sense.
What makes a joint "good"?
Before comparing joints, it helps to know what you're judging them against:
- Strength: How well does it resist pulling apart, racking, or twisting under load?
- Glue surface area: More contact area generally means a stronger bond.
- Tooling required: Some joints need only a saw; others want a router, drill press, or CNC.
- Visibility: Some joints are meant to be hidden; others, like dovetails, are proudly shown off.
- Forgiveness: How much precision does it demand before it starts looking sloppy?
Keep these five factors in mind as you read — they explain why a drawer uses a different joint than a table leg.
Butt joint: the simplest starting point
A butt joint is exactly what it sounds like: two flat pieces of wood butted together, usually secured with glue, nails, screws, or dowels. It requires no special cutting, which makes it the joint most beginners try first — think basic shelving or a quick box frame.
The tradeoff is strength. With only end grain or flat faces touching, the glue bond is weak on its own, so butt joints almost always need reinforcement (screws, dowels, pocket-hole fasteners, or corner brackets). It's a fine choice for low-stress assemblies, but not for anything that will be racked, sat on, or stacked with weight over years.
Miter joint: clean corners, hidden end grain
A miter joint angles two pieces — typically at 45 degrees — so they meet to form a corner without exposed end grain. Picture frames, baseboards, and box edges rely on miters for their tidy, seamless look.
Miters are about appearance more than strength; like butt joints, they usually need splines, dowels, or biscuits added inside the joint to keep the corner from opening up over time. A miter saw or a shooting board with a hand plane gets you clean, tight angles.
Lap joint: overlap for extra glue surface
In a lap joint, one piece overlaps another, with material removed from one or both boards so they sit flush once joined. A half-lap removes half the thickness from each piece, which is common in frames and stretcher rails. Because the boards overlap rather than just touching end-to-end, you get significantly more glue surface than a butt joint, translating into real strength gains without much added complexity.
Dado and rabbet joints: grooves that do the gripping
A dado is a groove cut across the grain of a board, into which another piece slots — the classic way to seat a shelf into the side of a bookcase. A rabbet is similar but cut along an edge, forming an L-shaped notch, often used where a back panel meets a cabinet side.
Both joints add mechanical resistance to shear forces (the shelf can't slide down even if the glue eventually fails), which is why they show up constantly in cabinetry. A router with a straight bit, or a table saw with a dado stack, makes quick, repeatable work of these cuts.
Mortise and tenon: the workhorse of solid furniture
If you learn only one joint beyond the butt joint, make it this one. A tenon — a tongue-shaped projection on the end of one piece — fits snugly into a mortise, a matching cavity cut into another. This is the joint holding together most chairs, tables, and doors that have survived a century in use.
The large glue surface and mechanical interlock make mortise-and-tenon joints exceptionally strong in multiple directions, which is exactly what a chair leg needs when it's pushed, pulled, and twisted daily. It takes more setup than a butt joint — a mortising chisel, drill press, or router — but the payoff in durability is significant.
Dovetail joint: strength that shows off
Dovetails use a series of trapezoidal "pins" and "tails" that interlock, resisting being pulled apart in the direction the load is applied. That's why they're the standard for drawer boxes, where the front gets yanked outward every time someone opens it. Beyond function, dovetails have become a visual signature of hand-cut, quality craftsmanship — many makers leave them exposed rather than hide them.
They demand more practice than most other joints on this list, but templates, router jigs, and increasingly CNC-cut dovetails have made them accessible to far more beginners than a decade ago.
Biscuit and dowel joints: modern reinforcement
Biscuits (compressed wood ovals that swell with glue) and dowels (round wooden pegs) aren't joints on their own — they're alignment and reinforcement tools used inside butt or miter joints. A biscuit joiner or doweling jig lets you register panels accurately and add glue surface without visible joinery, which is popular in cabinet carcasses and tabletops made from glued-up boards.
Choosing a joint for your project
A practical rule of thumb: match the joint's strength to the stress the piece will see. Shelving and low-load frames can lean on butt or lap joints; anything with legs, drawers, or repeated racking motion deserves a mortise-and-tenon or dovetail. If you're still deciding what to build first, our guide on how to build furniture as a beginner walks through project selection alongside joinery choices.
Once you've settled on joints, it's worth planning the piece digitally before any wood gets cut — sketching dimensions and joint locations is much easier to fix on screen than on a board. If you're new to that step, our primer on CAD drafting basics covers how to translate a design idea into a workable technical drawing, and home3dplan.com's planning tools can help visualize the finished piece in its intended room before you commit material to it.
Joinery isn't about memorizing every variation that exists — it's about understanding the handful that cover 90% of real furniture, and knowing which one to reach for when the project calls for it.