How to Build a Raised Garden Bed: A Beginner's Guide
By Marta Nowak, Landscape & Outdoor Designer · September 1, 2026
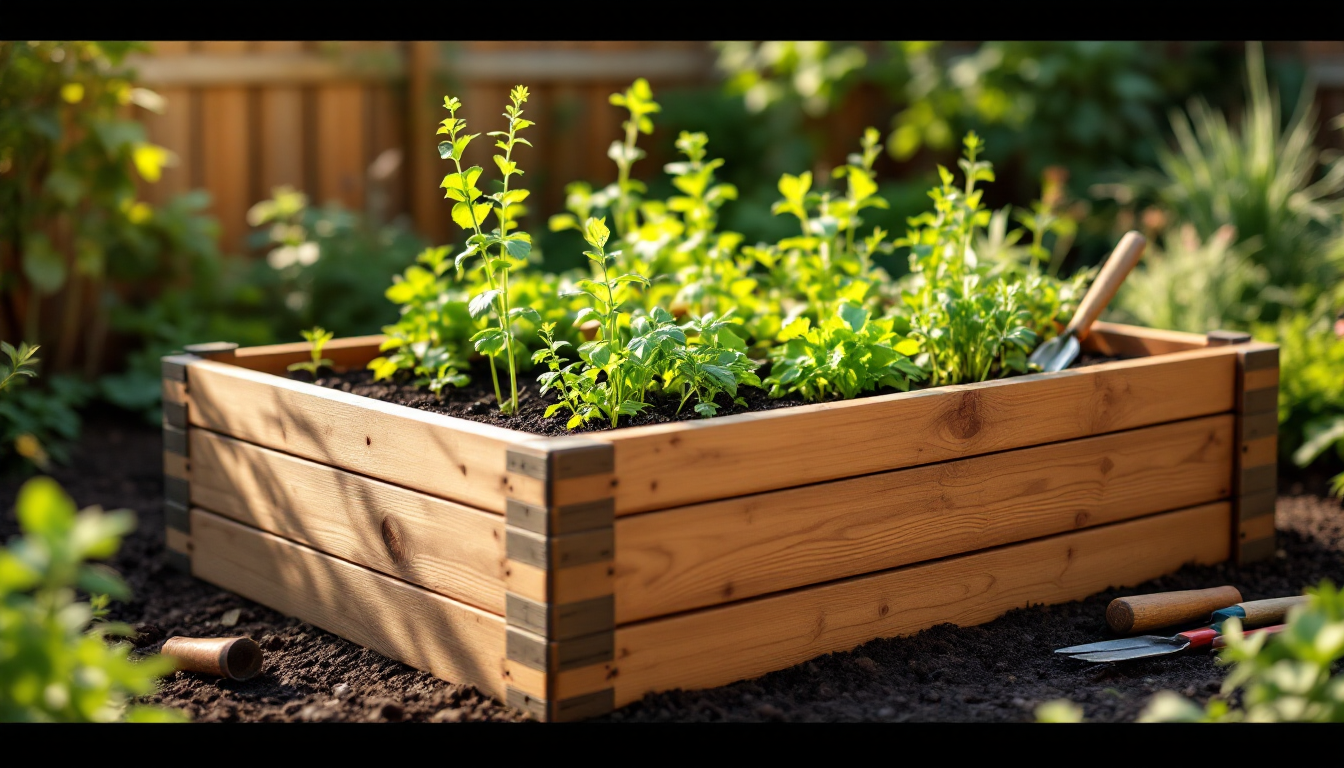
Why raised beds are the easiest way to start a garden
A raised garden bed is simply a bottomless box filled with soil that sits above the surrounding ground. It's one of the most forgiving ways to start growing vegetables, herbs, or flowers because you control the soil quality from day one instead of fighting whatever is already in your yard. If your existing dirt is compacted clay, full of rocks, or drains poorly, a raised bed solves that problem without any digging or amending of the native ground.
Beyond soil control, raised beds warm up faster in spring, drain better after heavy rain, and keep the growing area clearly defined so you're not stepping on roots. They also make gardening more comfortable, since a bed built 12-18 inches tall means less bending. This guide walks through the entire process for a first-time builder, from picking a spot to filling the box with soil.
Step 1: Choose the right location
Most vegetables and flowering plants need at least 6-8 hours of direct sun per day, so start by watching your yard for a full day if you can, noting where shadows from fences, trees, or the house fall. A few other things to check before you commit to a spot:
- Water access: Place the bed within reach of a hose so you're not hauling watering cans across the yard all summer.
- Level ground: A relatively flat area is much easier to build on than a slope, though minor grading can fix small dips.
- Drainage: Avoid low spots where water pools after rain, since a raised bed still needs the ground underneath to drain.
If you're planning the bed as part of a larger backyard layout, it's worth stepping back and thinking about the whole space first. A resource like this beginner's guide to landscaping a backyard can help you figure out where a vegetable garden fits alongside patios, lawn, and planting beds before you start digging.
Step 2: Pick a size and material
A common beginner size is 4 feet wide by 8 feet long, because 4 feet lets you reach the center from either side without stepping into the bed and compacting the soil. Length can be adjusted to fit your space, but try to avoid going wider than 4 feet unless you'll have access from more than two sides.
For height, 10-12 inches is enough for most vegetables, while 18-24 inches is better for root crops like carrots or for anyone who wants to garden without bending over as much.
Common materials for the frame include:
- Untreated cedar or redwood: Naturally rot-resistant and safe for growing food, though pricier than pine.
- Pine or fir boards: Budget-friendly but will need replacing sooner, typically within 5-7 years.
- Composite or recycled plastic lumber: Doesn't rot and requires no maintenance, at a higher upfront cost.
- Concrete blocks or bricks: Extremely durable and gives you a wide top edge to sit on while working.
- Galvanized metal panels: Modern-looking, long-lasting, and increasingly common in prefab kits.
Avoid pressure-treated lumber older than the mid-2000s or anything not rated for garden use, since older treatments contained chemicals that could leach into soil.
Step 3: Gather tools and materials
For a basic 4x8-foot wood bed, you'll typically need:
- Four to six untreated boards (2x10 or 2x12 lumber works well)
- Wood screws or exterior-rated deck screws
- A drill/driver
- A saw, unless you have the lumber yard cut boards to length
- Corner brackets or 4x4 posts for reinforcing corners
- A level and tape measure
- Landscape fabric or cardboard for the base (optional, for weed suppression)
If you enjoy planning things out visually before you build, sketching the bed's footprint on a simple site plan can help you confirm spacing and sun exposure. Many of the same layout principles used for comparing backyard landscaping methods apply here: decide on the general shape first, then work out the details.
Step 4: Build the frame
- Cut your boards to length if they aren't pre-cut: two boards at 8 feet and two at 4 feet for a standard rectangle.
- Lay the boards on the ground in a rectangle to check the fit before fastening anything.
- Attach the corners using screws driven through pre-drilled pilot holes, or use corner brackets for extra strength.
- For beds taller than one board, stack a second layer and stagger the screws so the joints don't line up, which adds stability.
- If the bed is long, add a center support brace to keep the sides from bowing outward once filled with soil.
This kind of straightforward joinery doesn't require advanced woodworking skills, but if you're curious about stronger joints for future outdoor furniture or planters, this beginner's guide to building furniture covers techniques that translate well to garden structures too.
Step 5: Prepare the site and place the bed
Clear grass, weeds, and debris from the footprint. Many gardeners lay down a layer of cardboard or landscape fabric before placing the frame, which smothers grass underneath without chemicals. Set the frame in place and use a level to check it's even; shim under low corners with soil or gravel if needed.
Step 6: Fill with the right soil mix
A popular and reliable mix is roughly one-third topsoil, one-third compost, and one-third aeration material such as coarse sand or perlite. Fill the bed to about an inch below the top edge, water it in to help it settle, and top off if needed. Avoid using pure topsoil or garden soil alone, since it compacts too easily in a contained space.
Step 7: Plant and maintain
Once filled, the bed is ready for seeds or seedlings right away. Add a layer of mulch around plants to retain moisture and suppress weeds, and plan to top up compost each season since raised bed soil settles and depletes faster than in-ground soil. A drip irrigation line or soaker hose makes watering far more consistent than hand-watering, especially in taller beds that dry out faster.
Bringing it into your bigger outdoor plan
A single raised bed is a great starting point, but most gardeners end up adding more once they see how much easier maintenance becomes. Before expanding, it helps to think about pathways, sun patterns, and how the beds relate to patios or seating areas. If you want to see the whole yard mapped out digitally before committing to permanent structures, tools available through home3dplan.com can help you test layouts and material choices before you buy a single board.